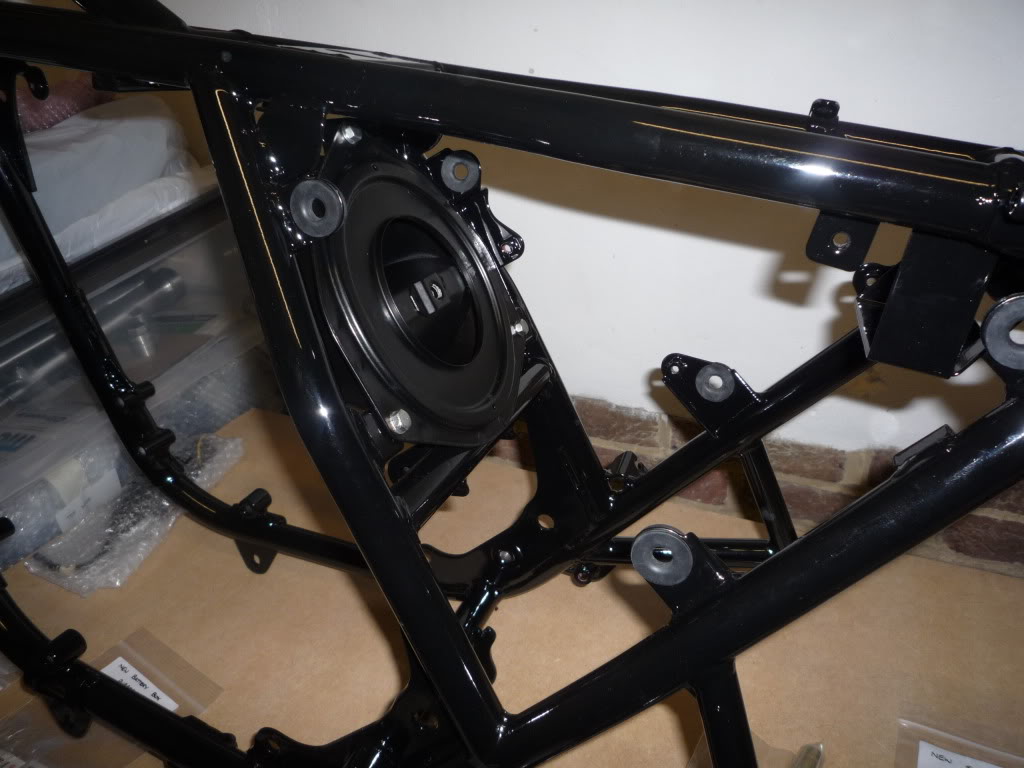
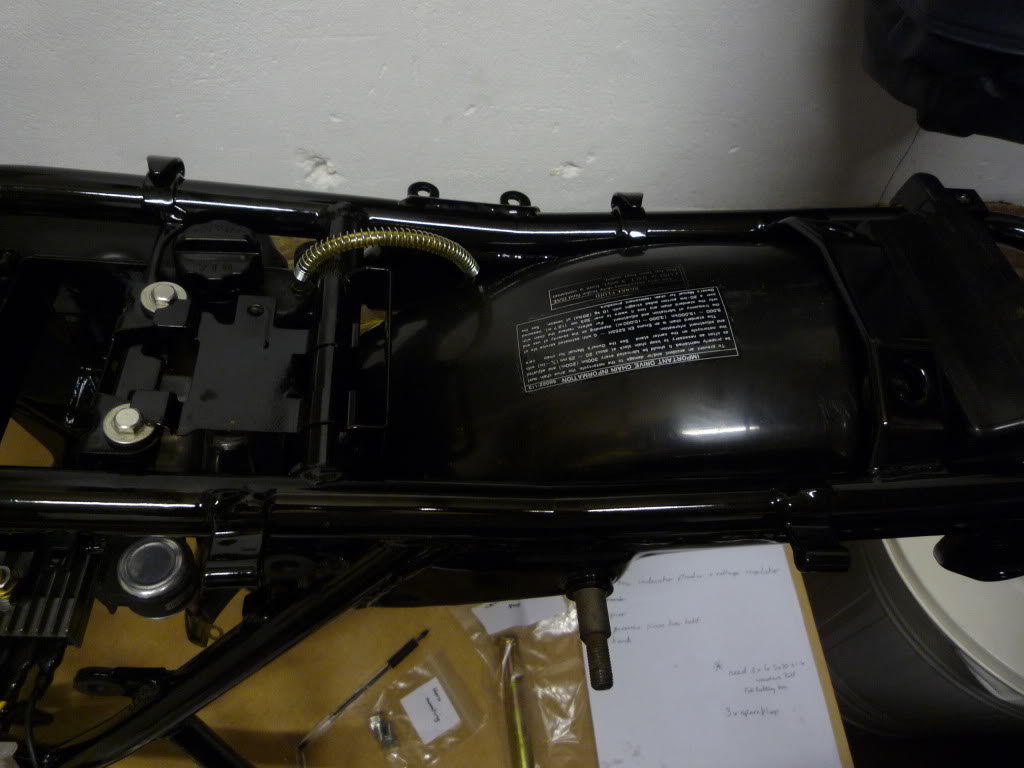
First job was to fit some new side panel rubbers and then half of the airbox
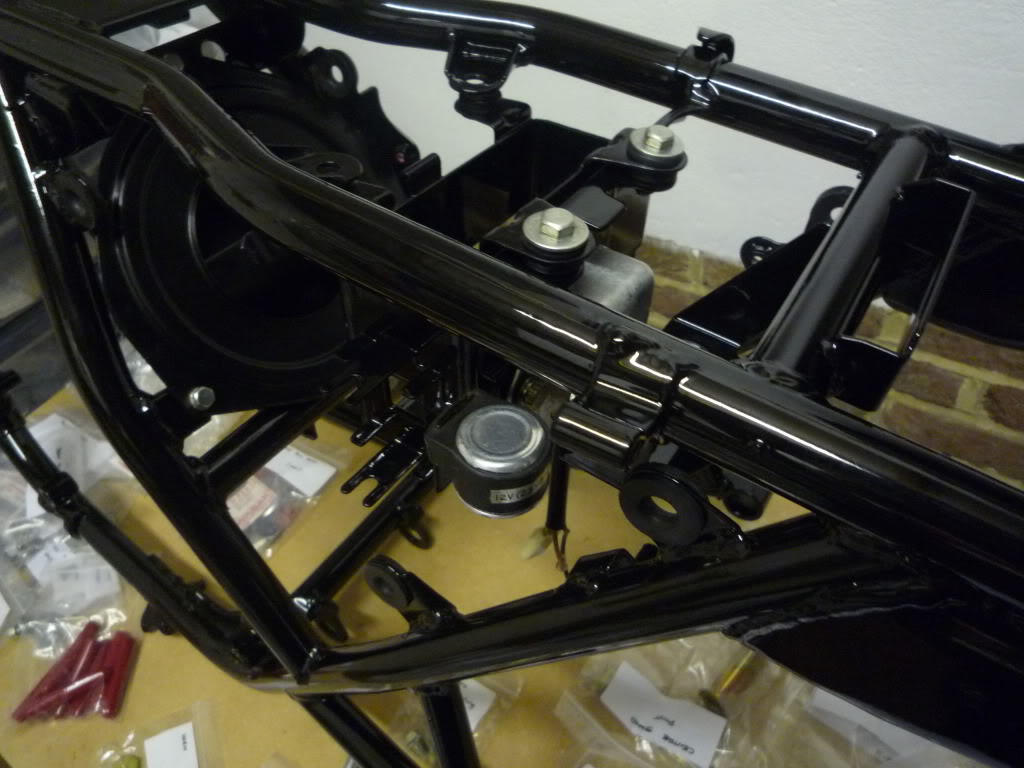
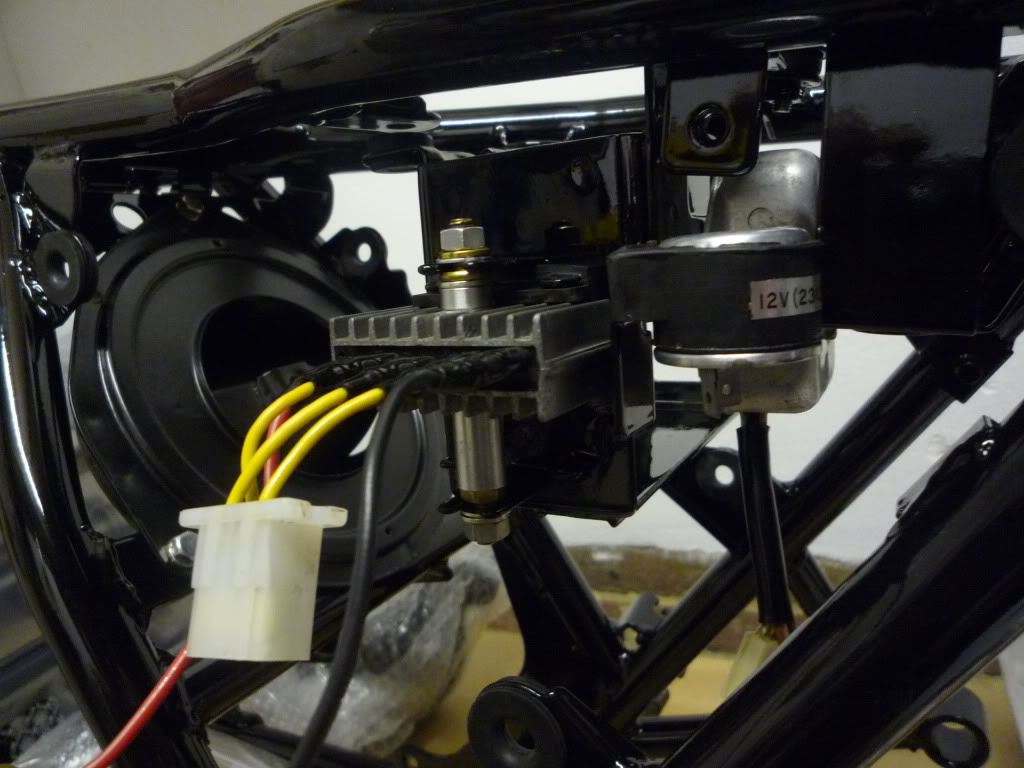
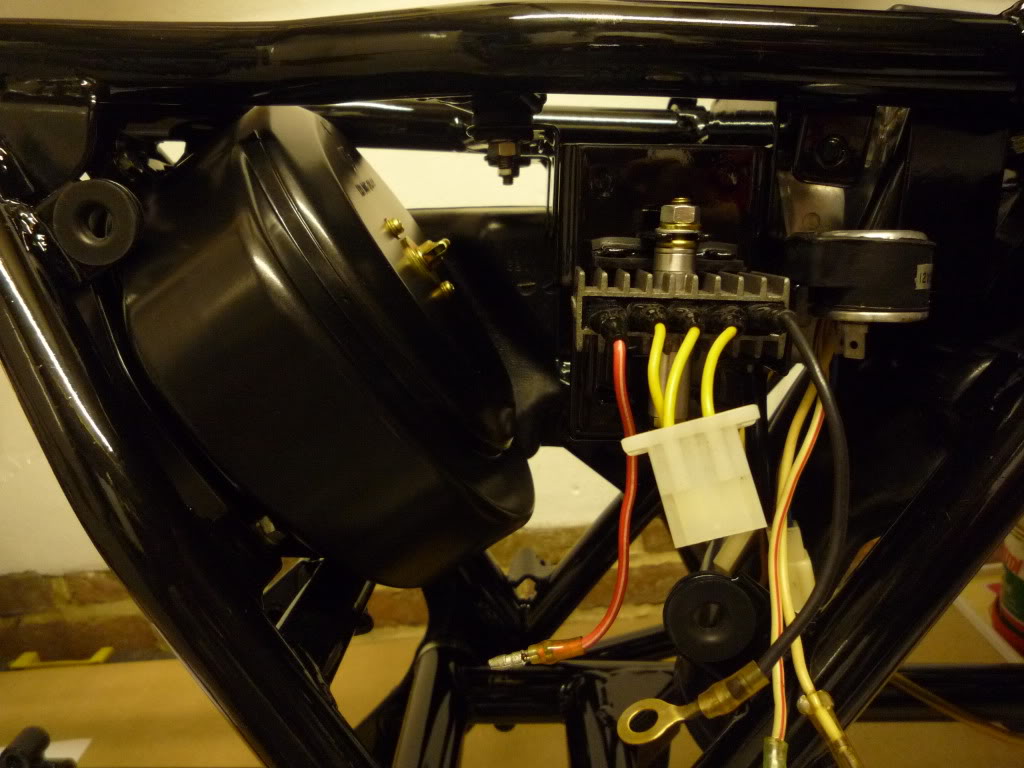
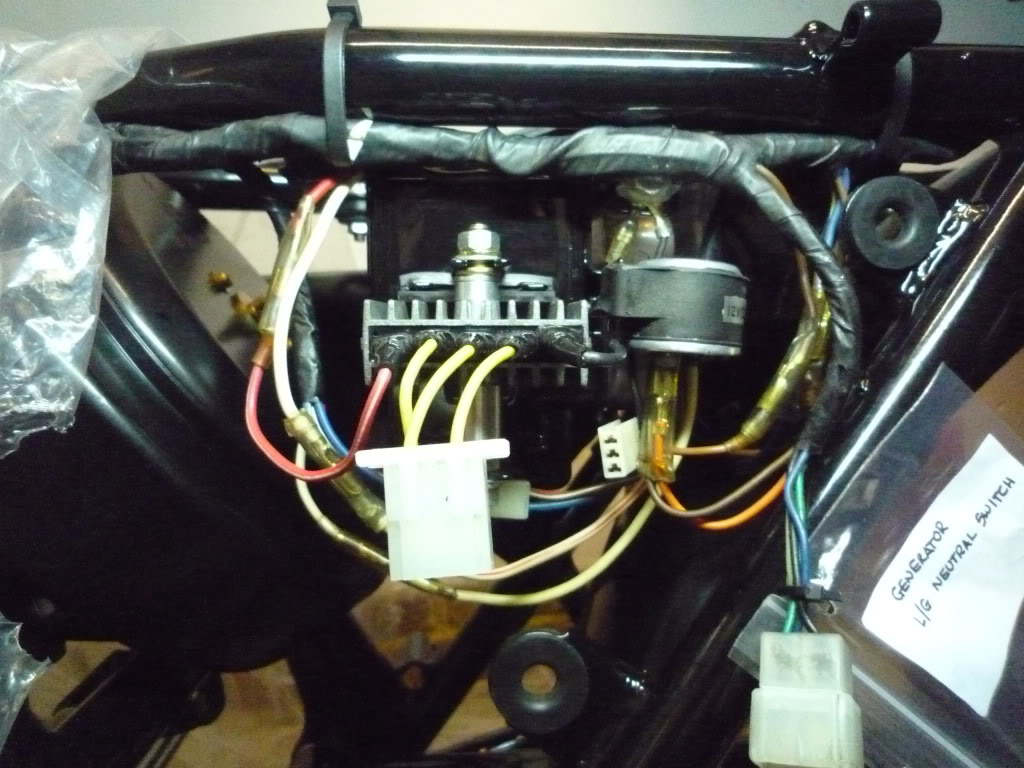
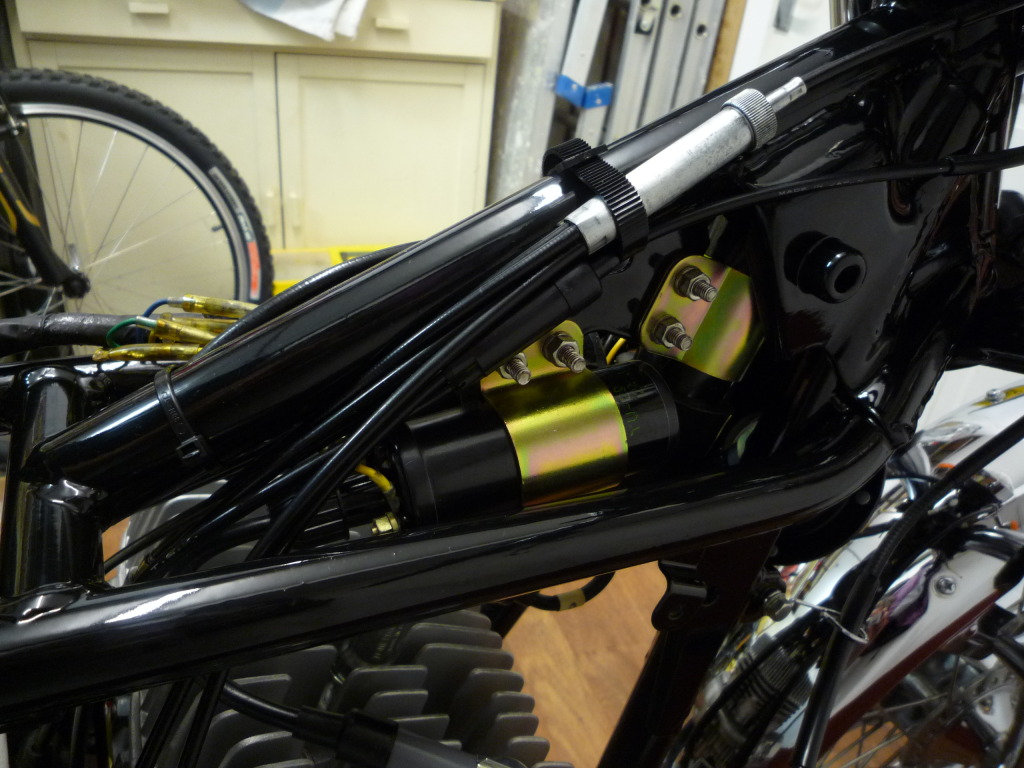
Followed by the Battery box with new rubbers, the Flasher unit and the voltage regulator.
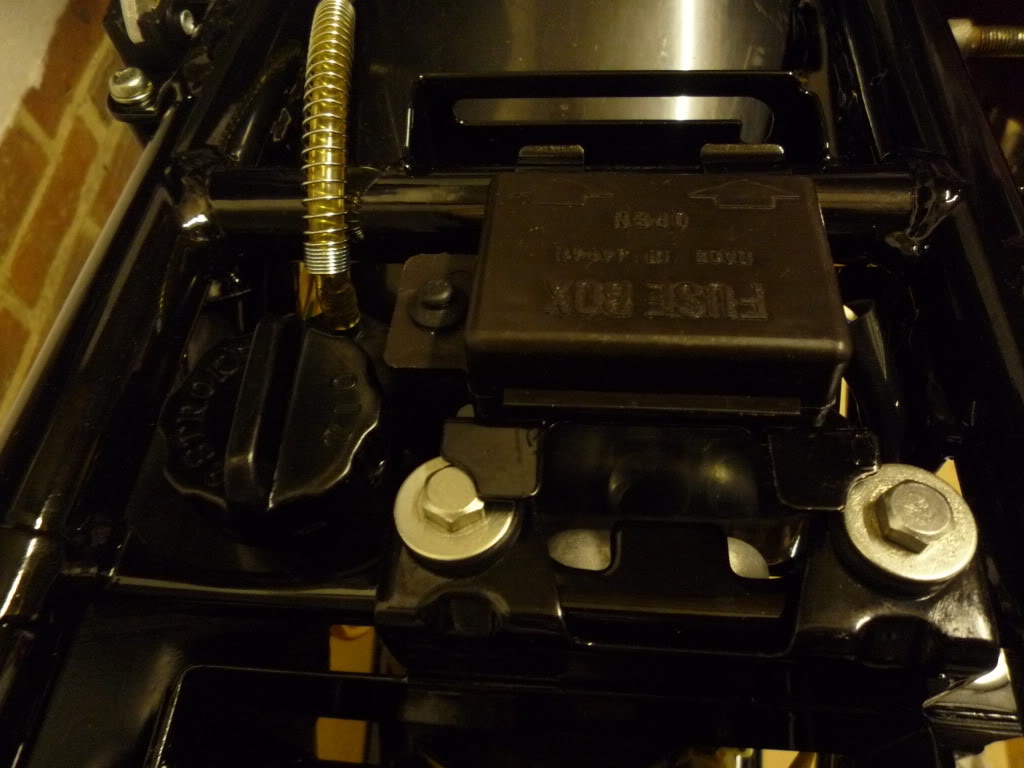
There were a couple of bits missing on the bike, one being the fuse holder bracket. But luckily I was able to source one. And fit it..................
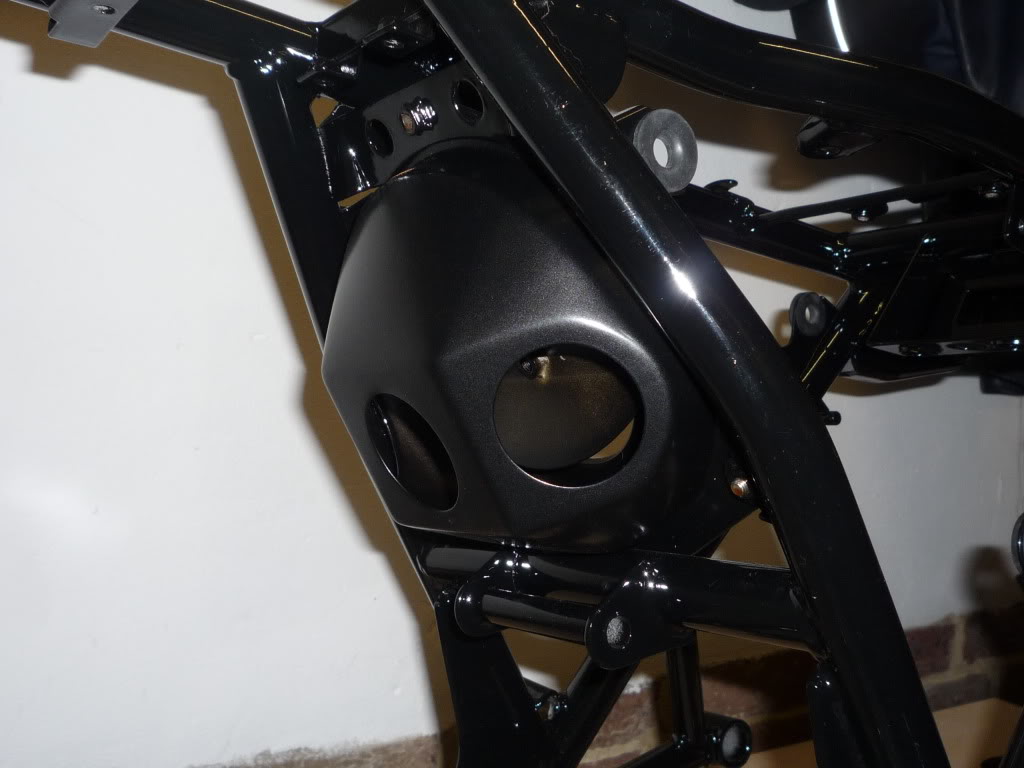
Next came the Rectifier................. And the oil tank
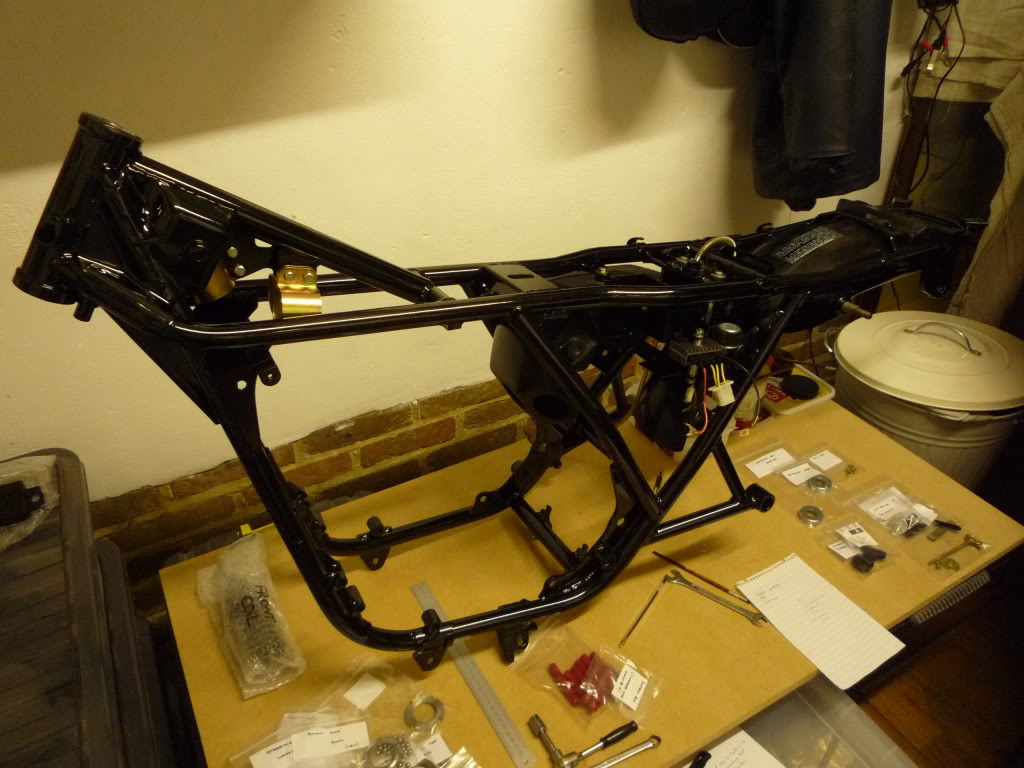
I'm not rebuilding in any particular
order but I guess if i get most of the electrical items in place it will help me
with the loom routing, very glad I took all those pictures on the stripdown but
could definitely do with some more (noted for the next one
![]()
Spare spark plug holder in place, add spare plugs to the list. Wanted a
splash of colour so loose fitted the coil rings.
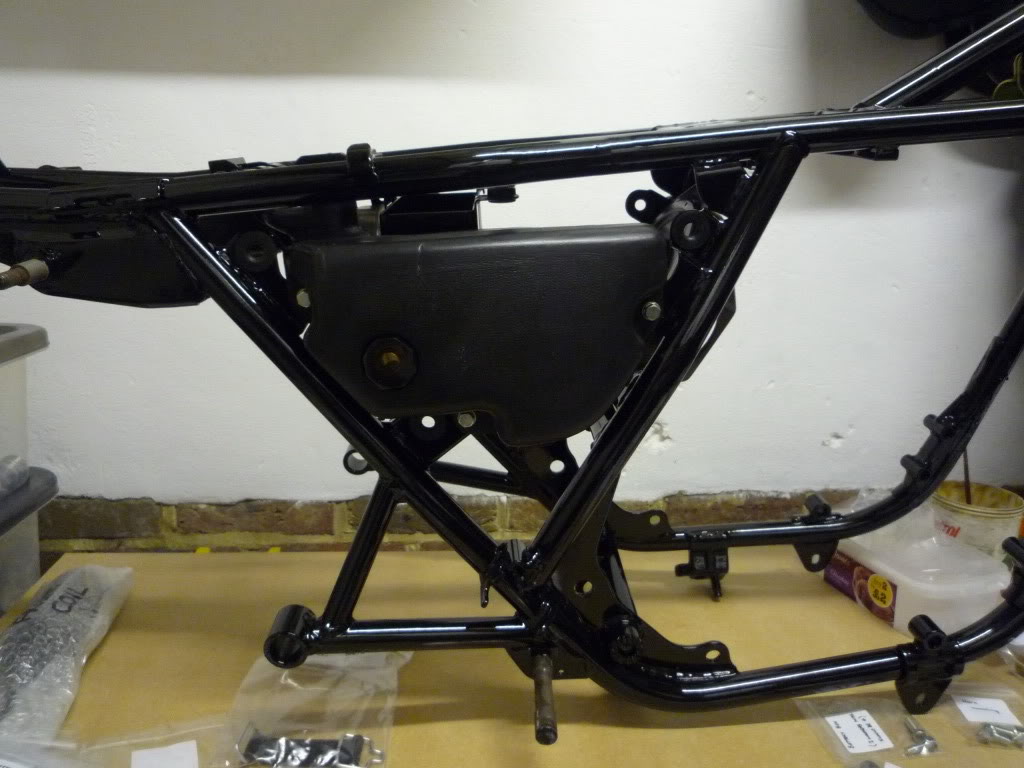
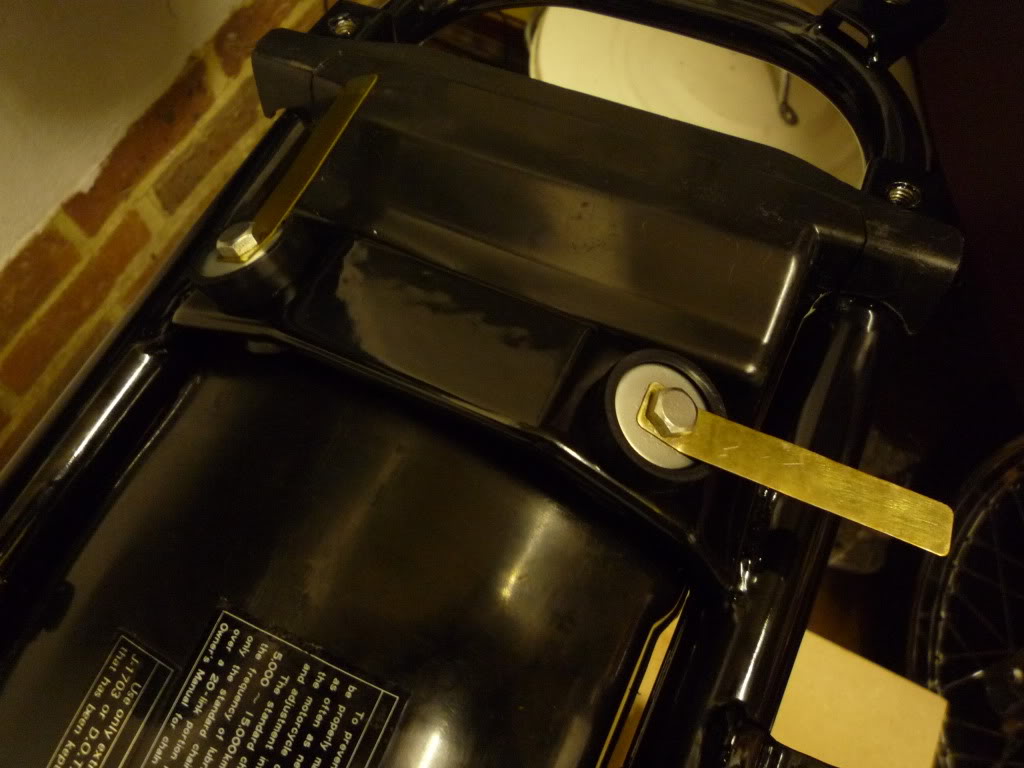
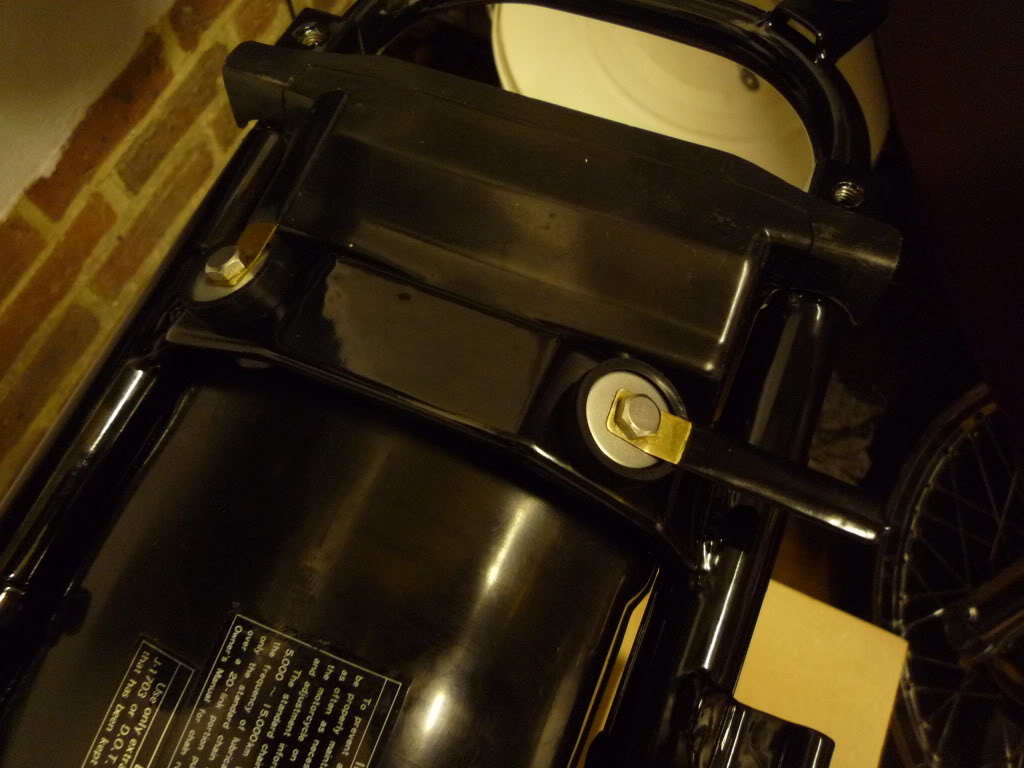
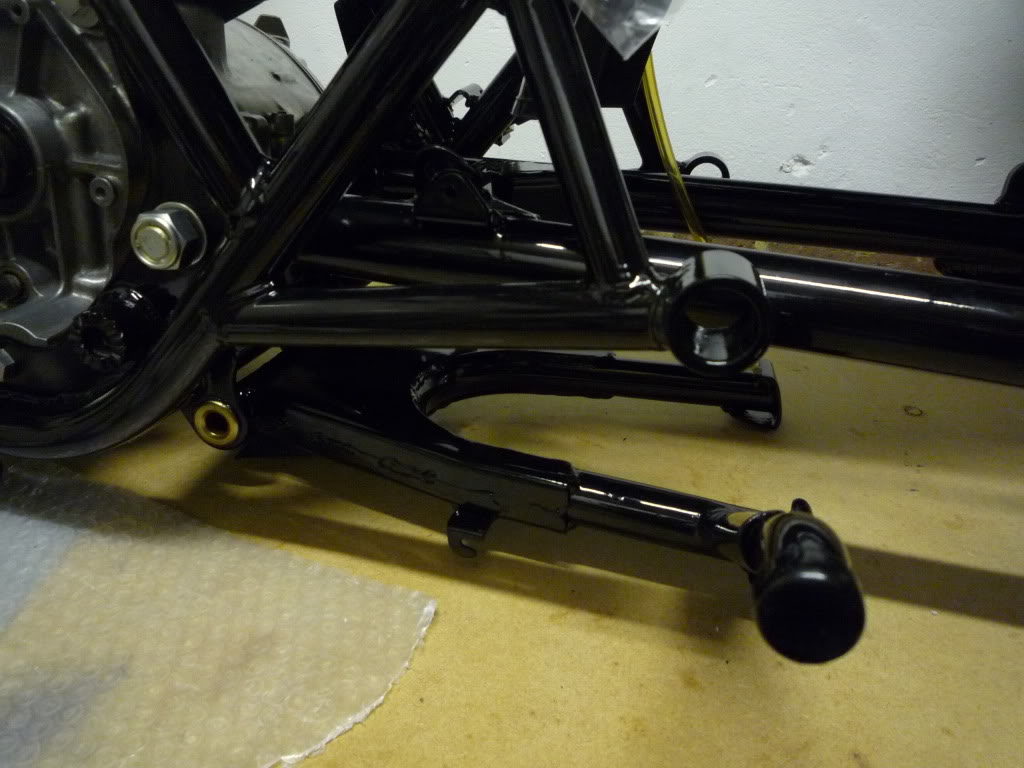
Next came the oil tank breather hose
and spring and the rear inner mudguard then I hit a snag
![]() ?
But we are getting there
?
But we are getting there
![]()
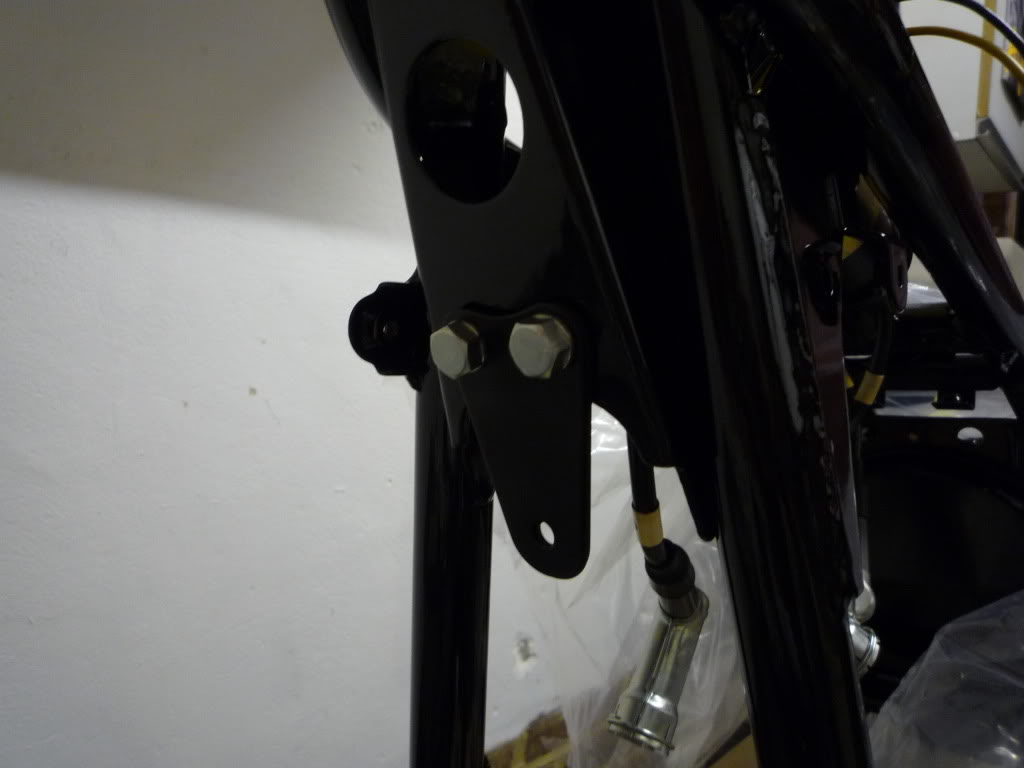
Problem I had was with the fixing of the rear mudguard to the frame, but I was
able to source and sort out the bits i needed.
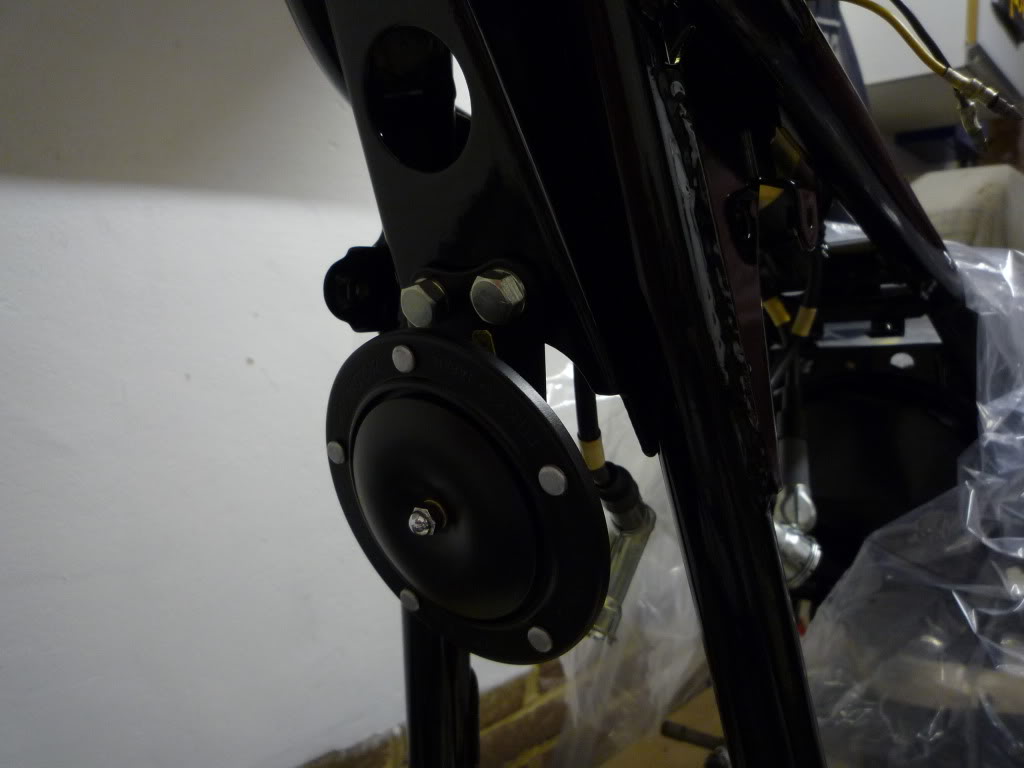
Coils were fitted in place on the frame.

I bolted the mounting brackets to the
frame. Then fitted the Horn.
Note: Horn is fitted upside down.
I had wanted to fit the fuse box but
the rubber fixing grommet was missing but luckily Z-power came to the rescue
with one in stock.
The next part to fit was a new airfilter along with the rest of the airbox.......................
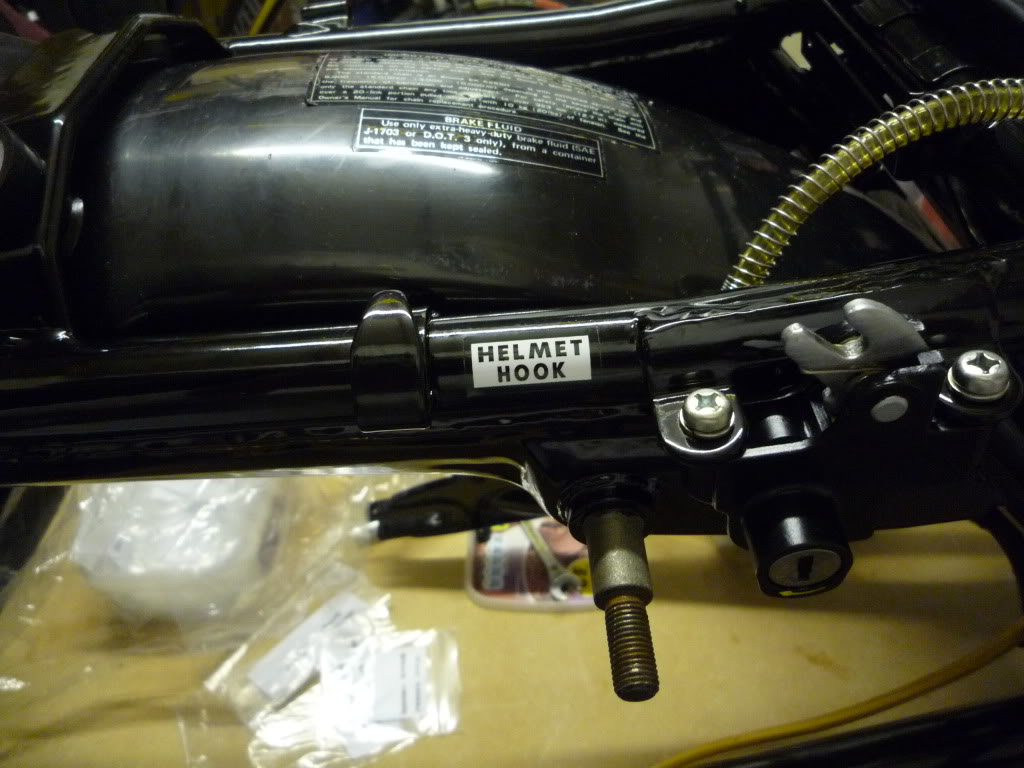
The new rubbers and parts arrived for
the rear inner mudguard and i was able to fit them in place along with the wire
tangs for the rear wiring which had found their rightful place. These were
previously loosely bolted to the battery box.
Rubber sleeves finish them off nicely.
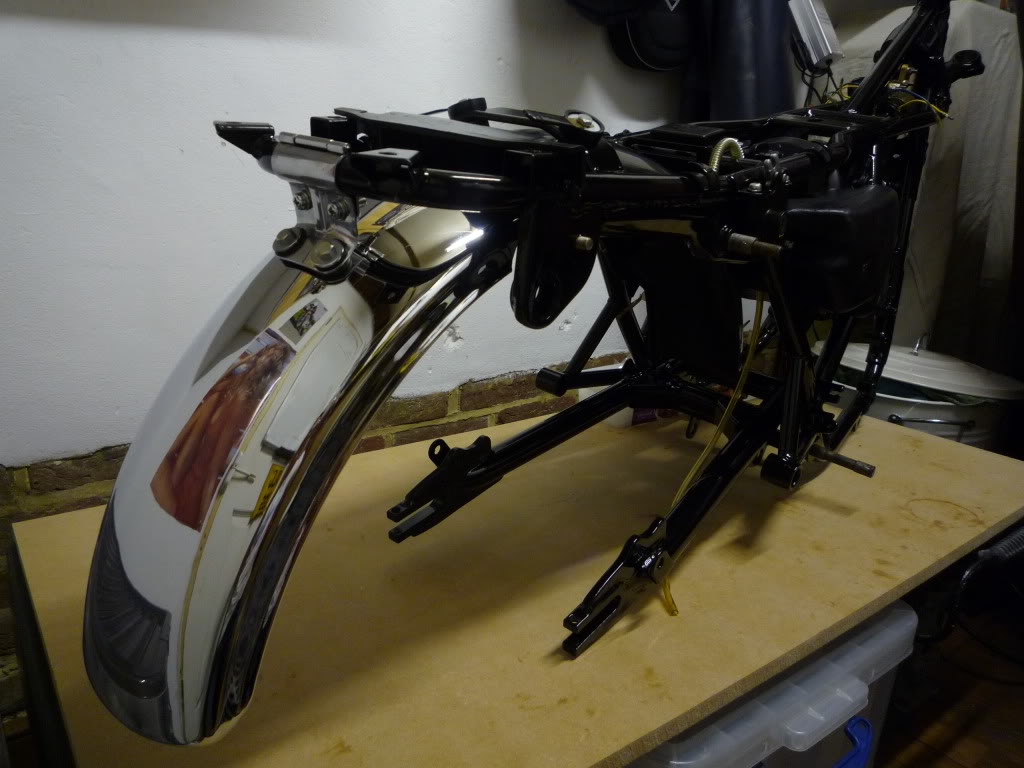
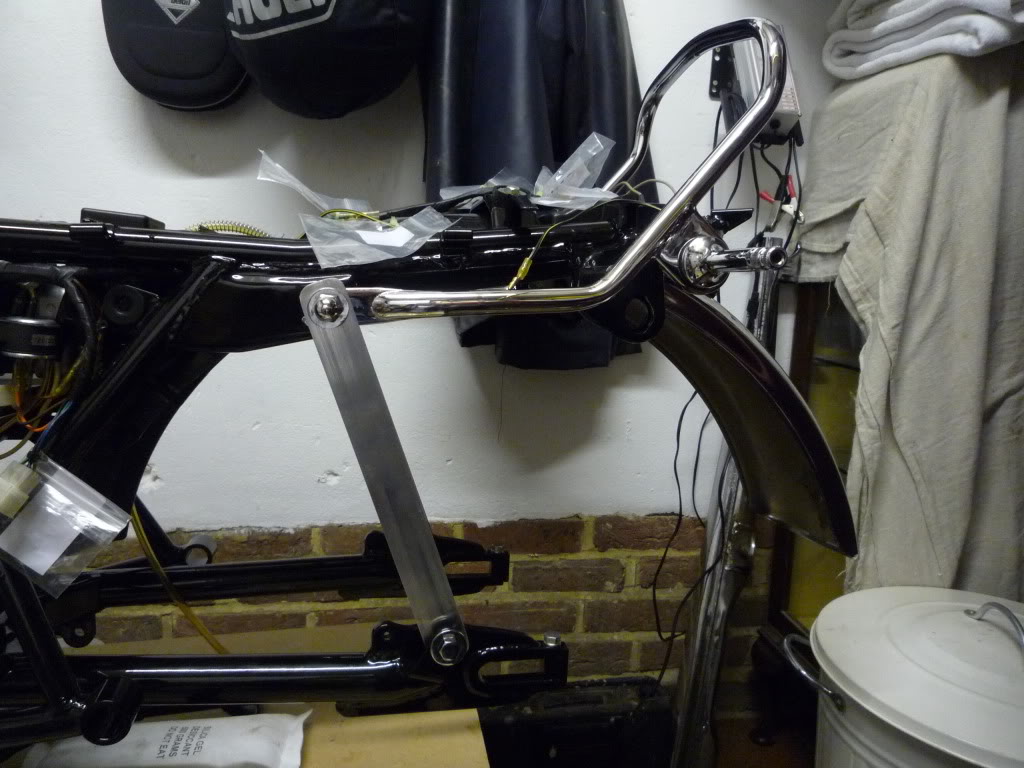
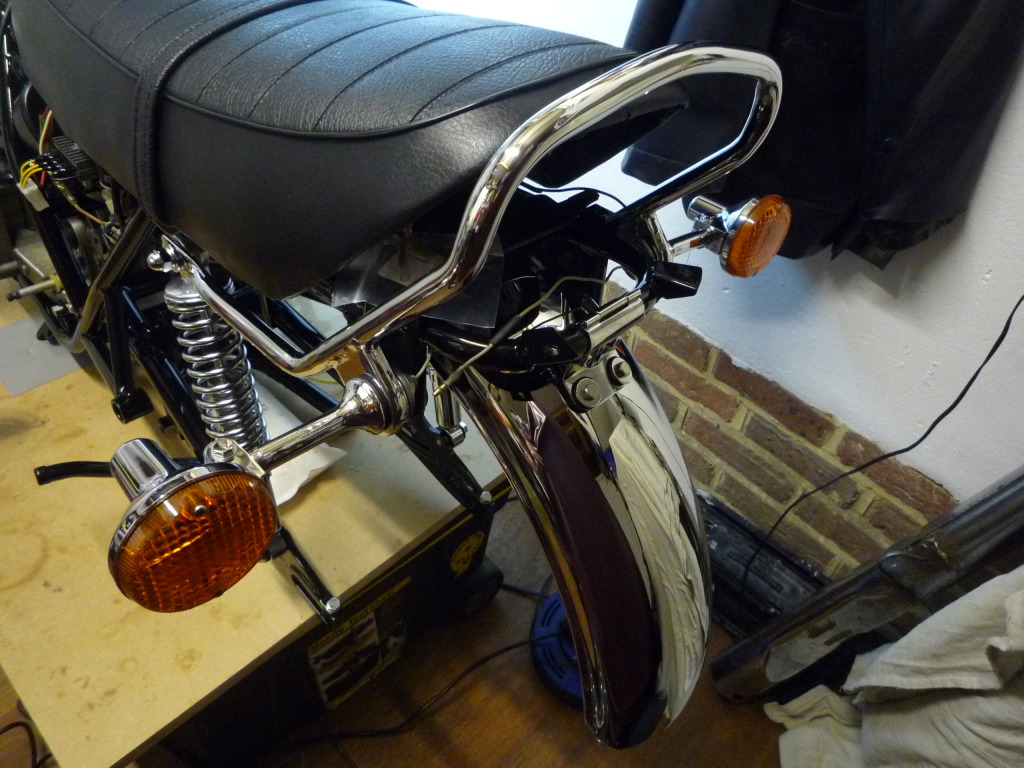
Finally it was time to fit some Bling
in the shape of the rear Mudguard so out with the cotton gloves with this one.
Don't you just love Chrome.![]() As this has to be secured along with the grab rail and shocks I will finish
bolting this in later.
As this has to be secured along with the grab rail and shocks I will finish
bolting this in later.
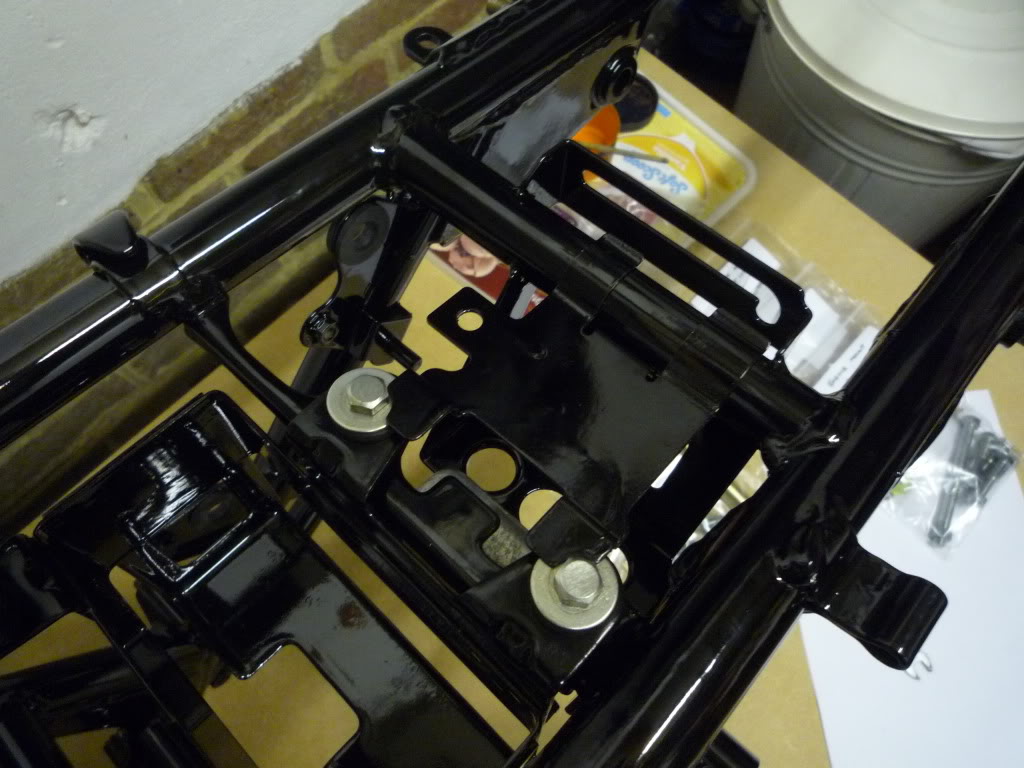
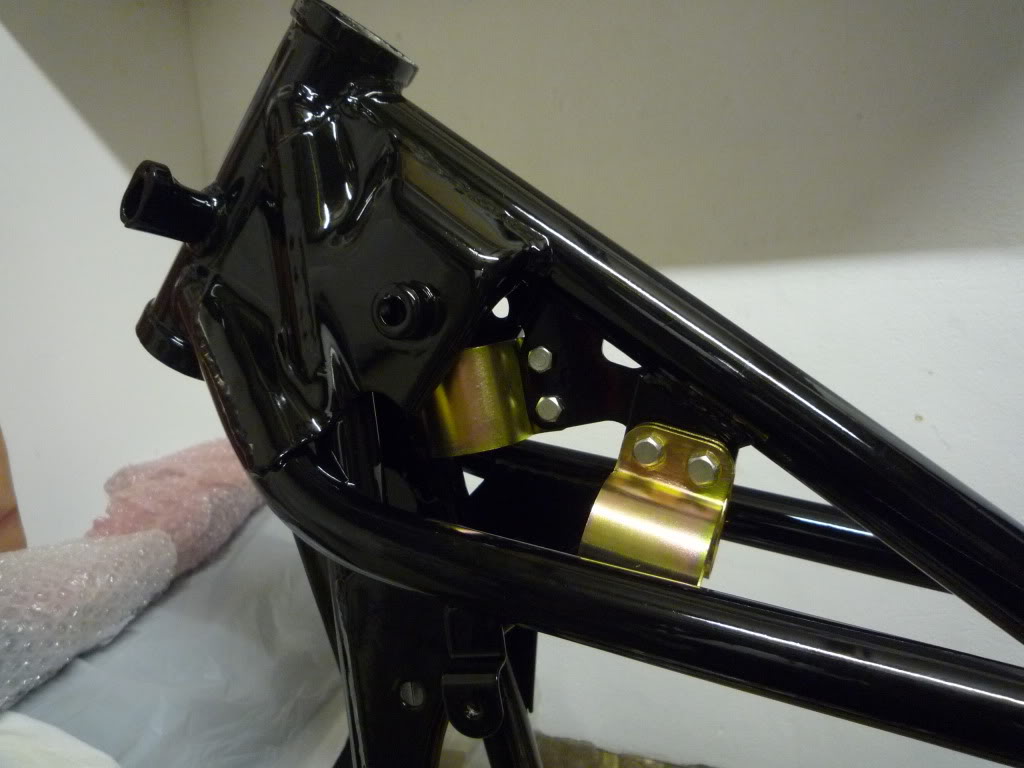
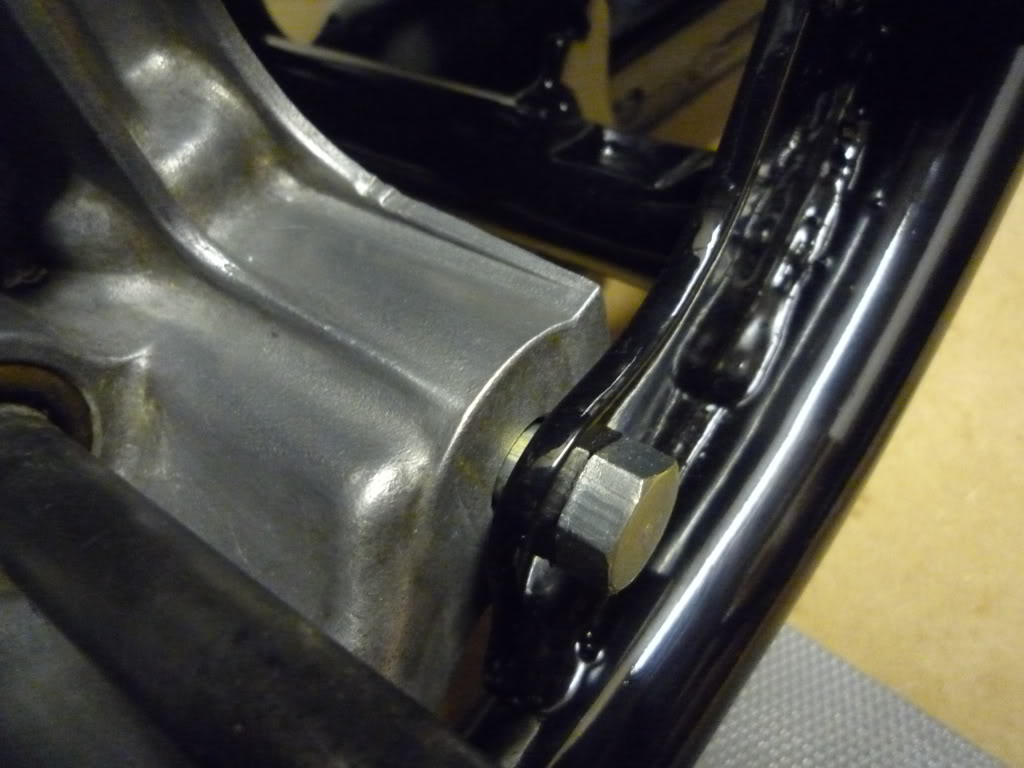
Engine mounts are ready and waiting.
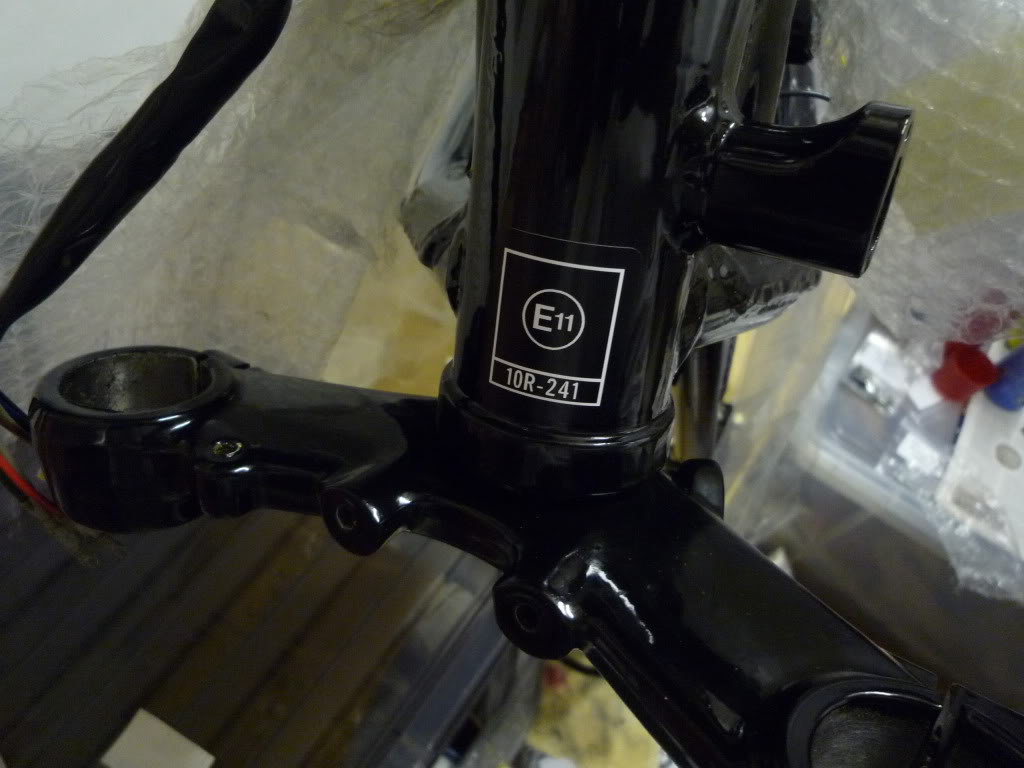
Added a couple of decals to the frame which couldn't be saved.
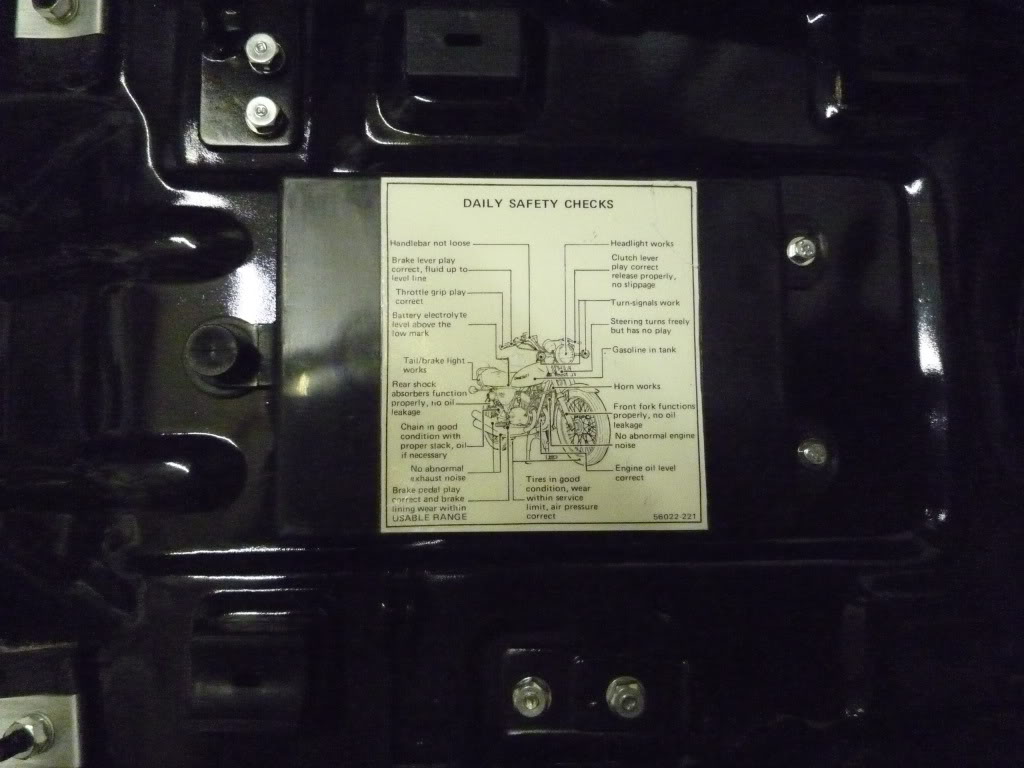
And finally managed to sort out the seat daily check decal. This was torn and damaged and I did think I would have to replace it but managed to salvage it with a little TLC, a film of clear plastic will protect it from further damage as originals seem quite rare. Have seen these fitted the other way but this is how it came. It's amazing how satisfying these little bits can be........................
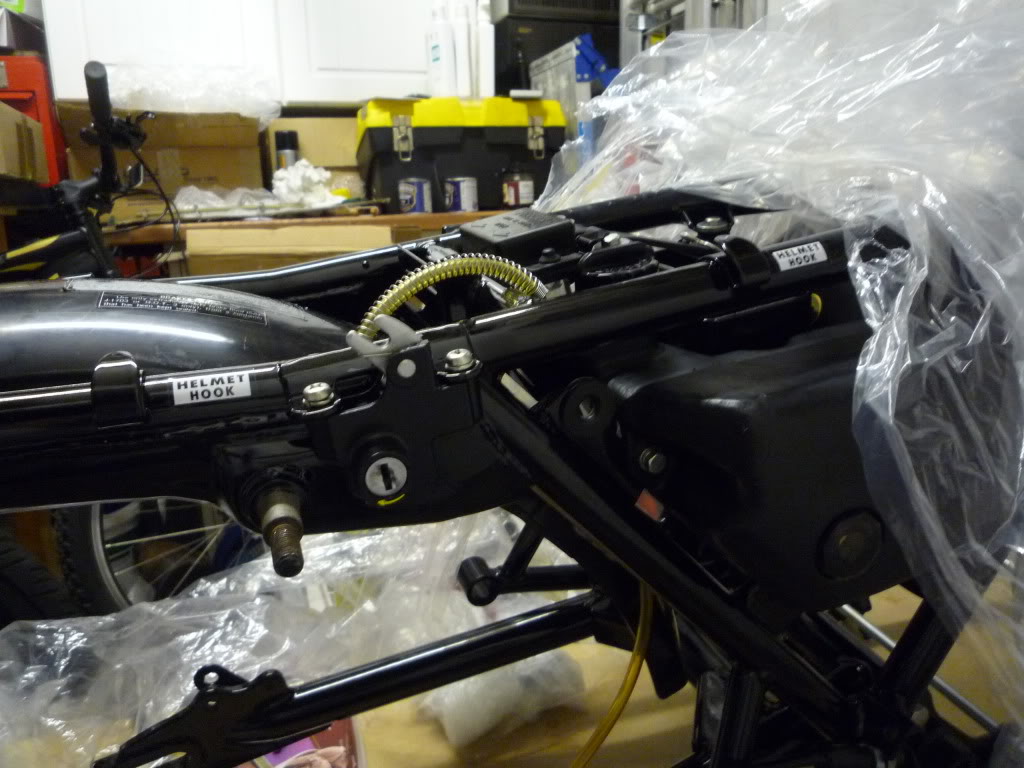
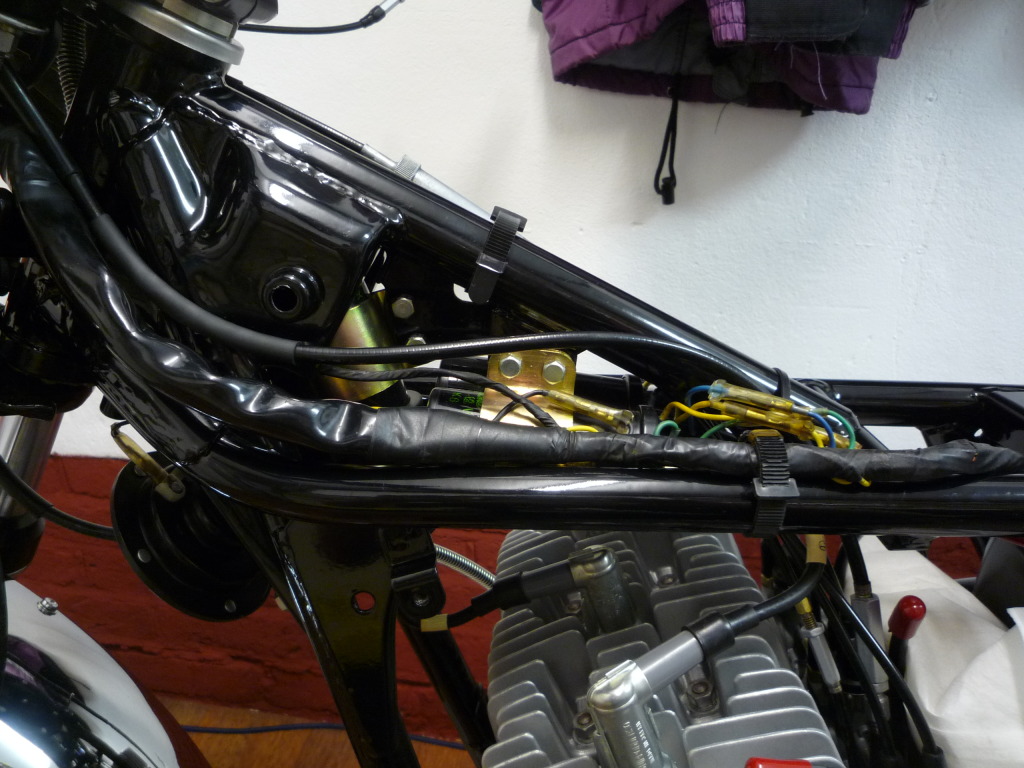
Have put the loom in place and it all
seems to line up nicely, there was one area to question but this seems to be
the logical path for it. As a note I had to loosen the airbox to feed the
connector for the fuse box past the frame tube.
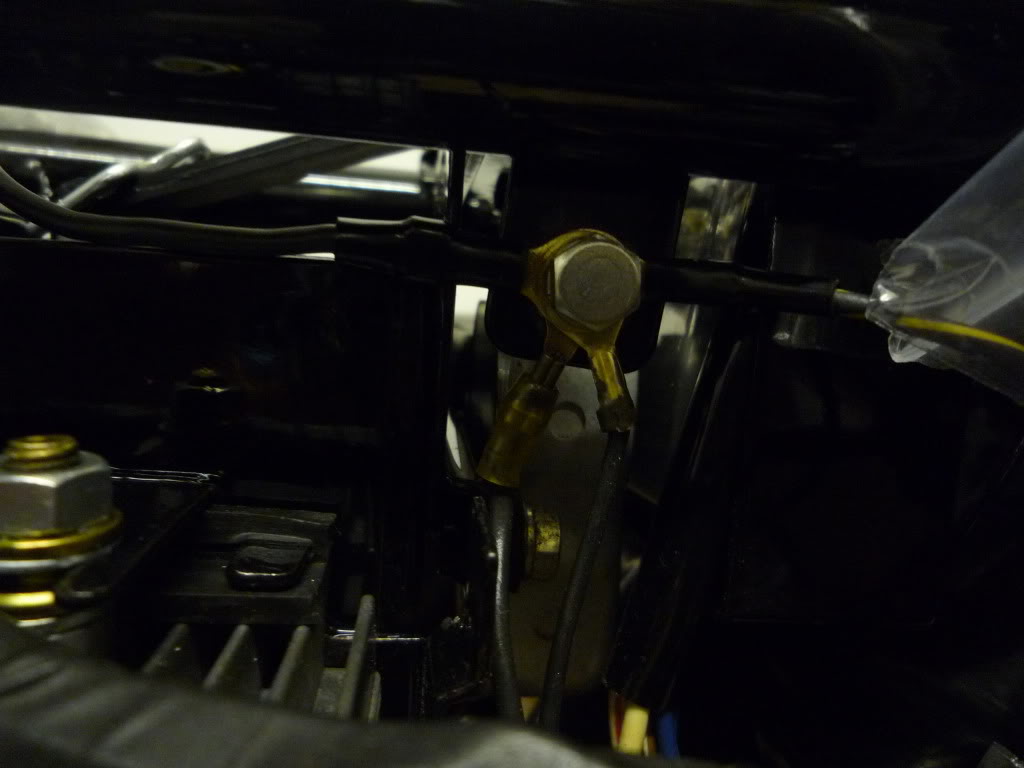
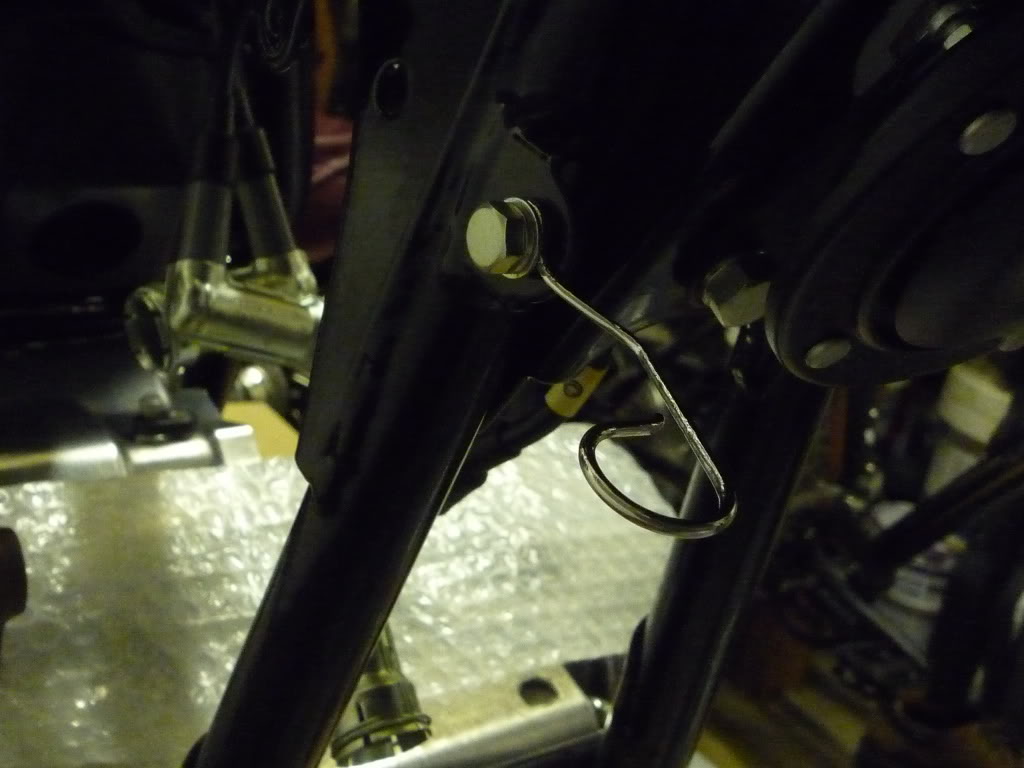
Cleaned the earth point up.
and attached the 4 earth wires....
and connected up the flasher unit, rectifier, voltage reg, fuse box and
battery leads which reminds me must buy a Battery. Soon to be blood running
through these veins!!!
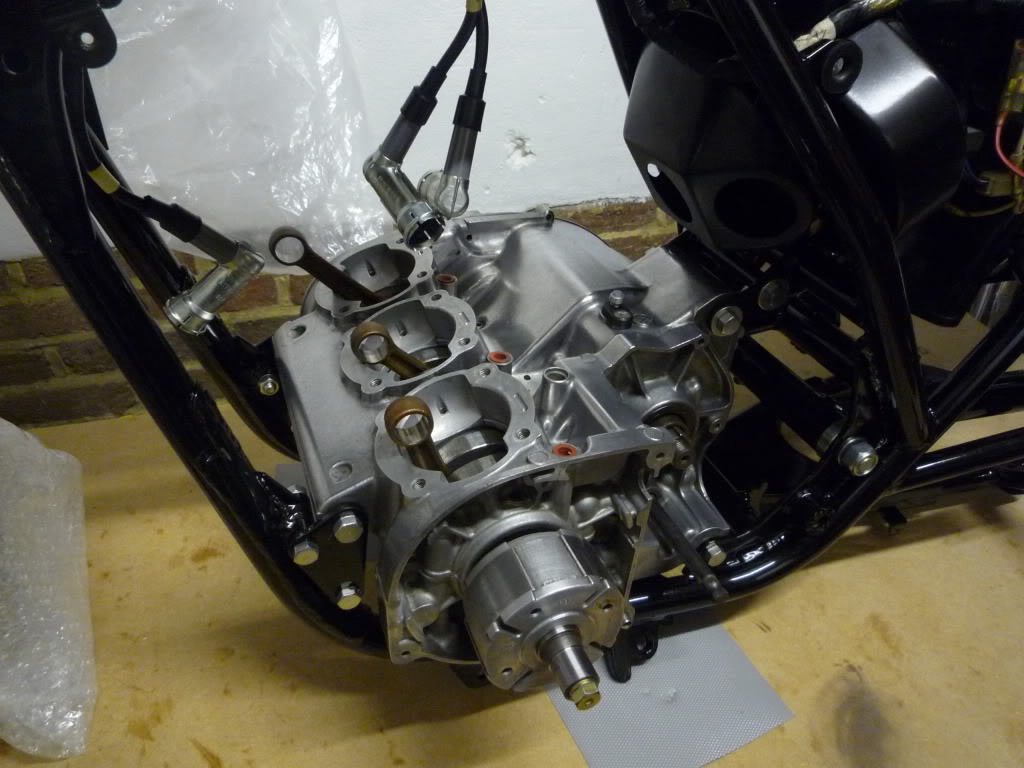
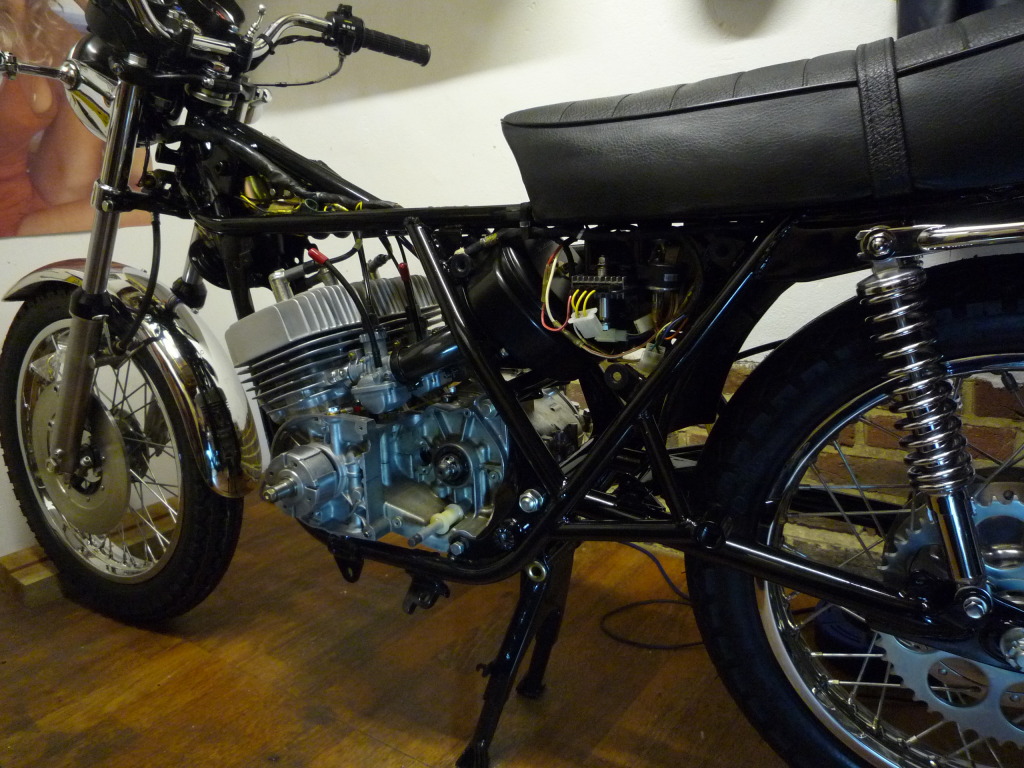
Well the bottom ends finally back in the
frame and sitting nicely, (first nervous feelings arrive but are soon dismissed
this is no time to wimp out!!)
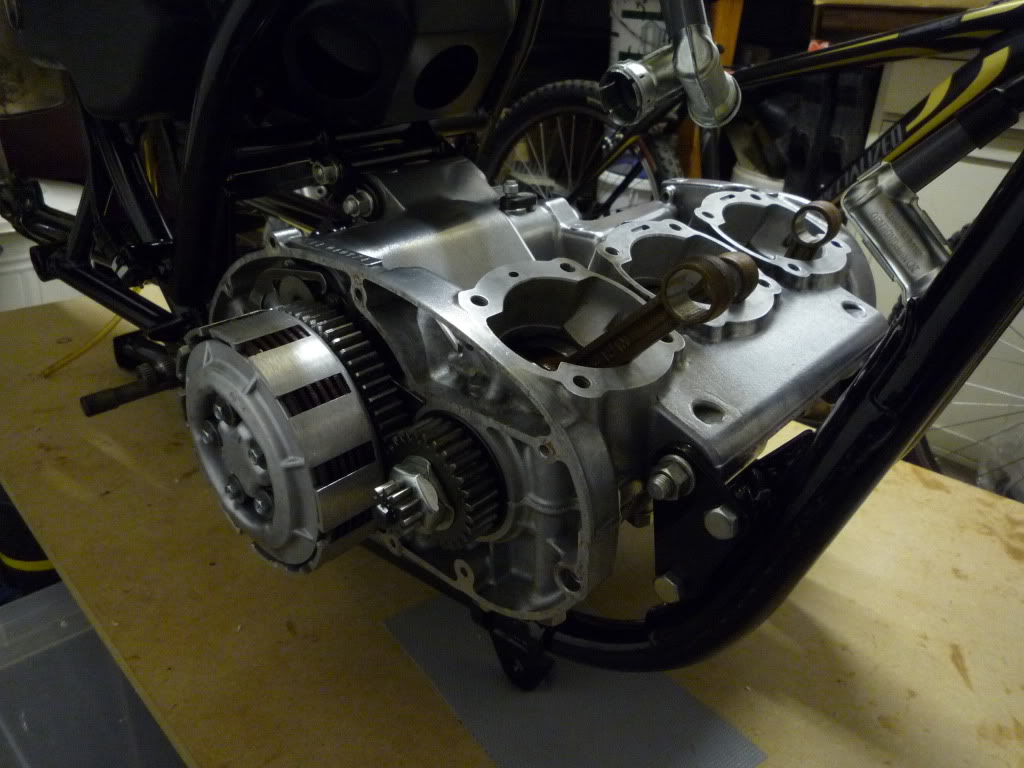
With all the engine mounting bolts tightened the only place that needs shimming
is down near the drive sprocket, this will have the two shims fitted after they
are plated.
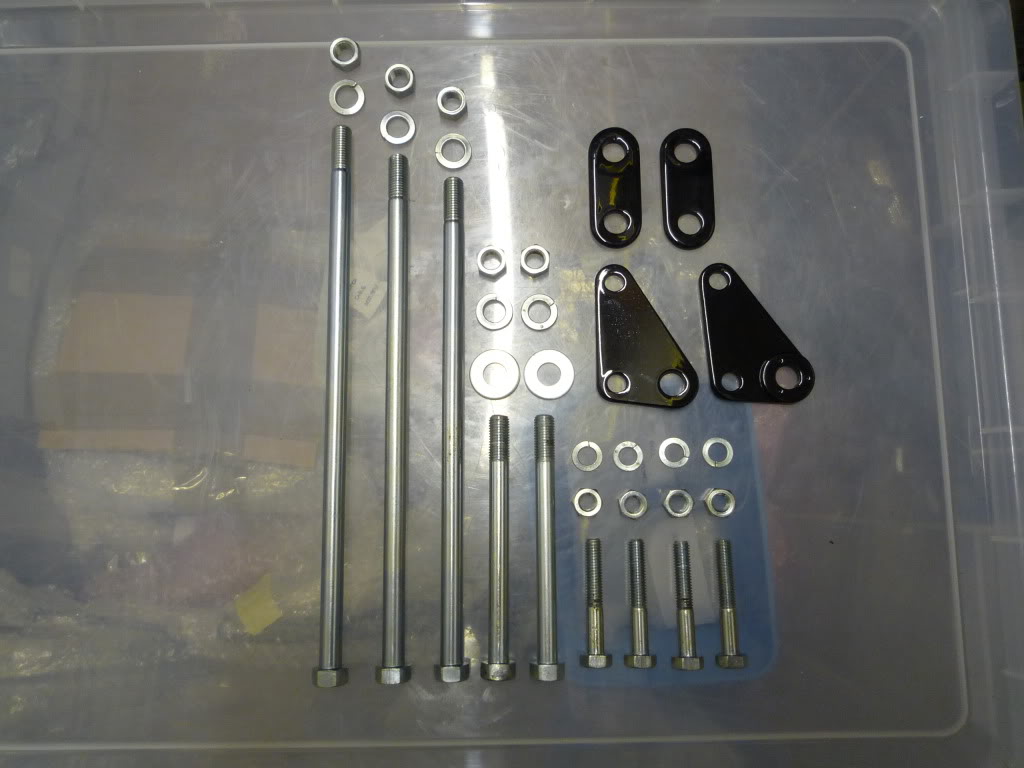
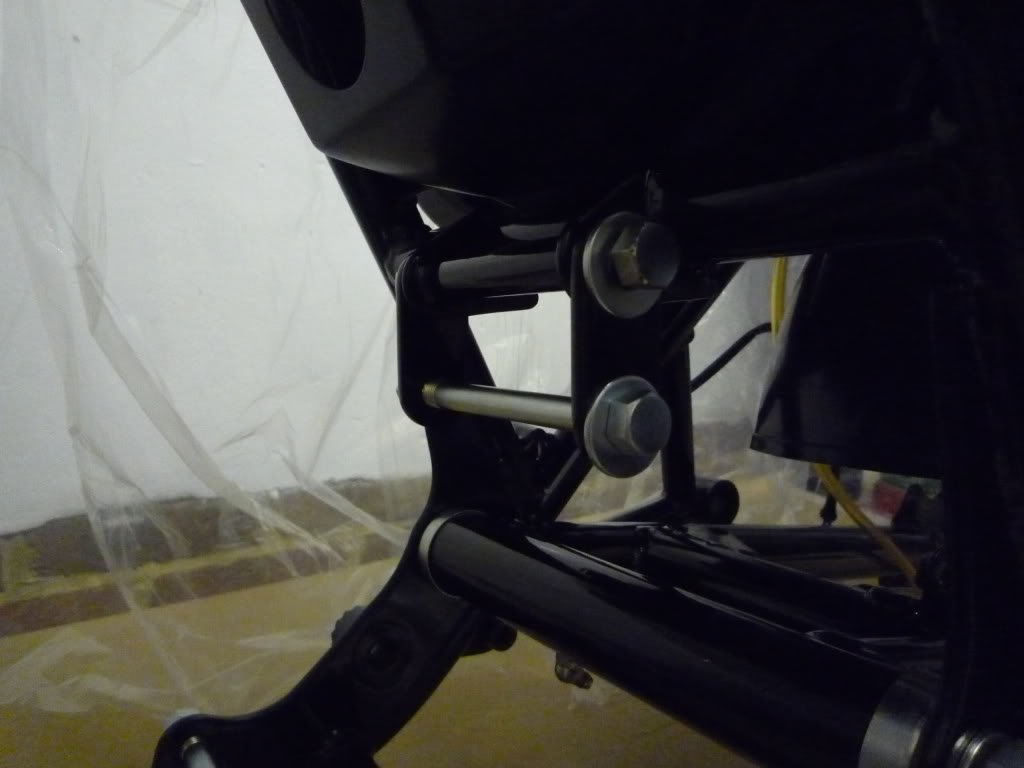
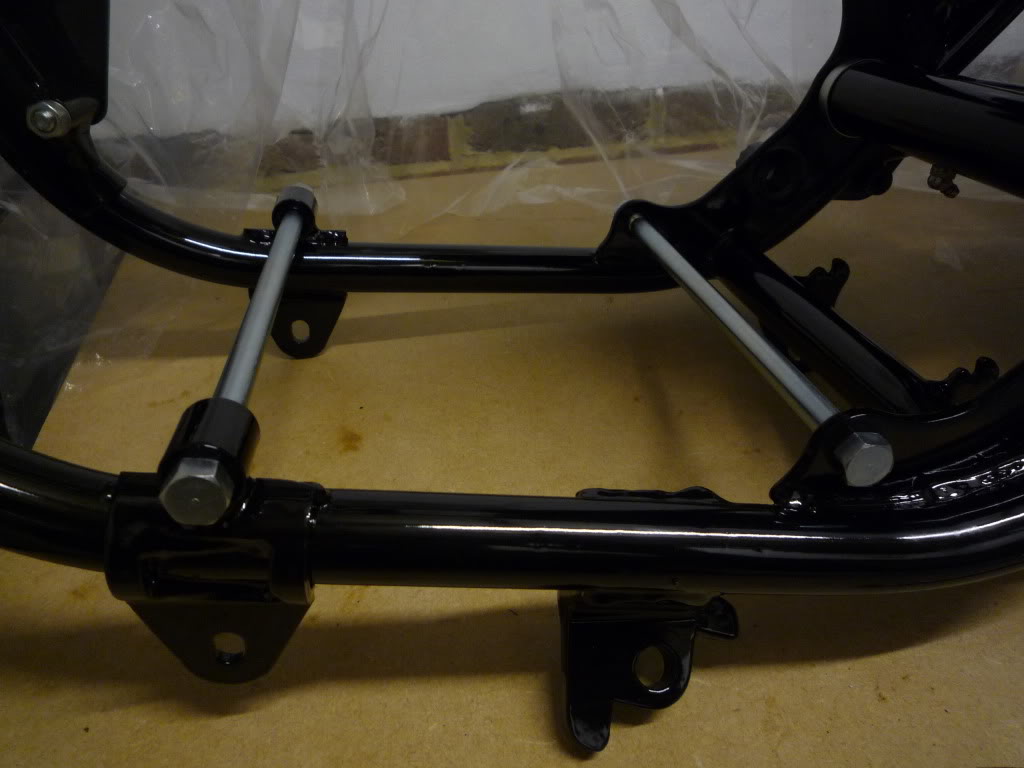
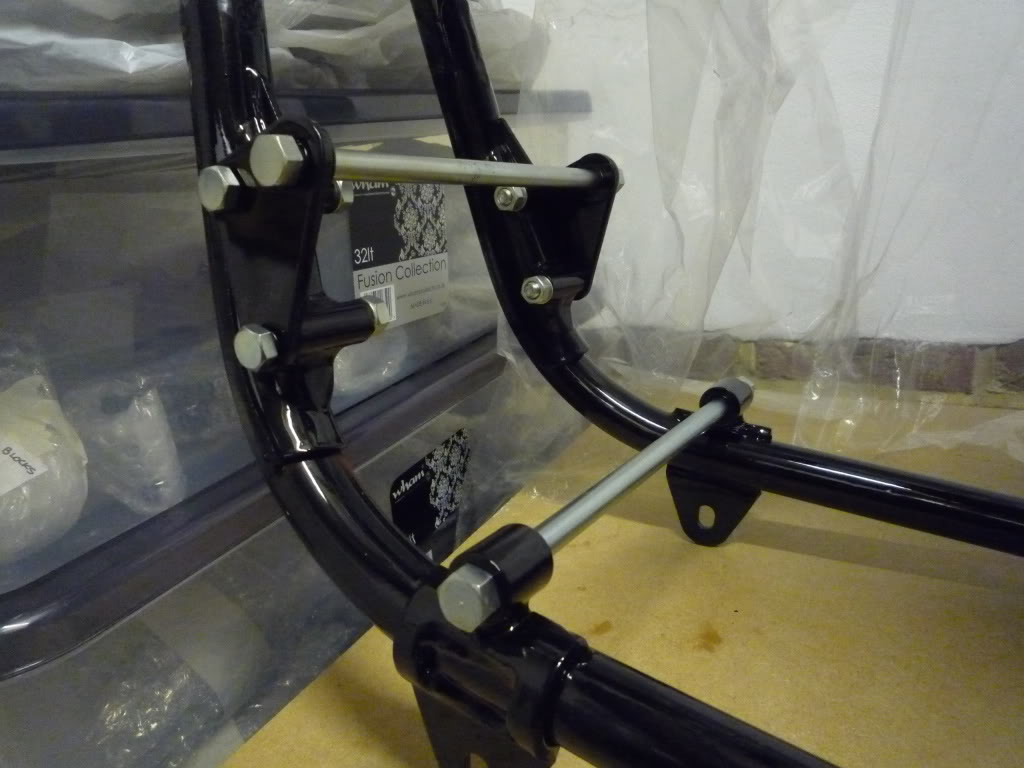
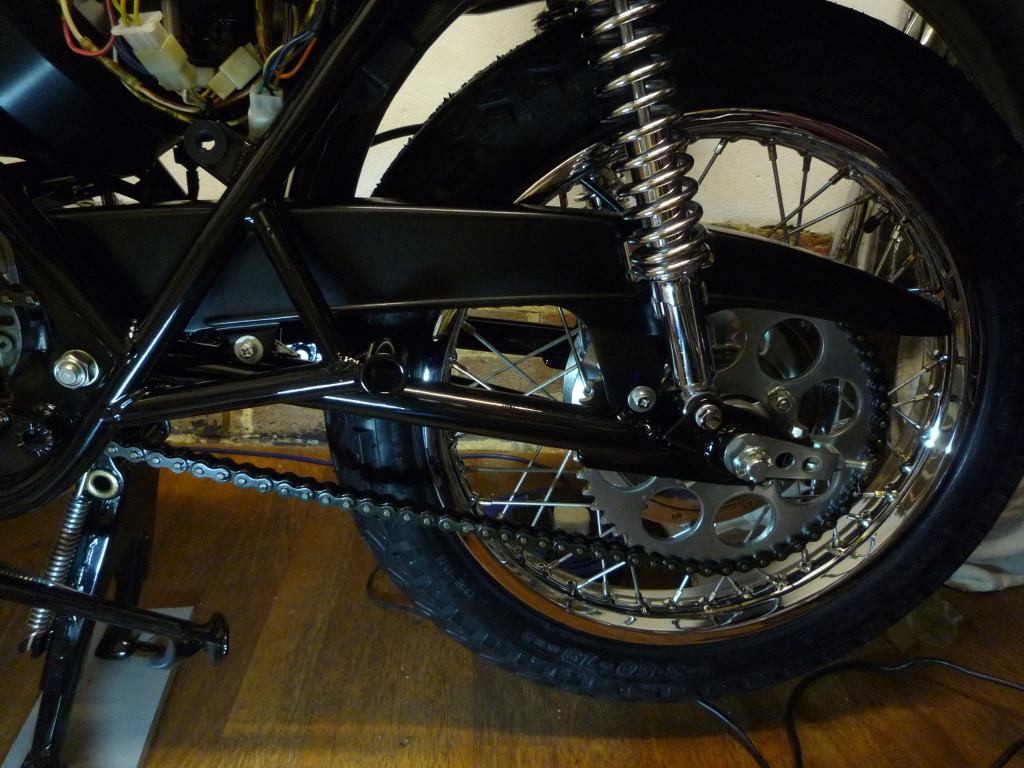
Made up some stays to hold the swinging
arm in place till I get the shocks sorted, and also fitted the newly chromed
grab rail.
Missing Tacho cable guide now nicely in place (Thanks Simon) means another thing
ticked off the missing list.
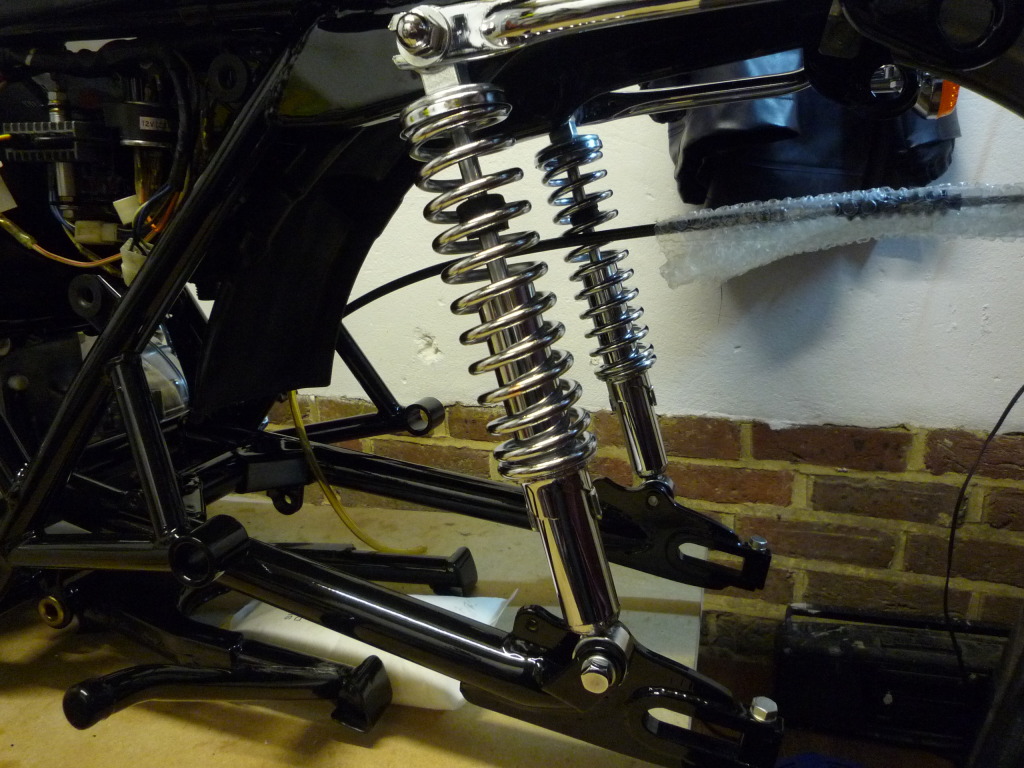
The bike now has a lovely gleaming set of
shocks (thanks Simon) as the originals were beyond repair, fitting these,
however, created the second hickup when a missing washer resulted in the chrome
cracking on the top domed nuts
![]() my fault oh Bu***r these I guess will have to be replaced too....... but on the
plus side Shocks are lovely
my fault oh Bu***r these I guess will have to be replaced too....... but on the
plus side Shocks are lovely
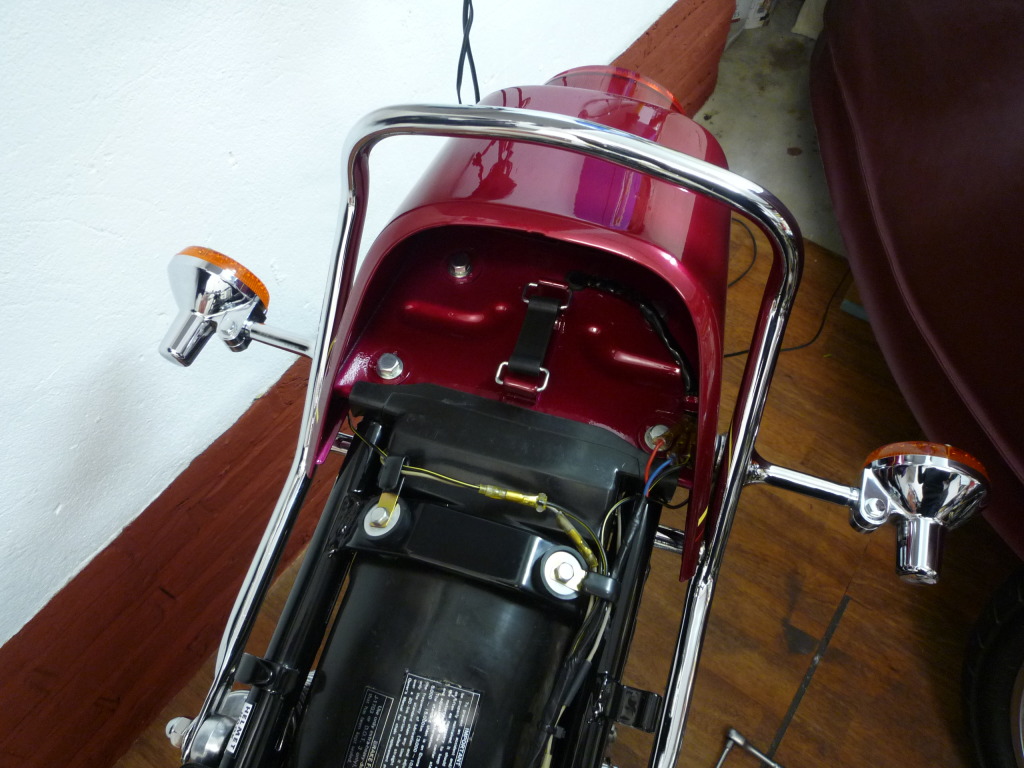
![]() Rear indicators are now fitted as well.......and seat in place
Rear indicators are now fitted as well.......and seat in place
Had to figure out how to get the bike off the workbench and onto its wheels, its amazing how heavy it had become, decided to put the front wheel in first. Then with the help of a friend we spun the work bench, fitted the rear wheel, then lifted the back up and pulled the bench out from under the bike, luckily the centre stand spring wasn't fitted and the stand dropped easily into place supporting the bike as we lowered.
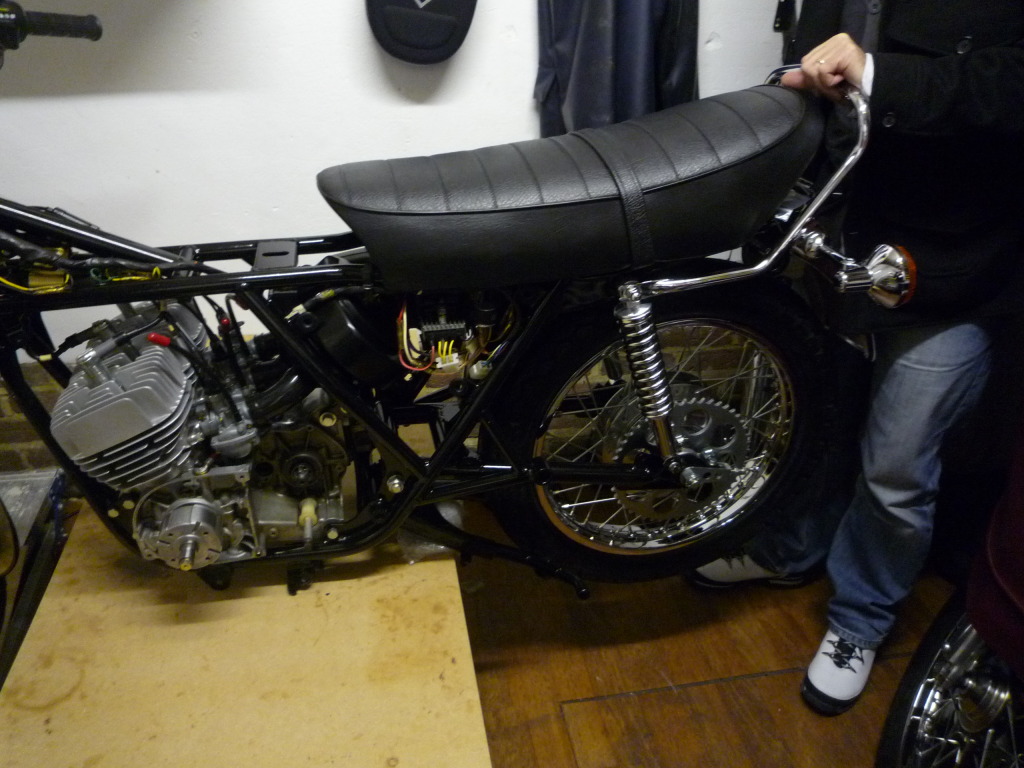
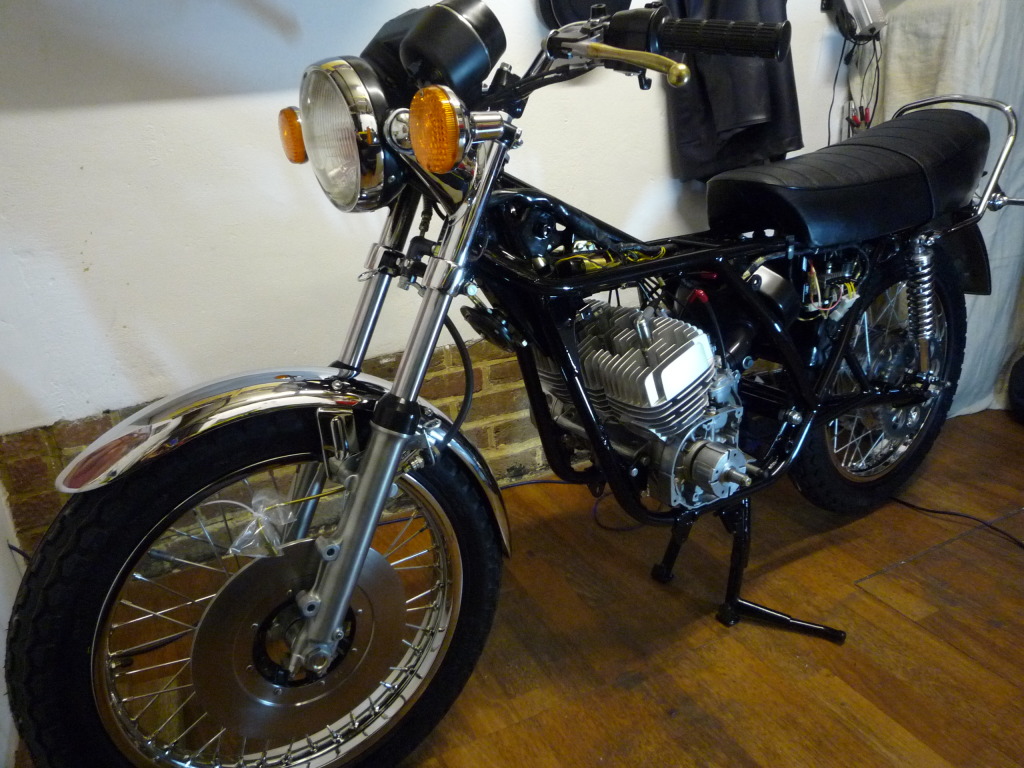
Perfect and suddenly the KH came alive
again
![]() Very chuffed indeed
Very chuffed indeed
![]()
Fitted the clutch cable and mechanism and adjusted it up, must say it feels like
brand new so very happy. Other small jobs include Fitting Side stand and spring,
centre stand spring, torque arm and rear brake cable, and rear brake switch
spring. Lots of little jobs which all make a difference, the pile of bits left
getting smaller all the time but still adding to the never ending shopping list.
Must think about getting a chain on her soon.
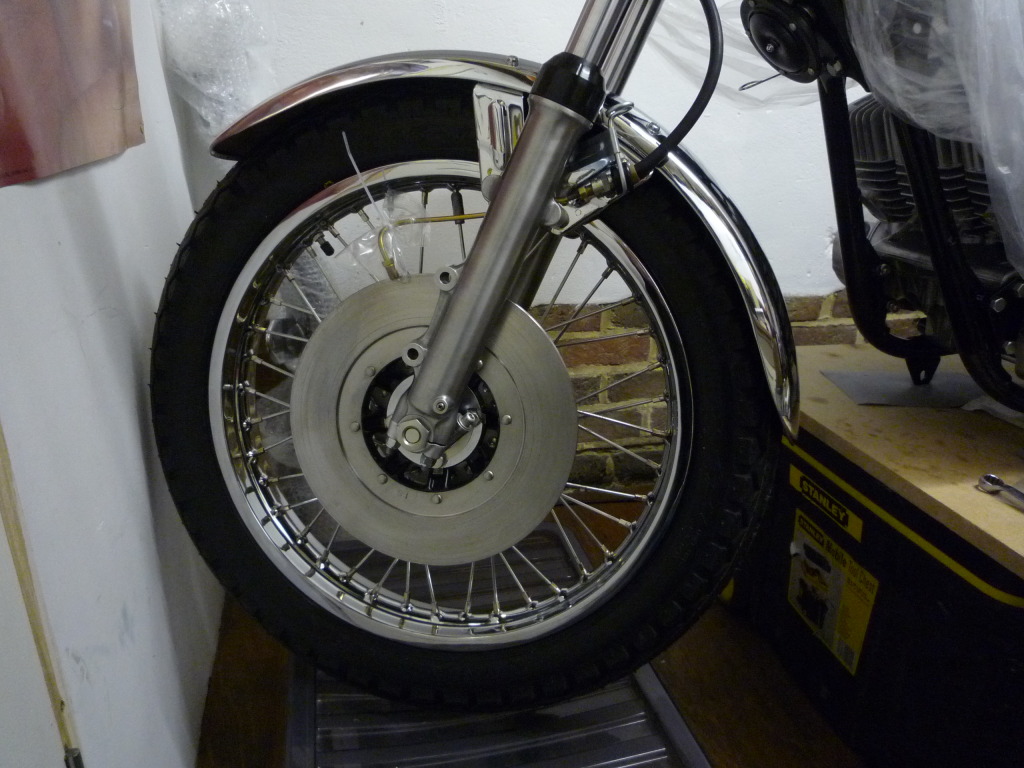
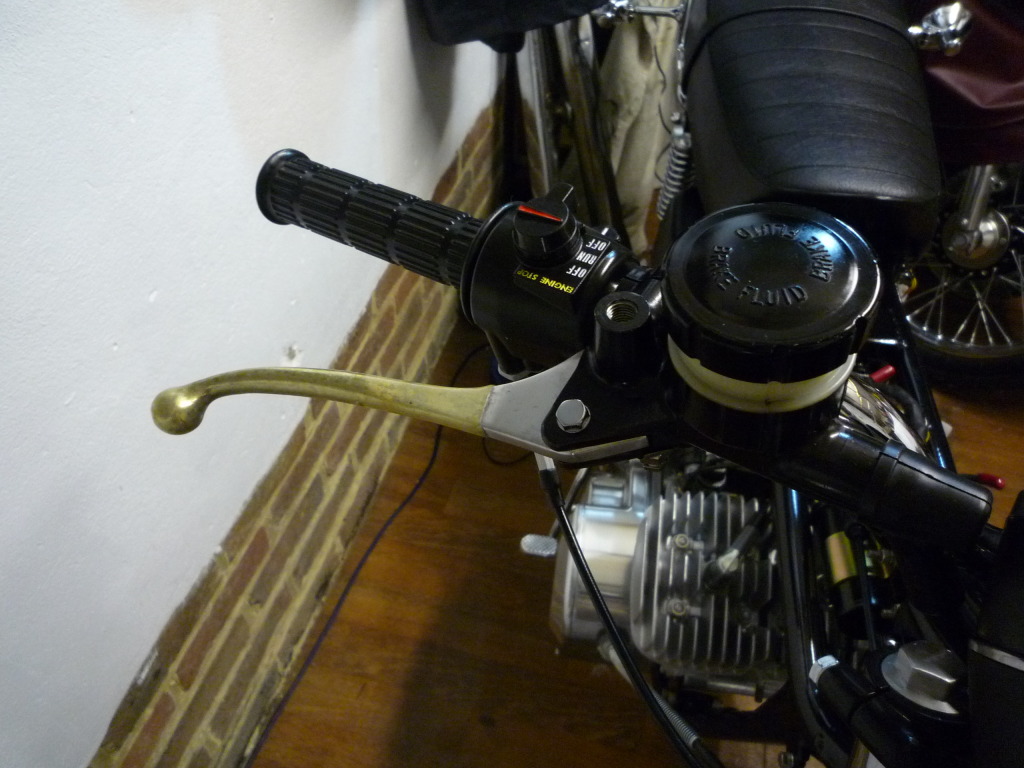
Brake hose connected up and a new speedo cable fitted also (thanks Santa)
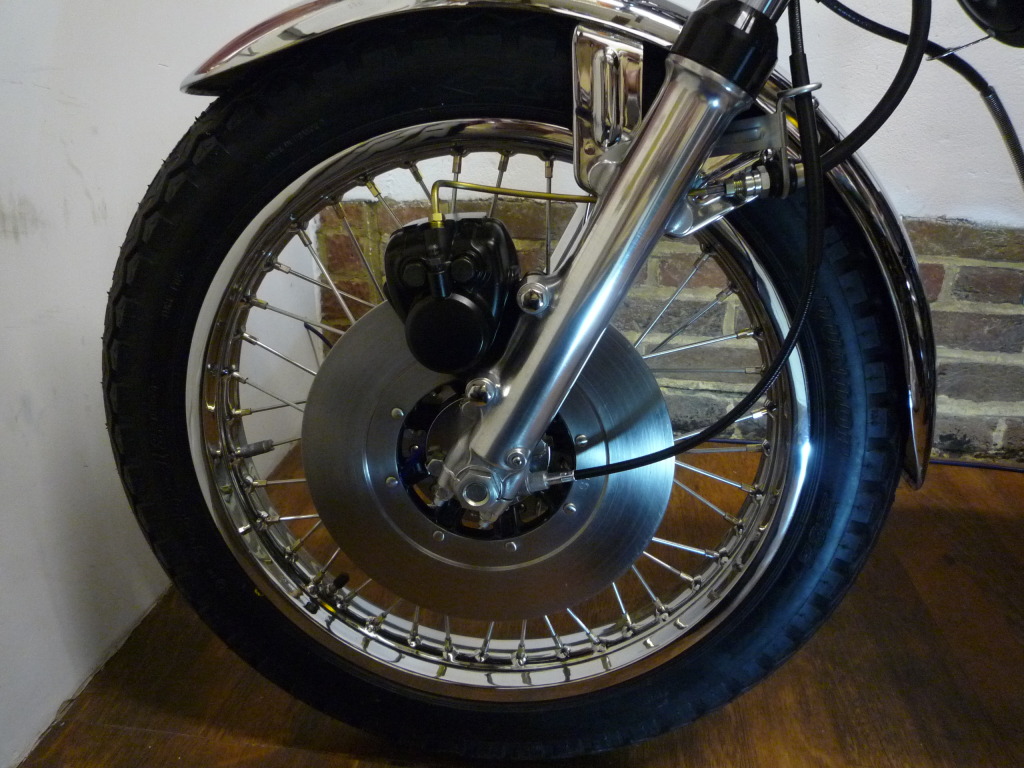
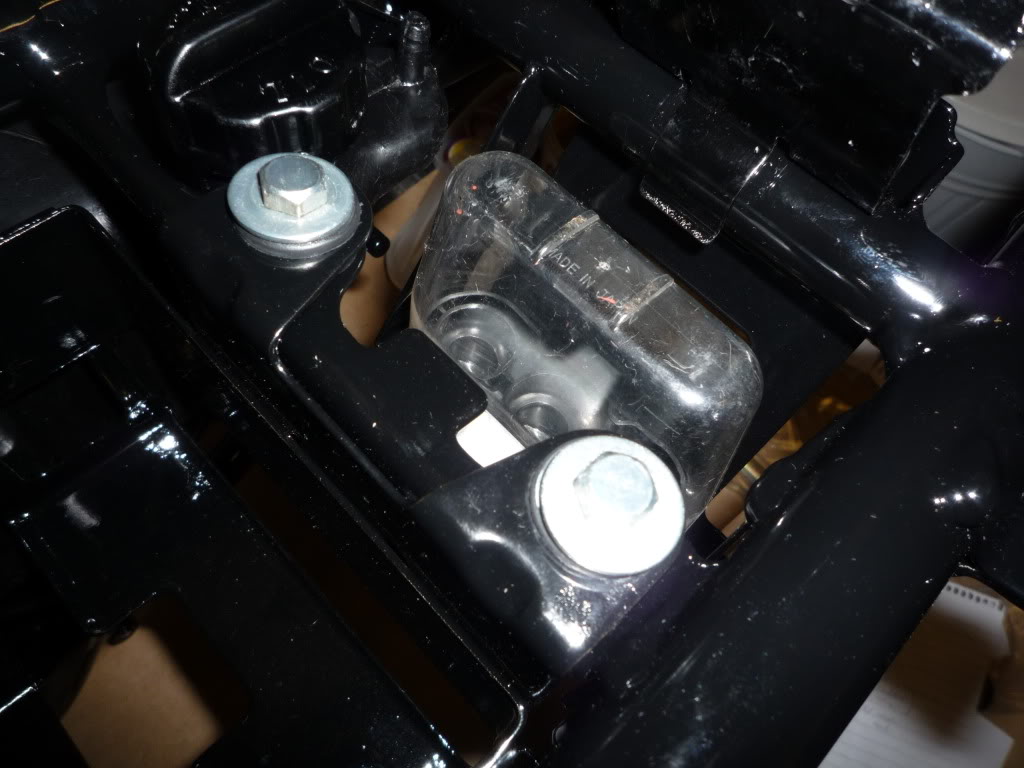
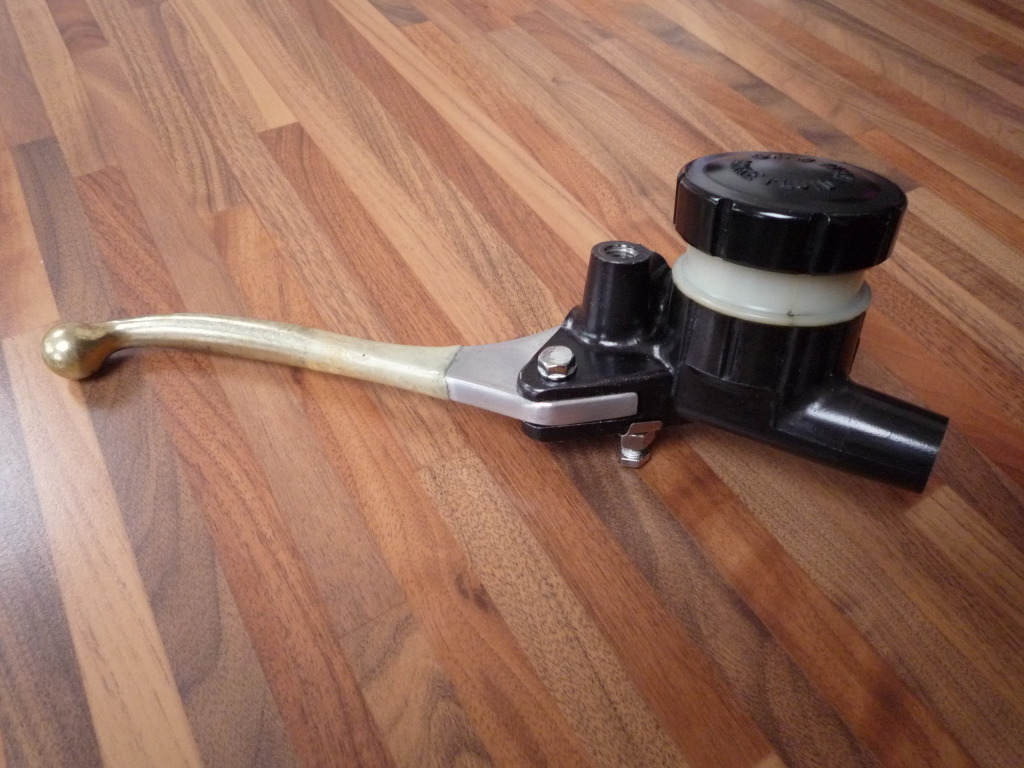
Master cylinder was reassembled with New seal kit (thanks Simon) a nice fiddly job and then fitted in place.
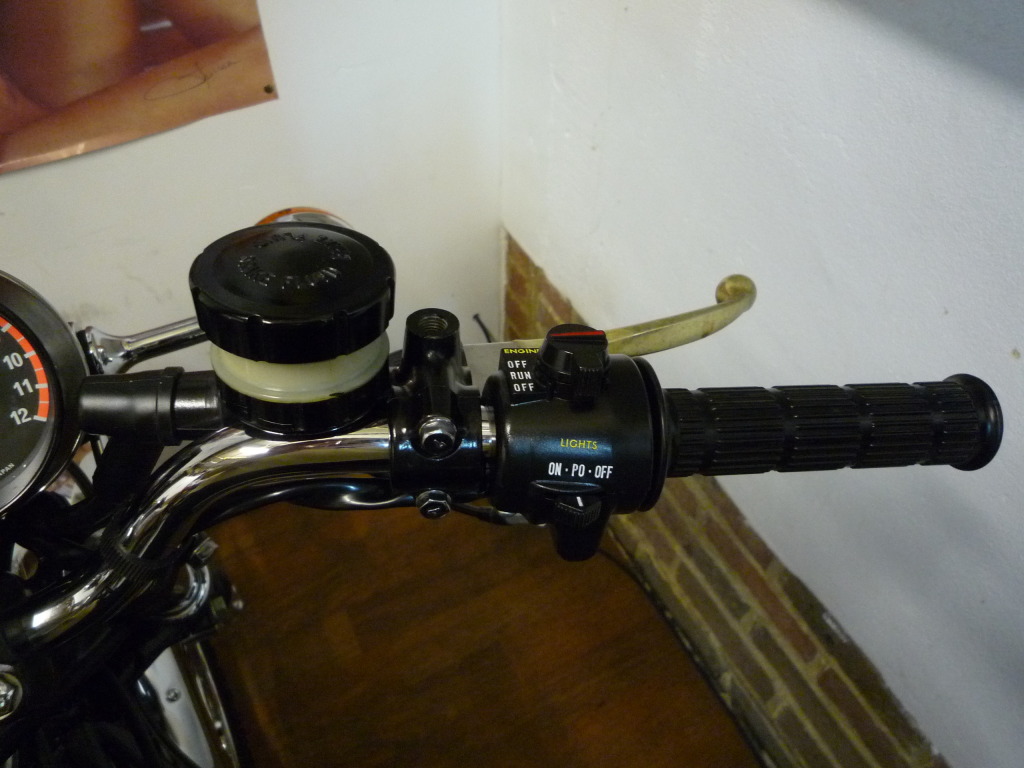
Also made time to touch up the Kill
switch red line and the light/indicator white lines to keep it looking ship
shape.
Santa also delivered me a rear chain so that was next to go on.
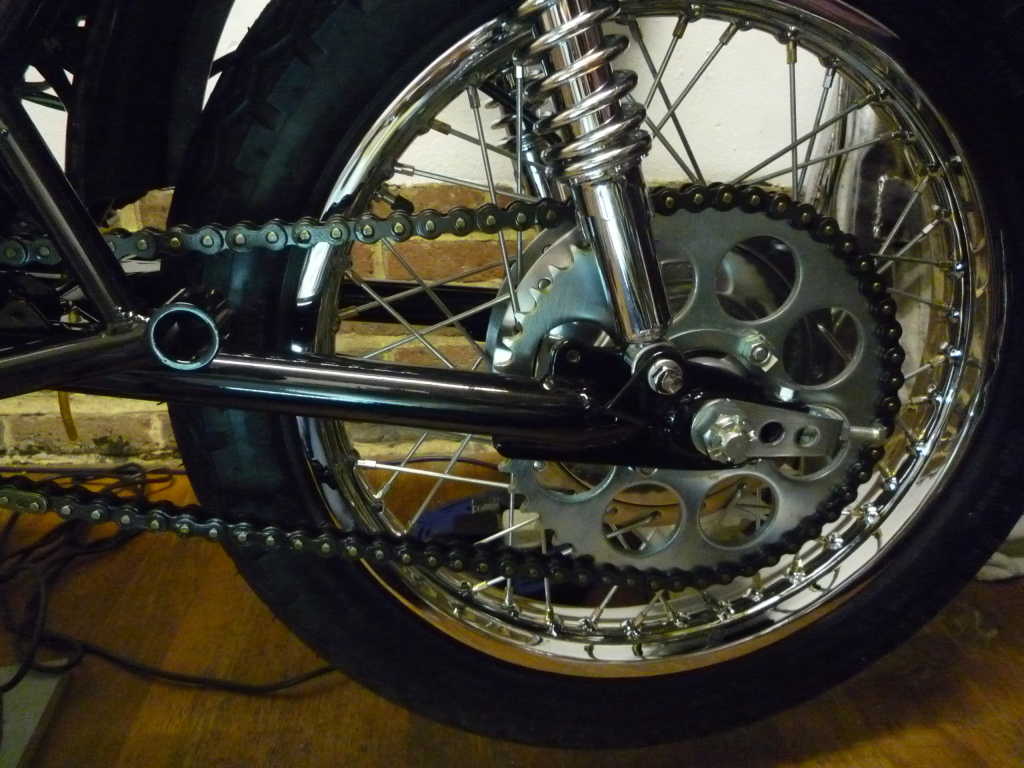
Followed by the chainguard Now the
chains fitted I can lock the front sprocket up and fit the outer casing and move
on to other things...
Get the front brake filled and bled etc, etc, the list goes on.
![]()
I have finally managed to sort out the
cable and harness routing which was giving me
issues moving the handlebars between locks, think I am happy now with the final
set up.
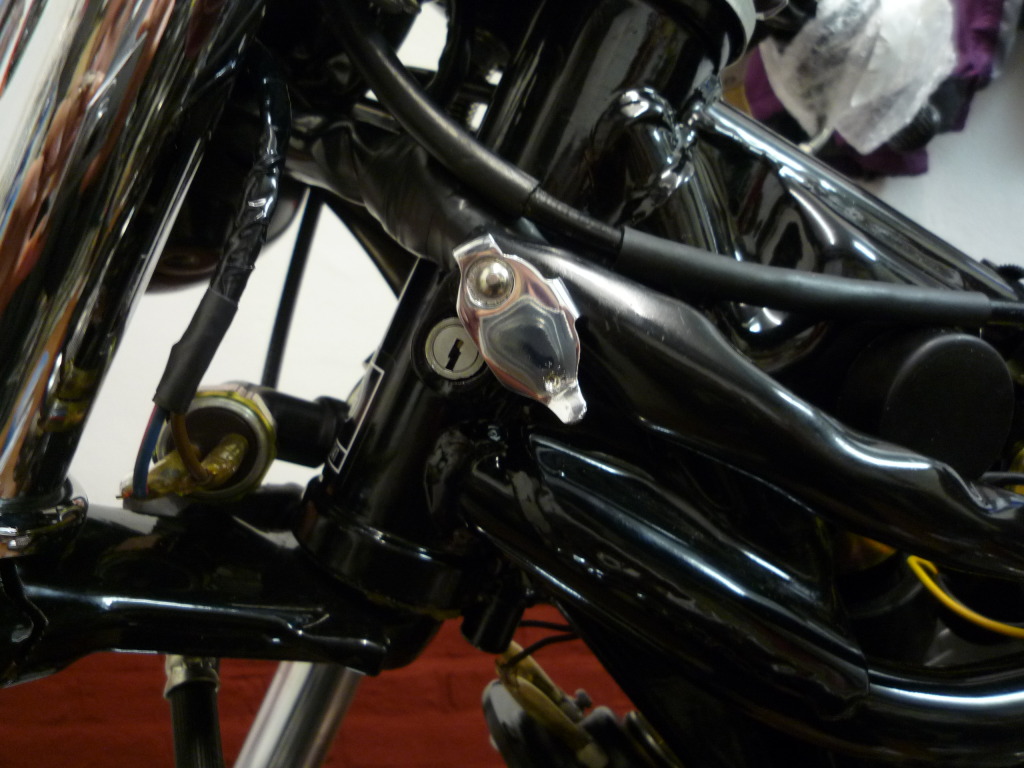
Powdercoating turned up today so I can
now re fit the rear engine mounting plates for a third (and hopefully)
final time, also received a new steering lock as the old one had to be drilled
out on stripdown.
Steering lock fitted with a jiggle along with the cover and rivet.
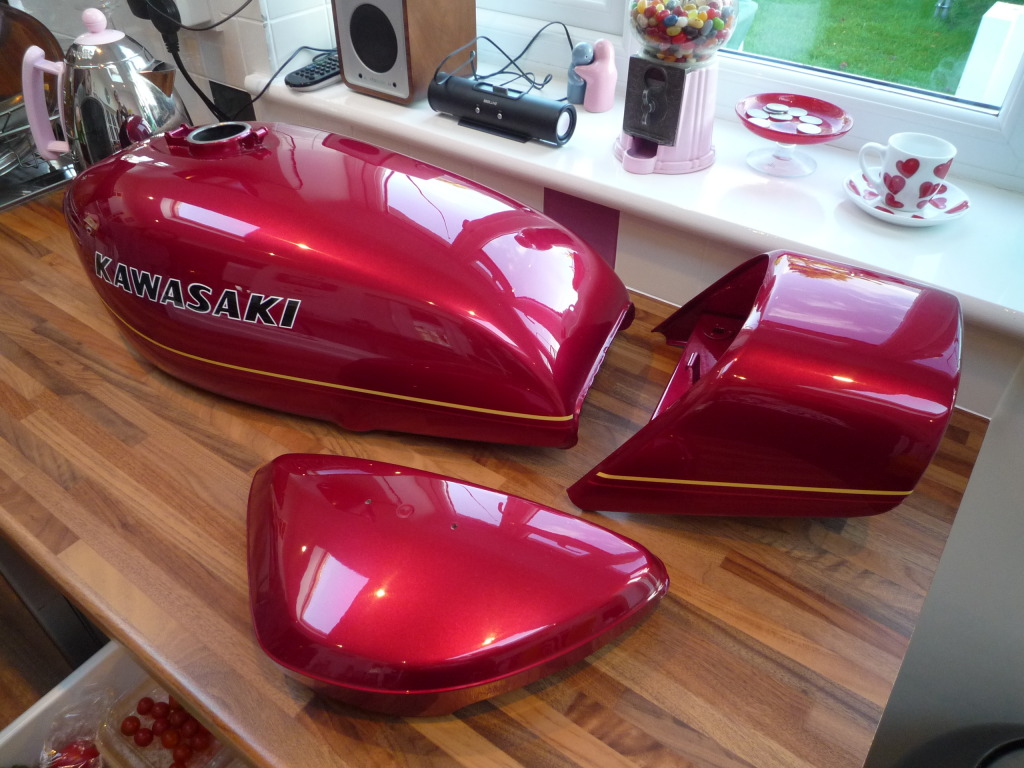
And after a few anxious weeks waiting I finally picked up my new paintwork, very happy with it and can't wait to see it on.
Tailpiece and light unit went on next which enabled me to tidy up and finish the back end wiring.
Stuck a panel on to see how she looks. Still waiting for the Fuel cap and bits to come back then the tank can go on.
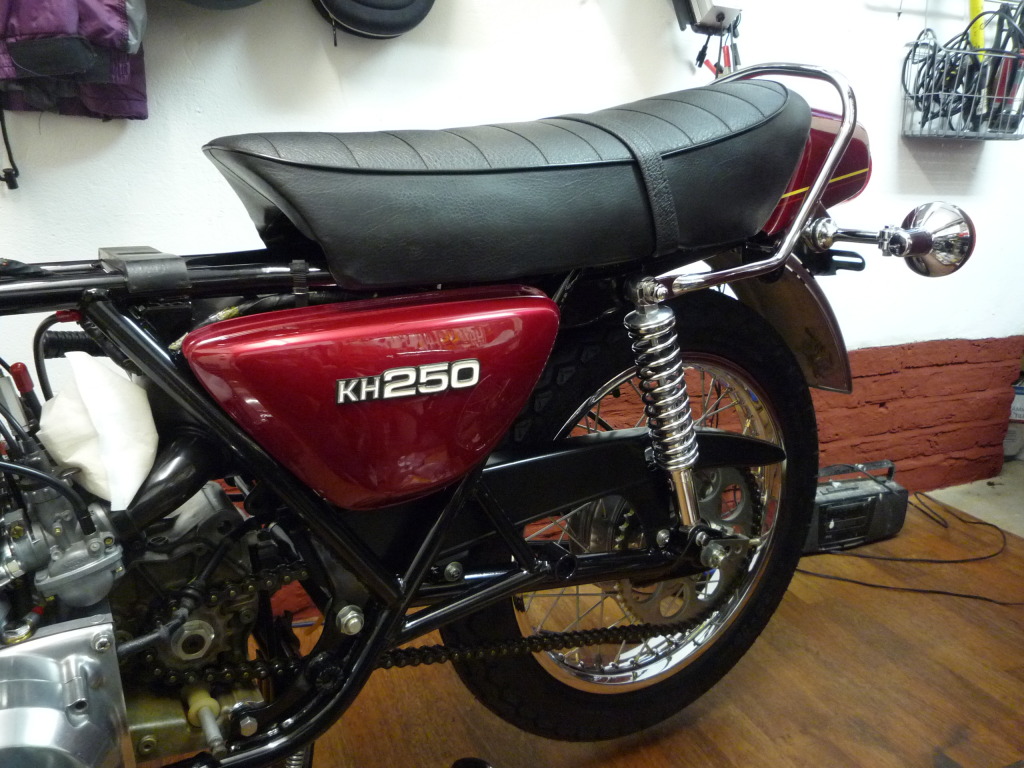
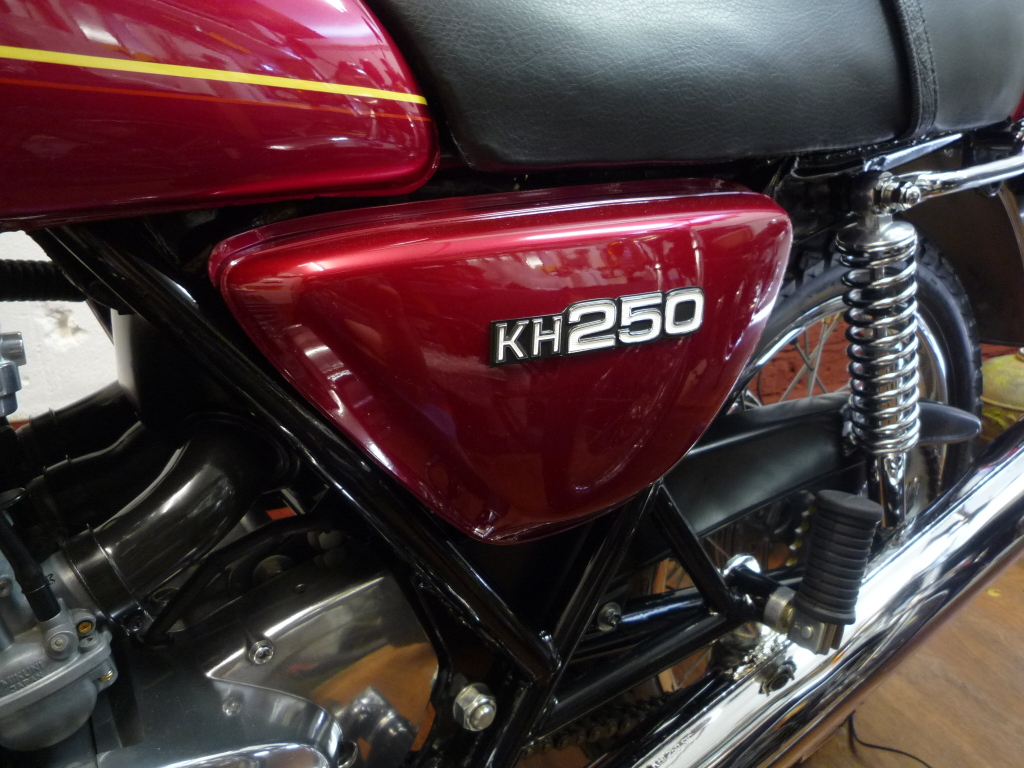
Side panels now fitted with new badges
and finish them off nicely.
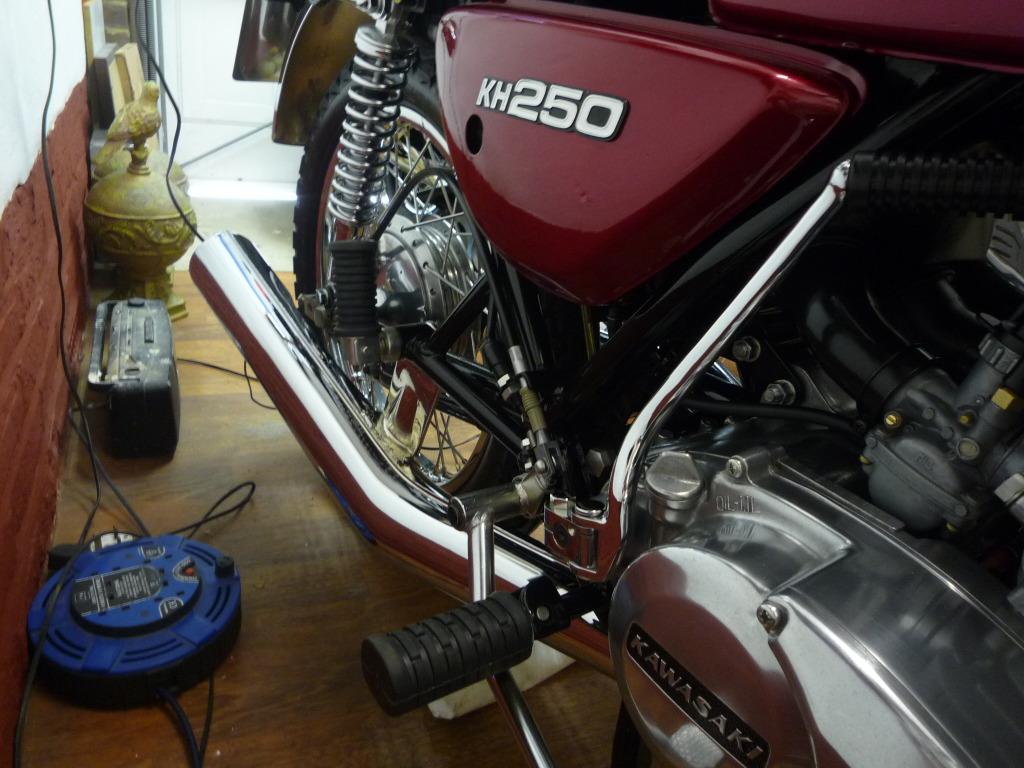
Right hand side looking very odd with one pipe missing
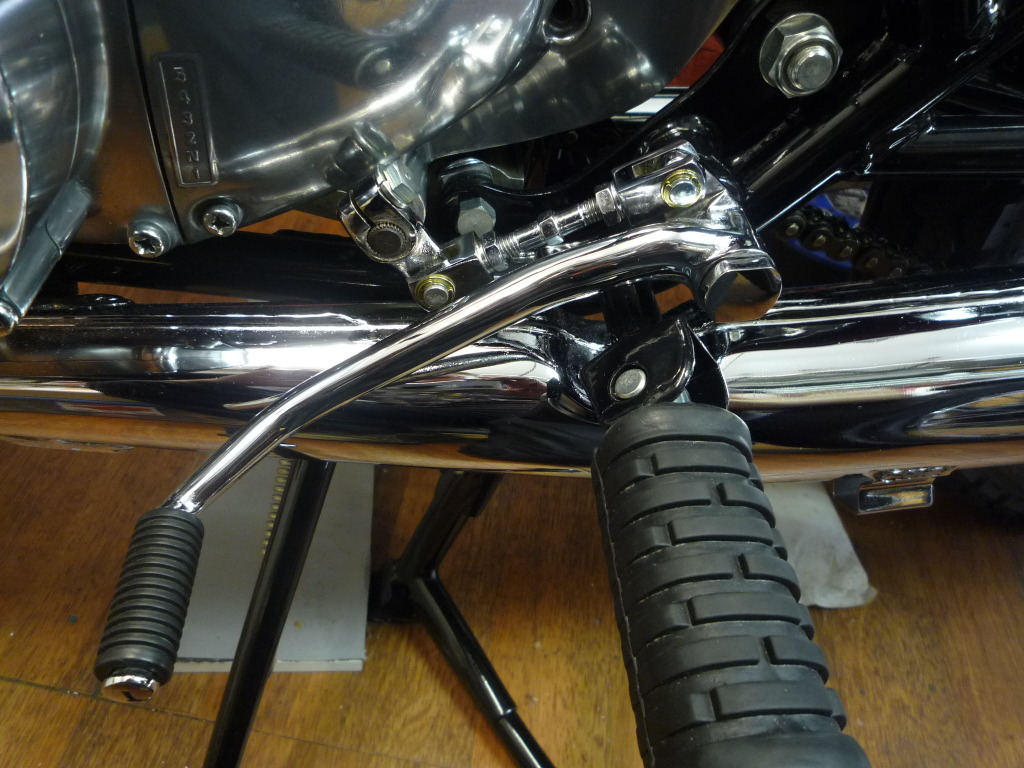
Exhausts seemed to have taken over my life but I have been progressing other bits and pieces along the way, gear lever and linkage fitted and set up.
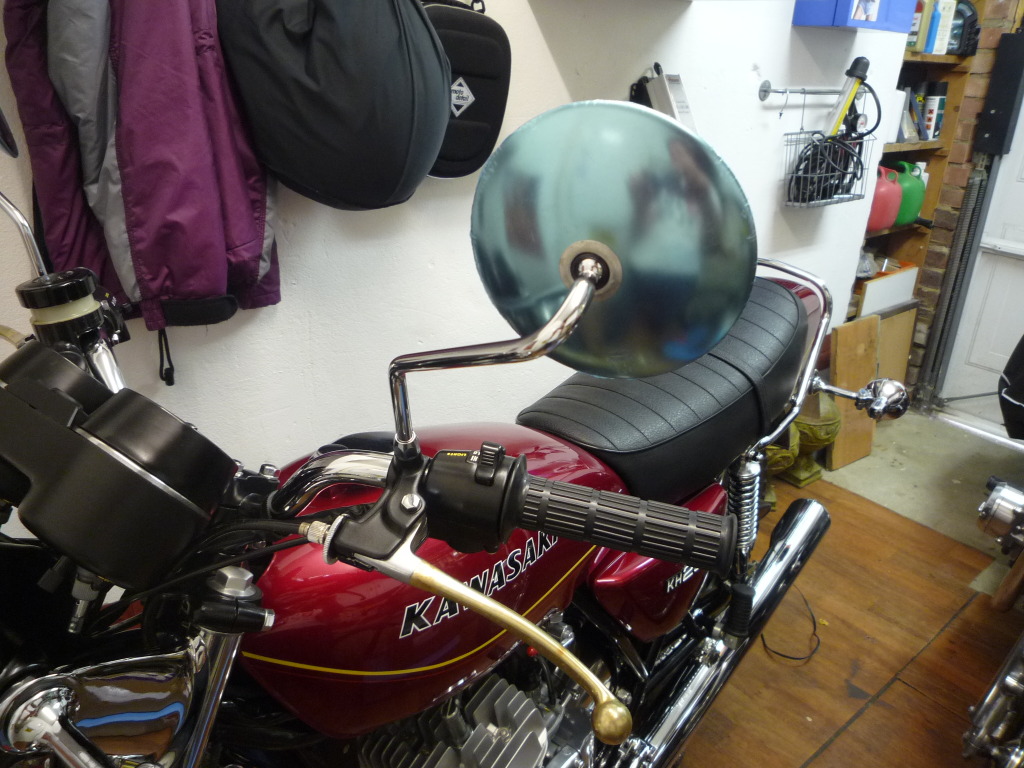
Along with some huge genuine mirrors which come with a natty blue backing
(should it stay or should it go?)

Now I need to get a battery sorted and
start testing, may try to start her with the spare pipe but really want to do it
with all three restored, we will see.
![]()