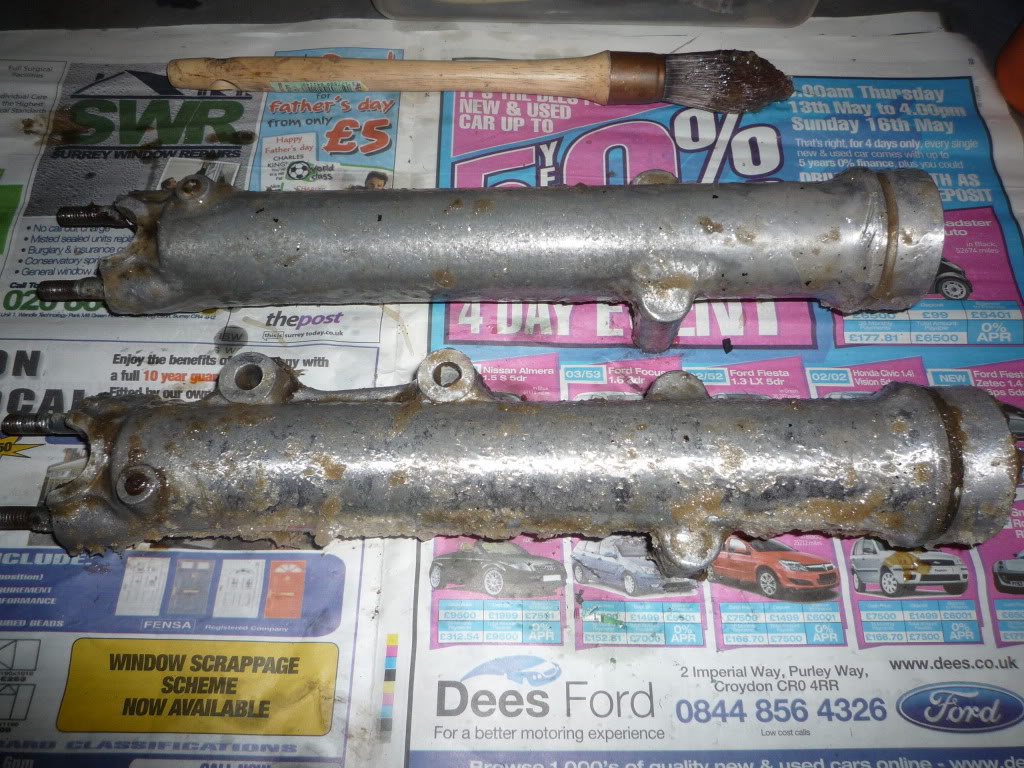
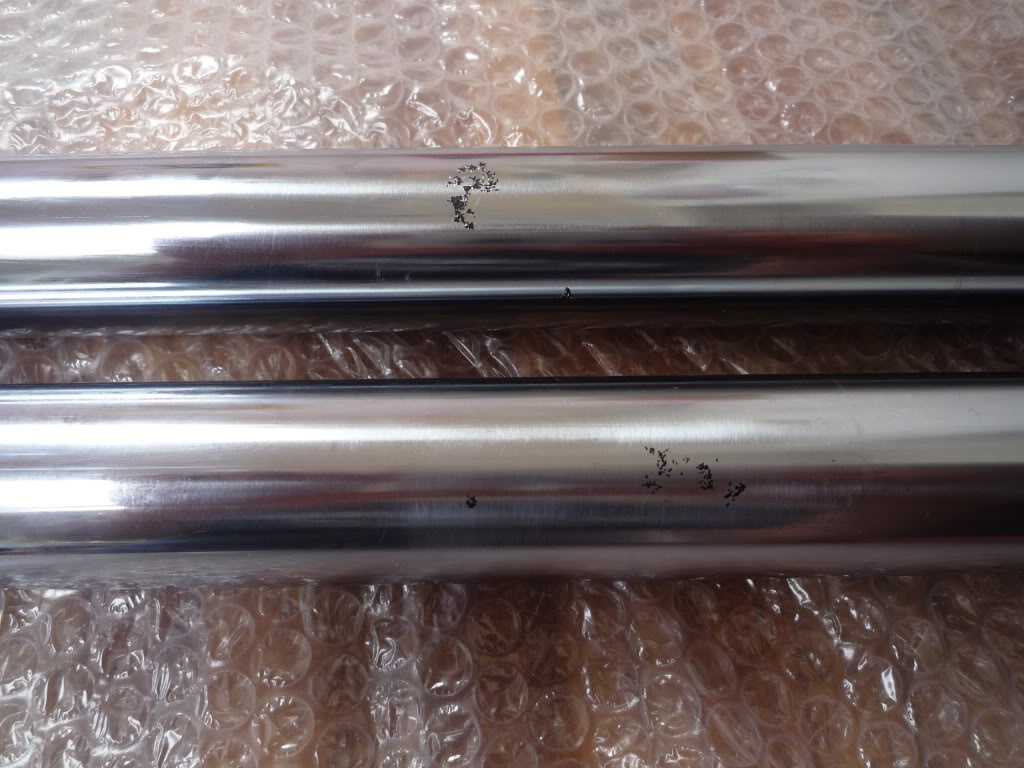
I started to strip the forks down as the Stantions were slightly pitted, this was a nightmare as i didn't have the right tools to undo the allen bolt which holds the two halves together. Deep inside the tubes on the damper unit there was an unusual headed bolt which I couldn't hold with a conventional socket, after scratching my head quite a few times and with the aid of a 6 sided, 14mm socket and a large club hammer I was able to bring two of the sides of the socket in to match the bolt head and success was mine
Before:
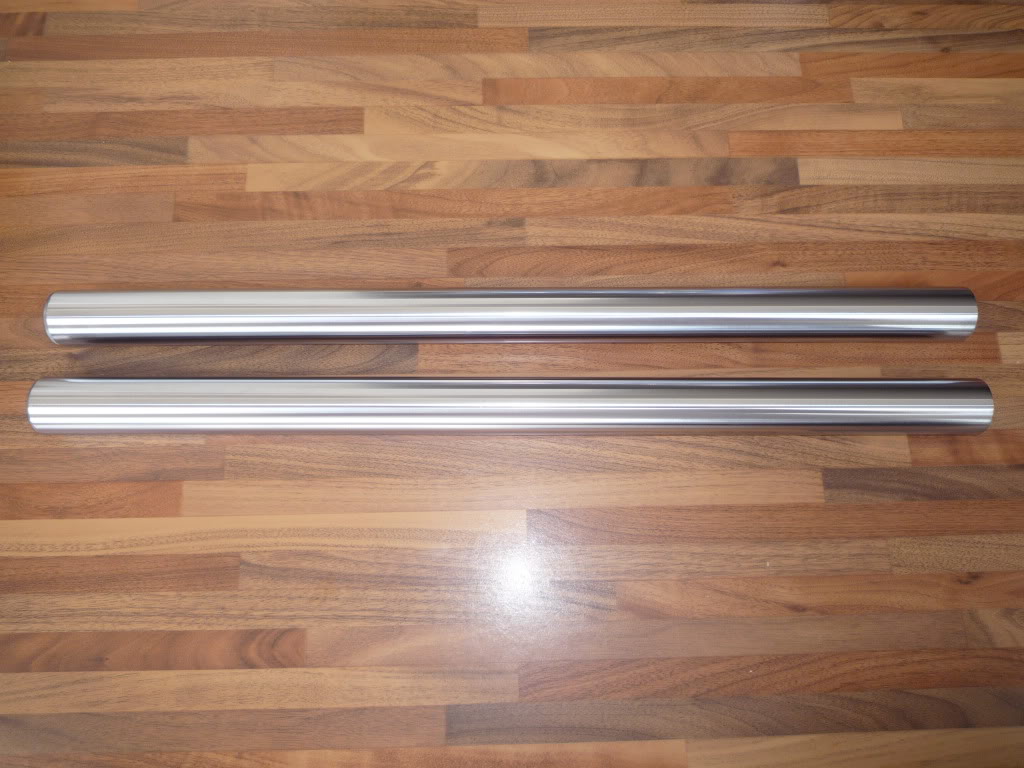
After:
Fork bottoms are now going to be stripped and a linished finish returned to them, stantions are with Philpots for repair.
Outers:
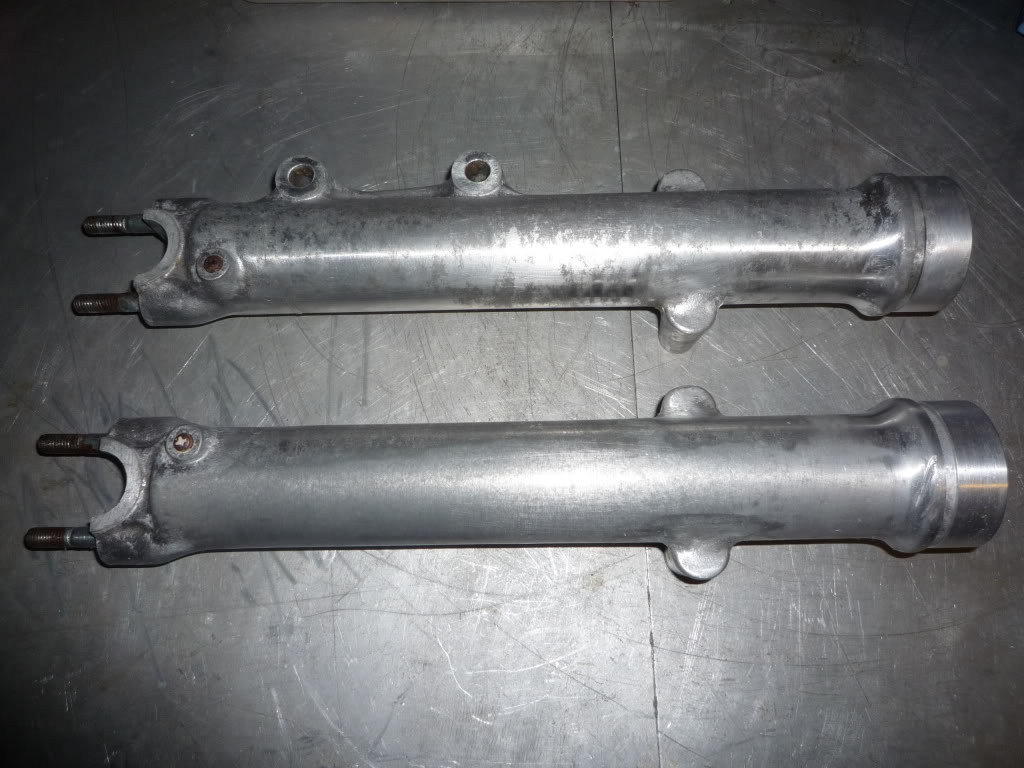
I have been working on the fork bottoms whilst the stantions are away, after paint stripping them the corrosion was cleaned up and some damage removed from the top of one of them. I am aiming for a linished finish this time so I am not going to polish them up at all, studs still to be finished as i couldn't remove them. The top caps have also been cleaned and lacquered. The fork legs have been Lacquered again for the last time ( I know but what the hell you have to try don't you) after the corrosion preventative treatment, we shall see.............time will tell. I had already fitted new seals using the hot water technique (and a mug of tea) and so.
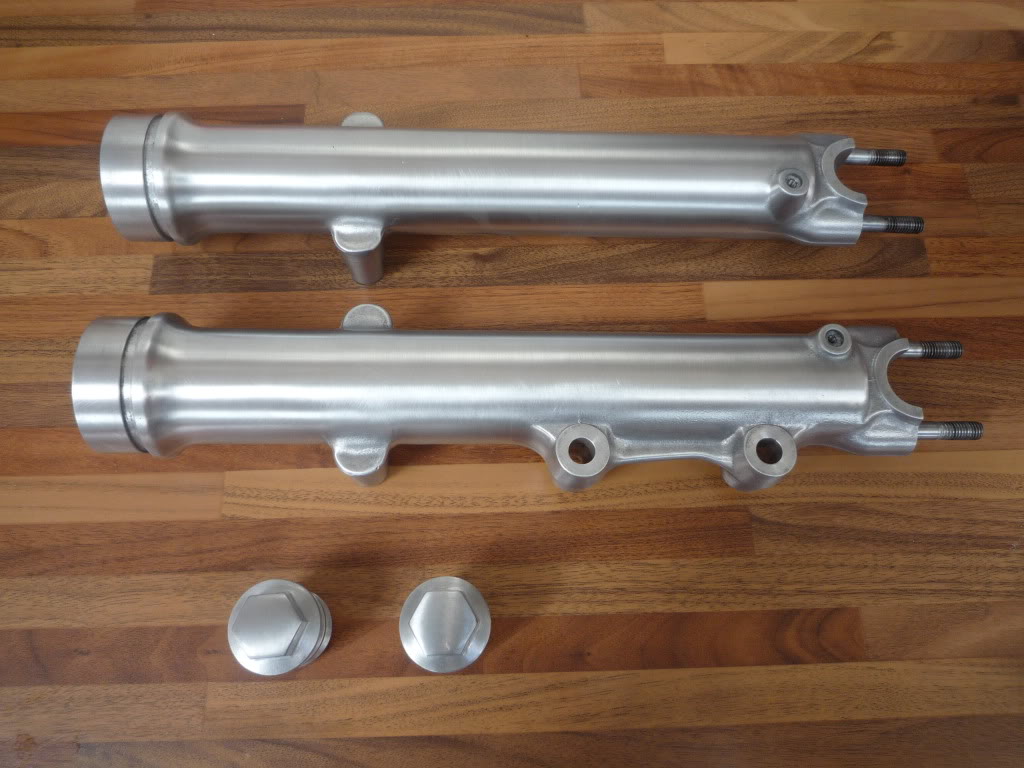

Here's some of the finished articles in the drying bay hardening off.
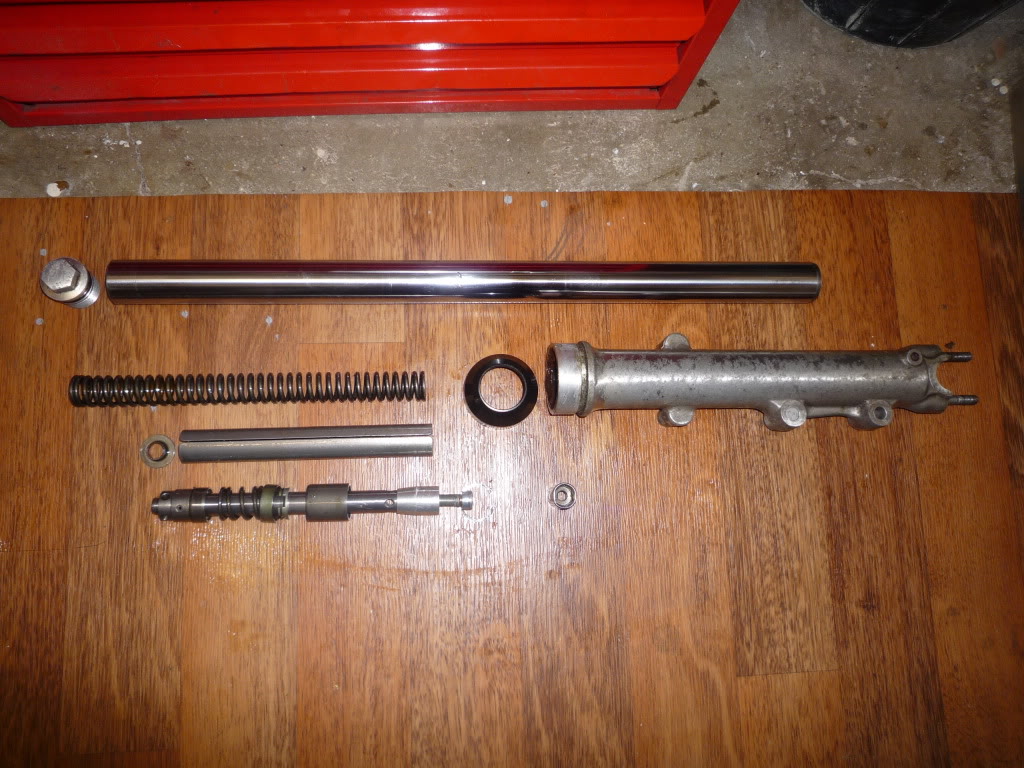
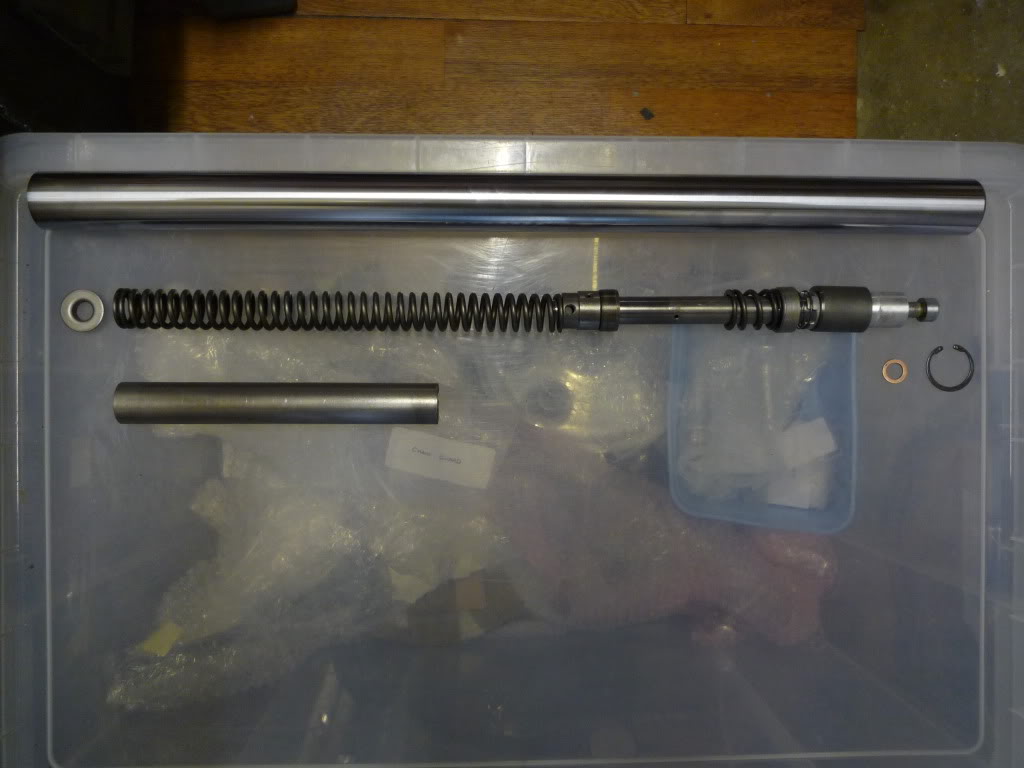
Inners Before:
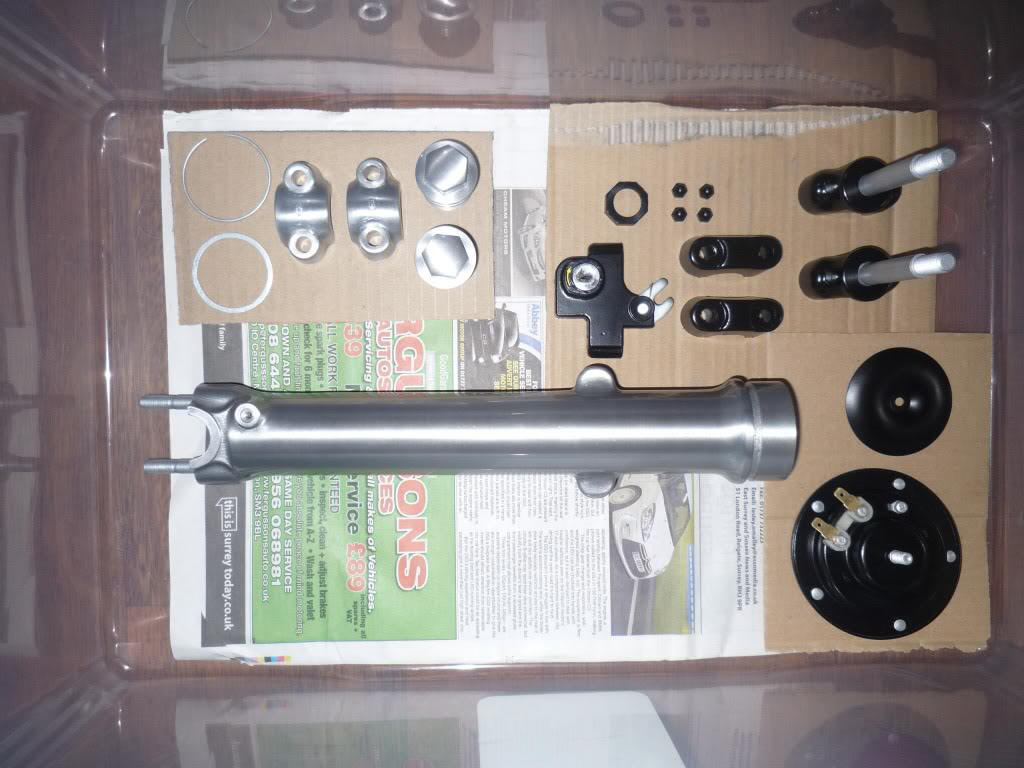
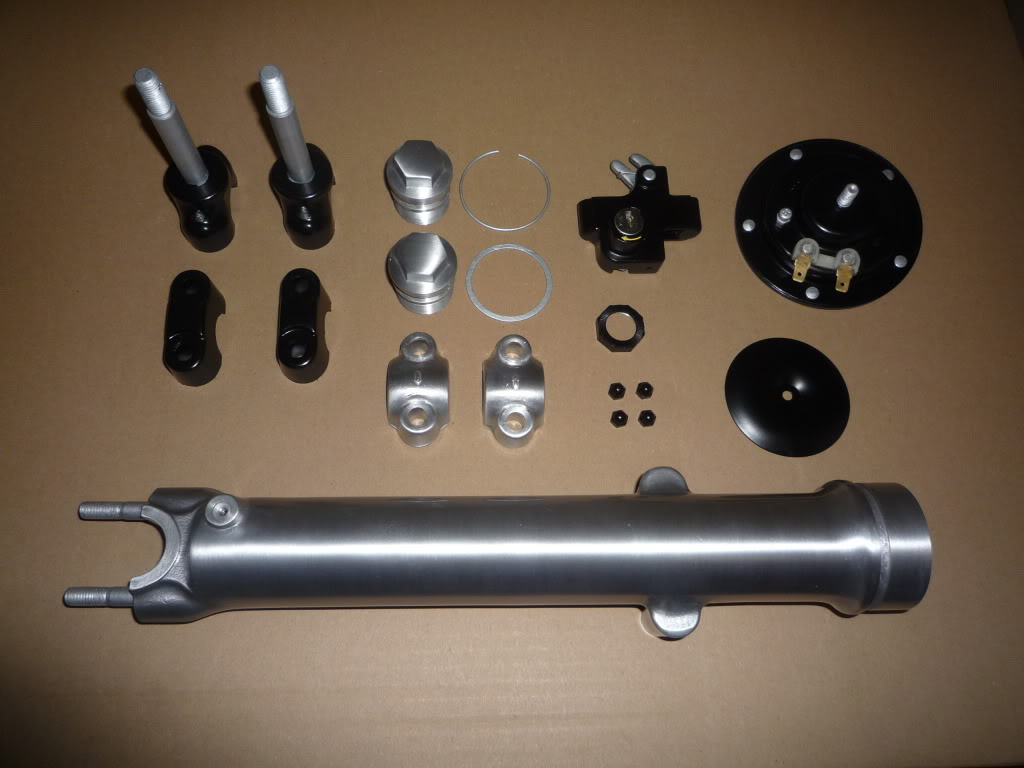
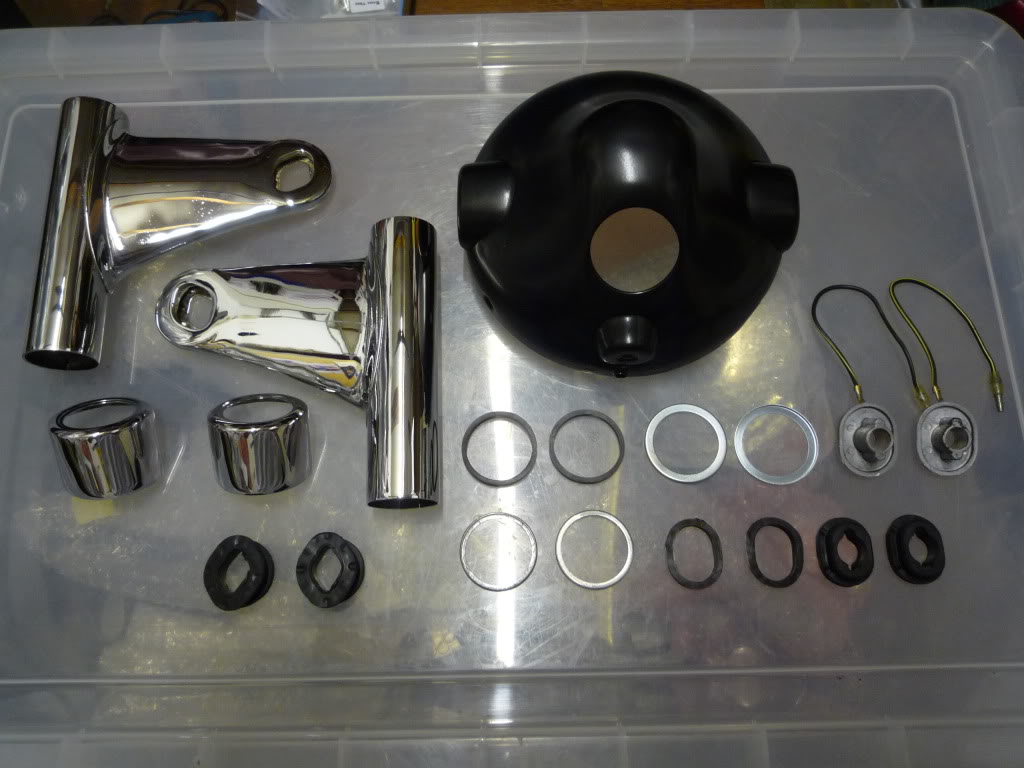
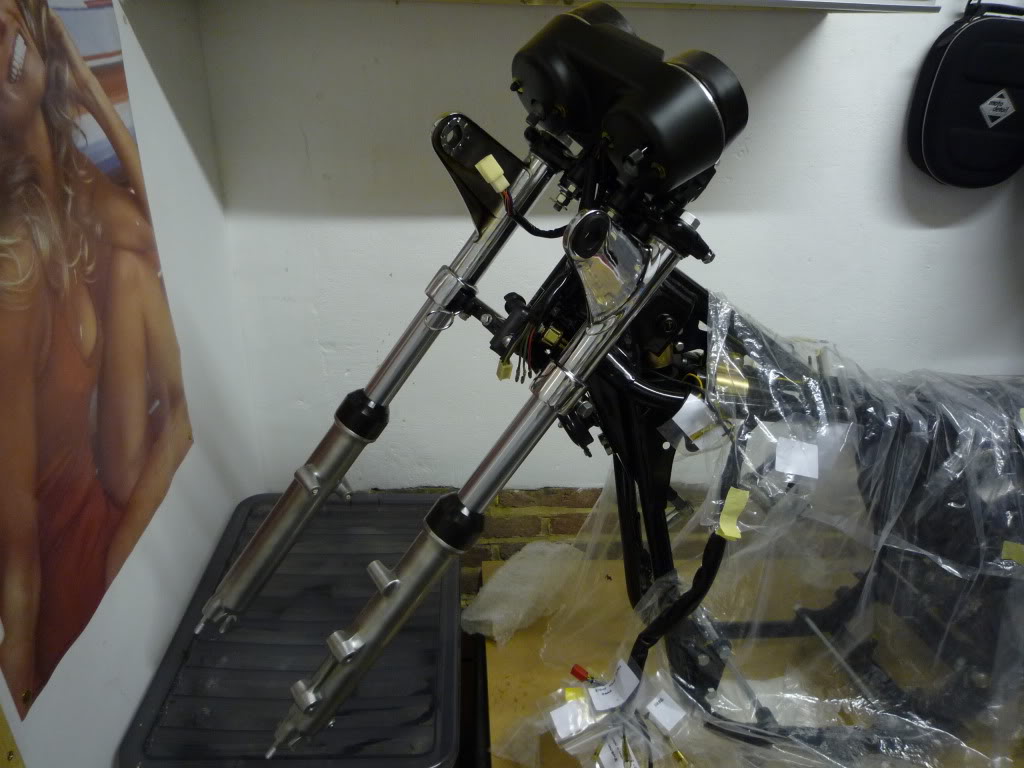
Wednesday was a good day look what the postman delivered..... Everything was laid out....... Ready to assemble.
Inners After:
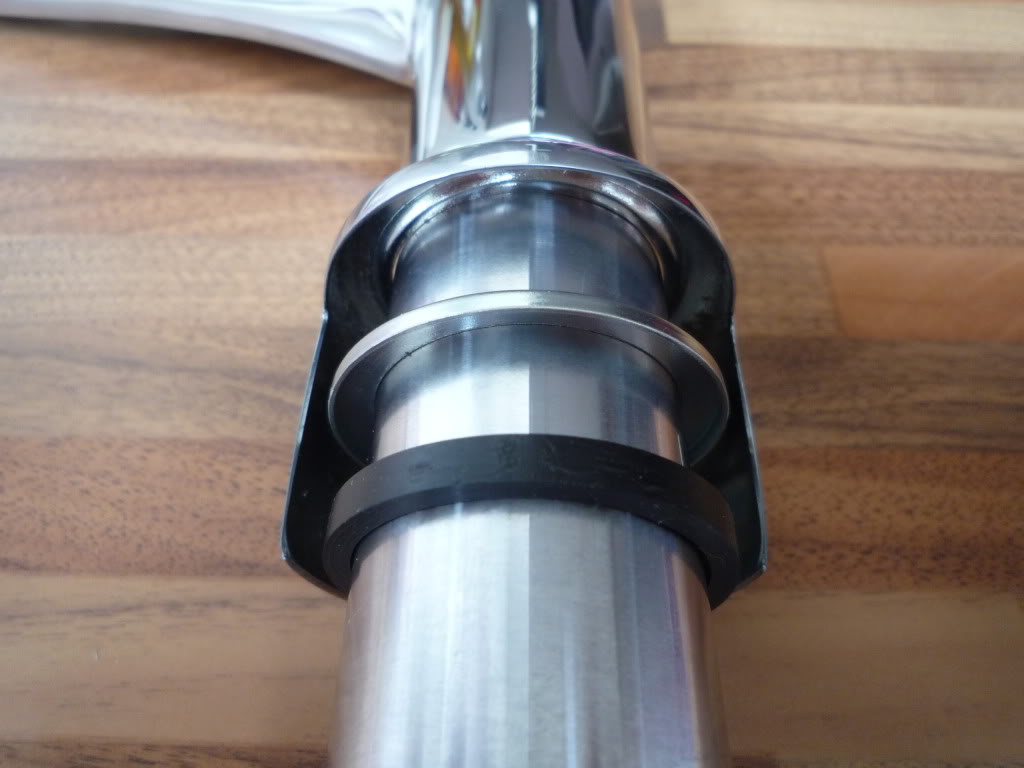
I fitted the damper unit first.
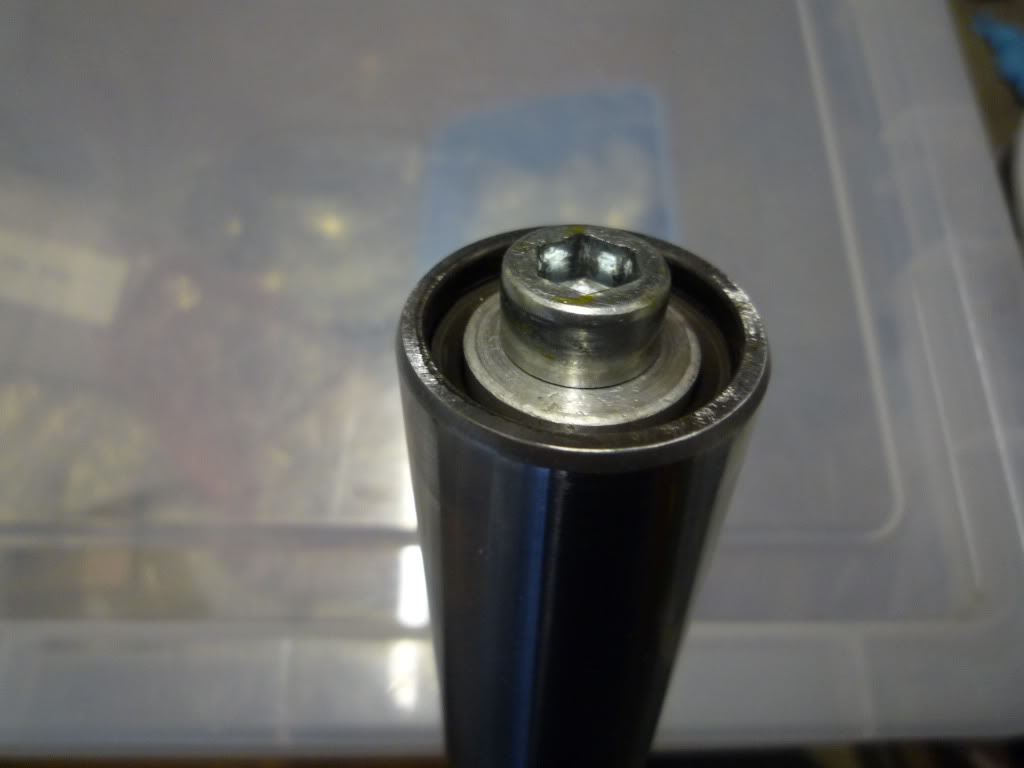
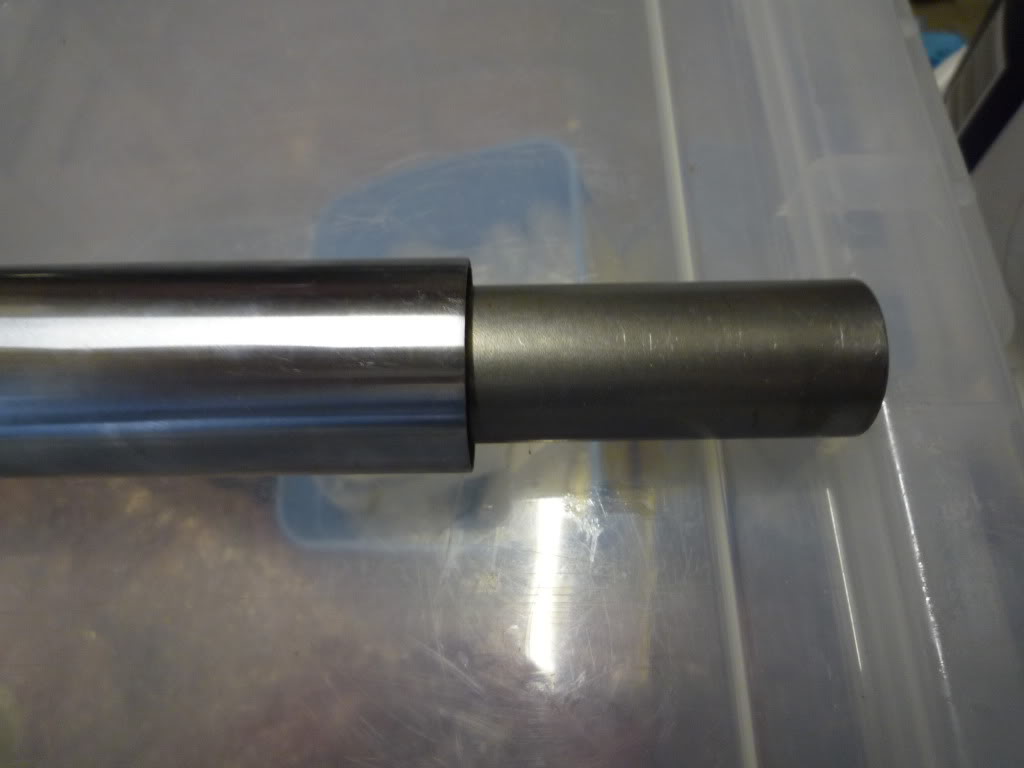
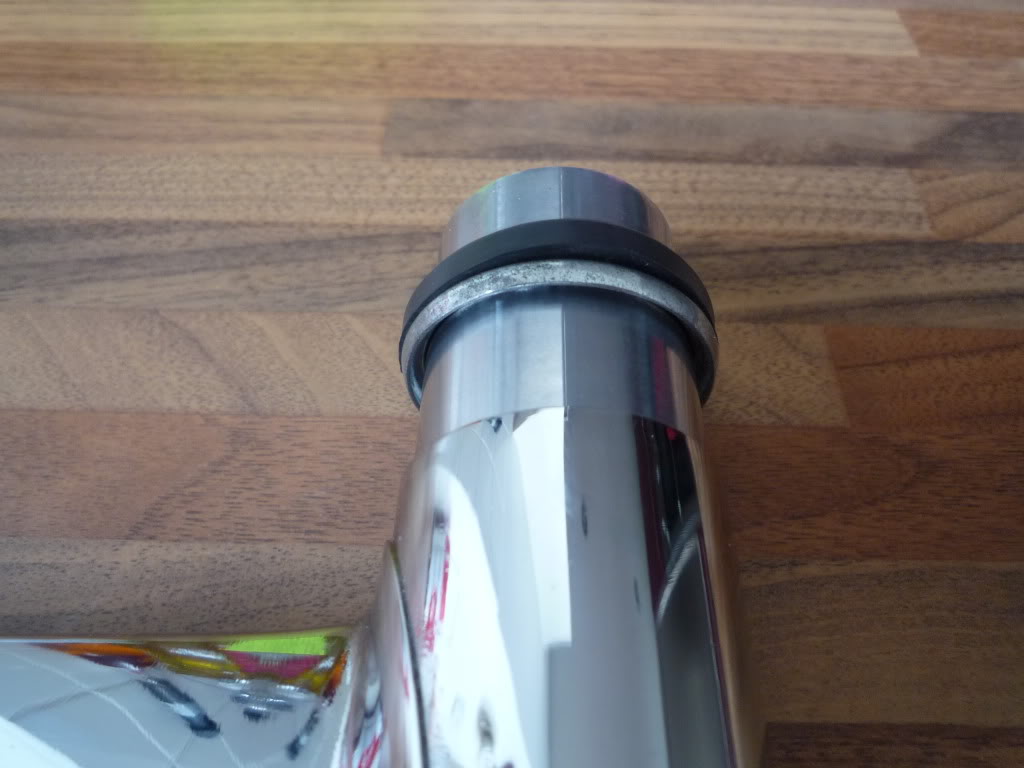
Followed by the circlip retainer. Then i offered up the stanchion to the lower leg.
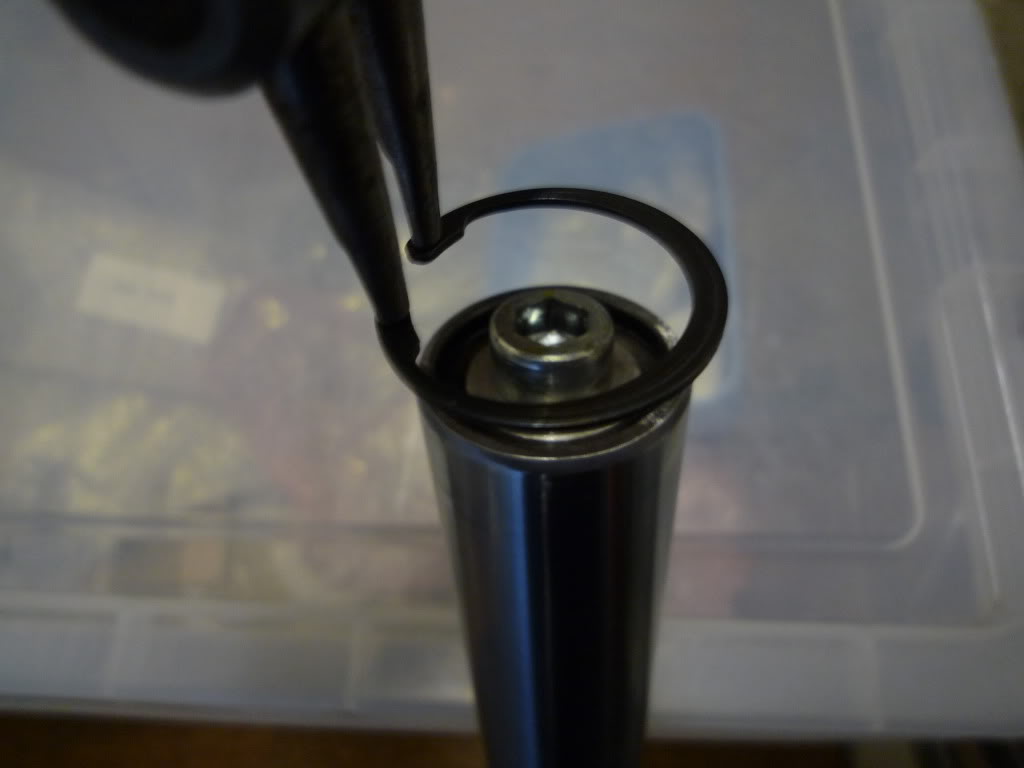
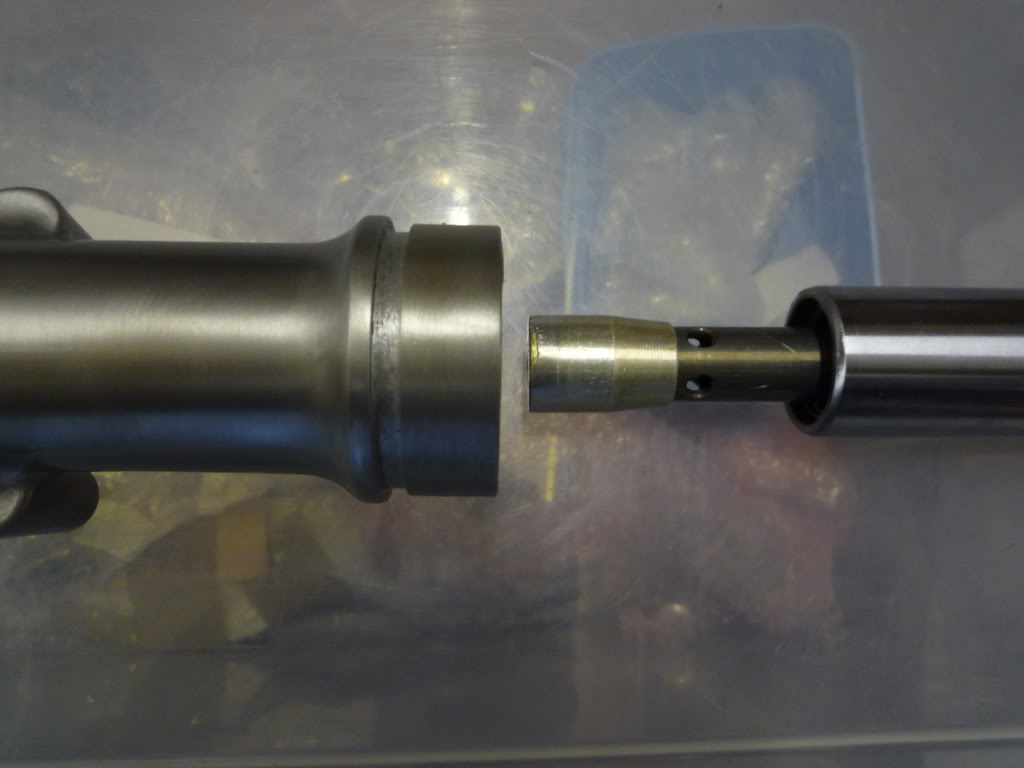
To be secured by the Allen bolt.
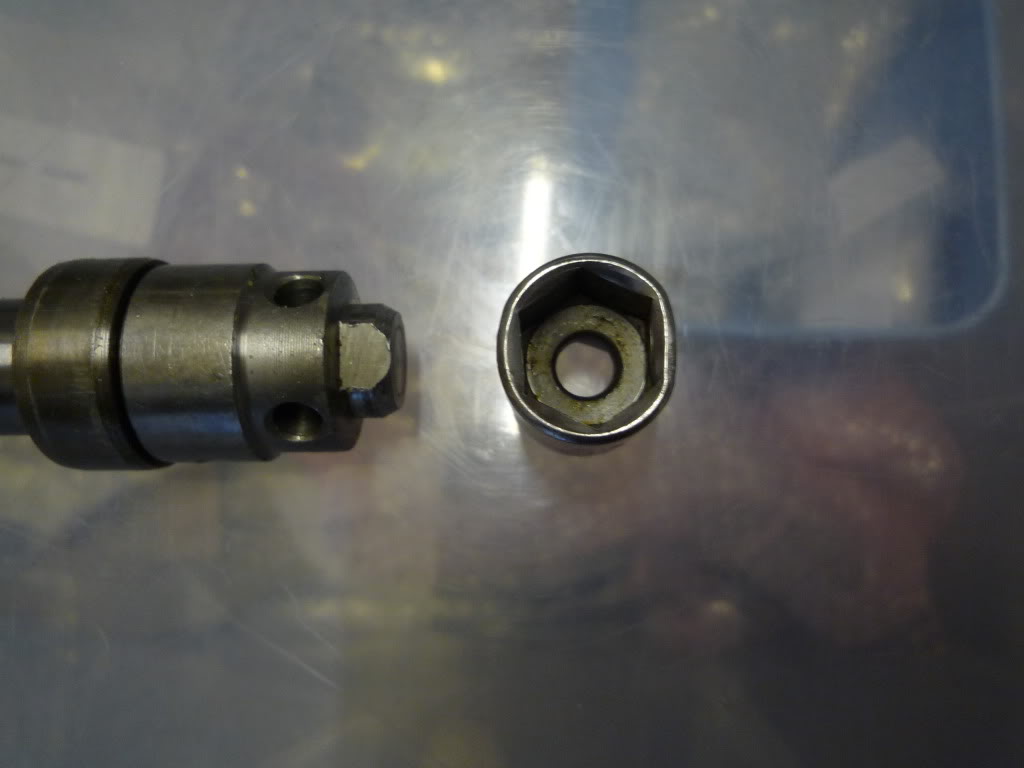
To hold the damper nut in place whilst i tightened the bolt I used a 6 sided
14mm socket which I had
squashed slightly on two sides (with the aid of a large hammer). Works perfectly
and is my top tip for today.
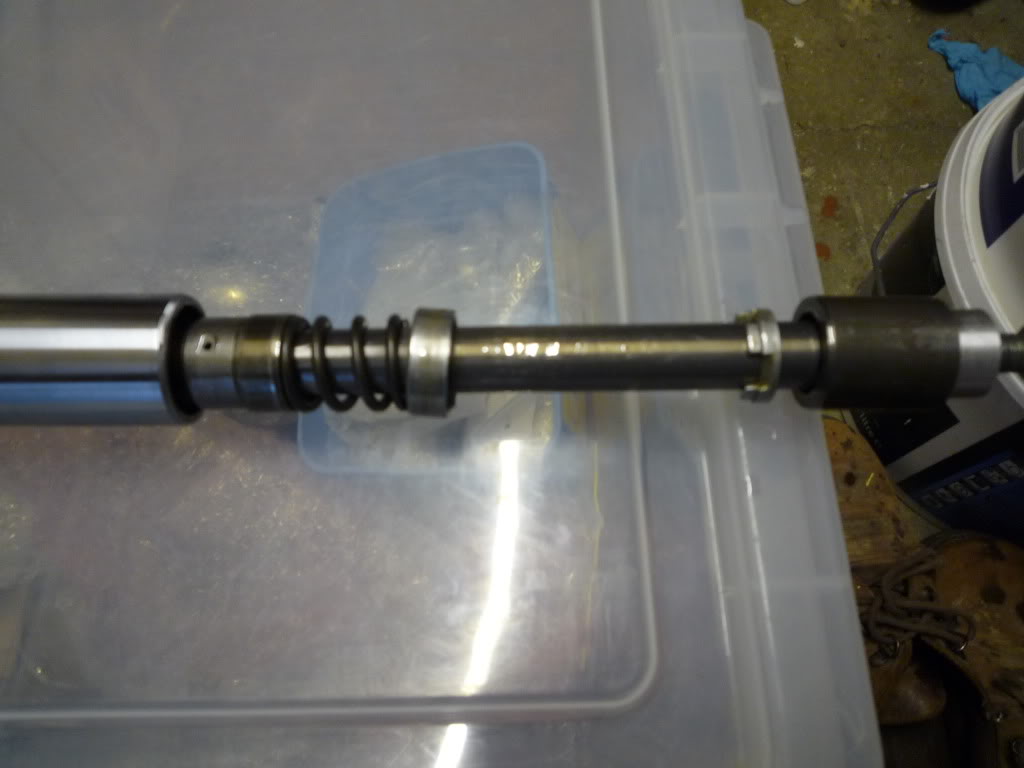
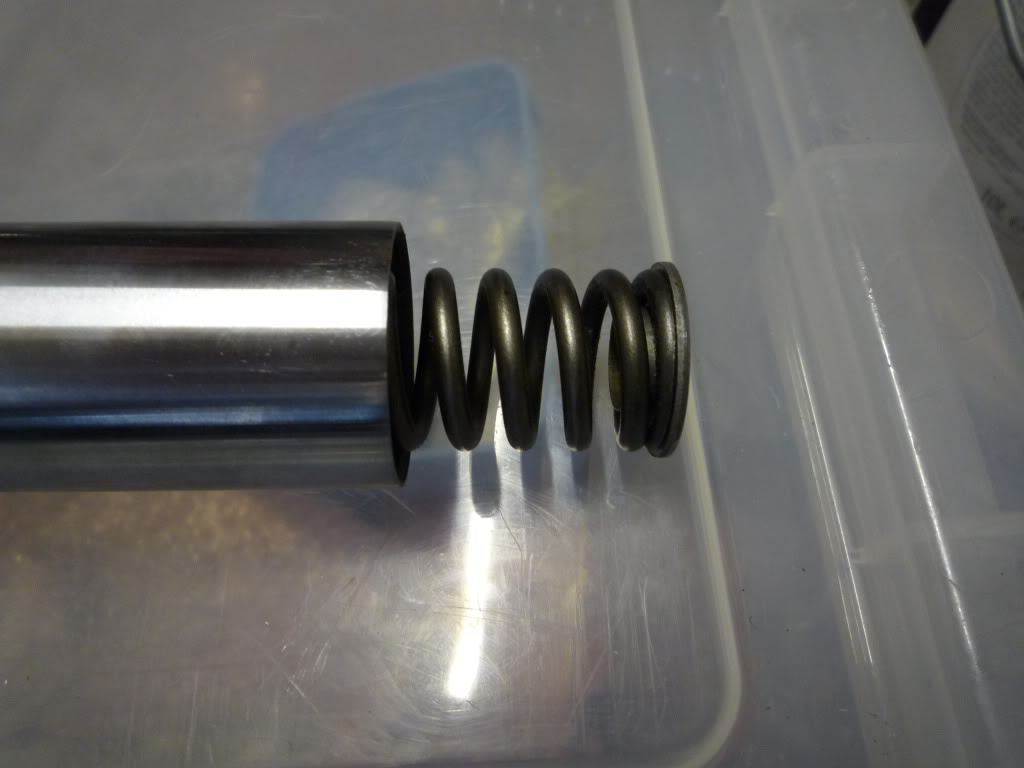
Next went the spring and the cap.
Followed by the spacer. Dust caps and the final bits finished them up ready to fit.
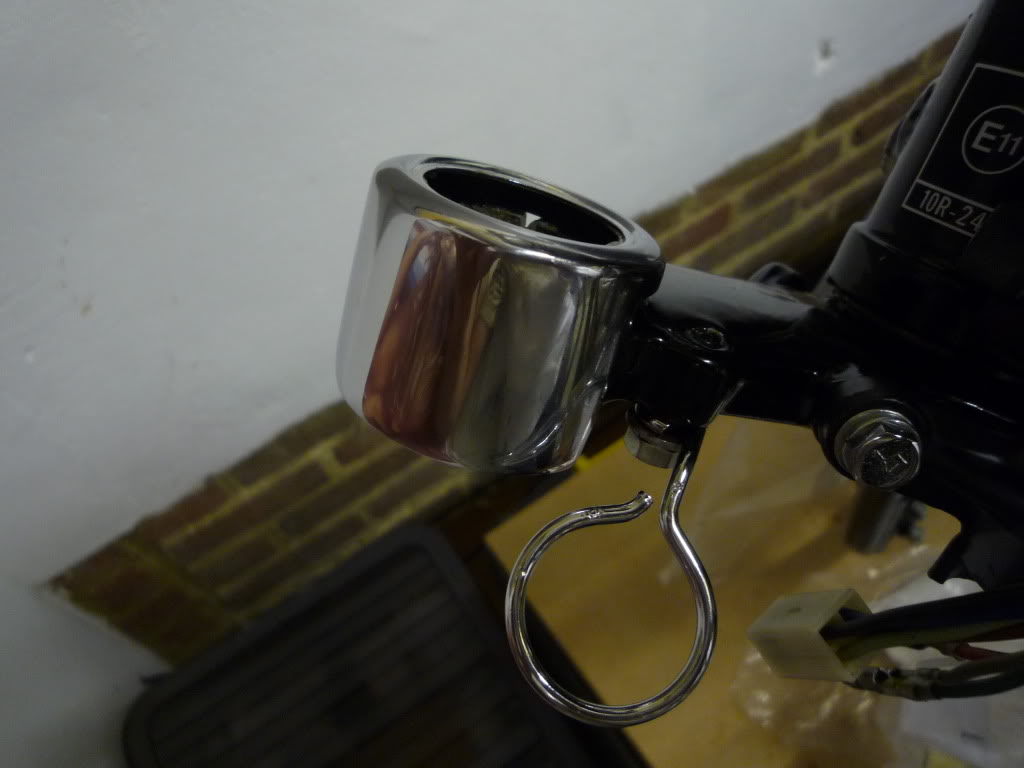
Fork Ear Assembly:
Time to sort some more bits out of the boxes.
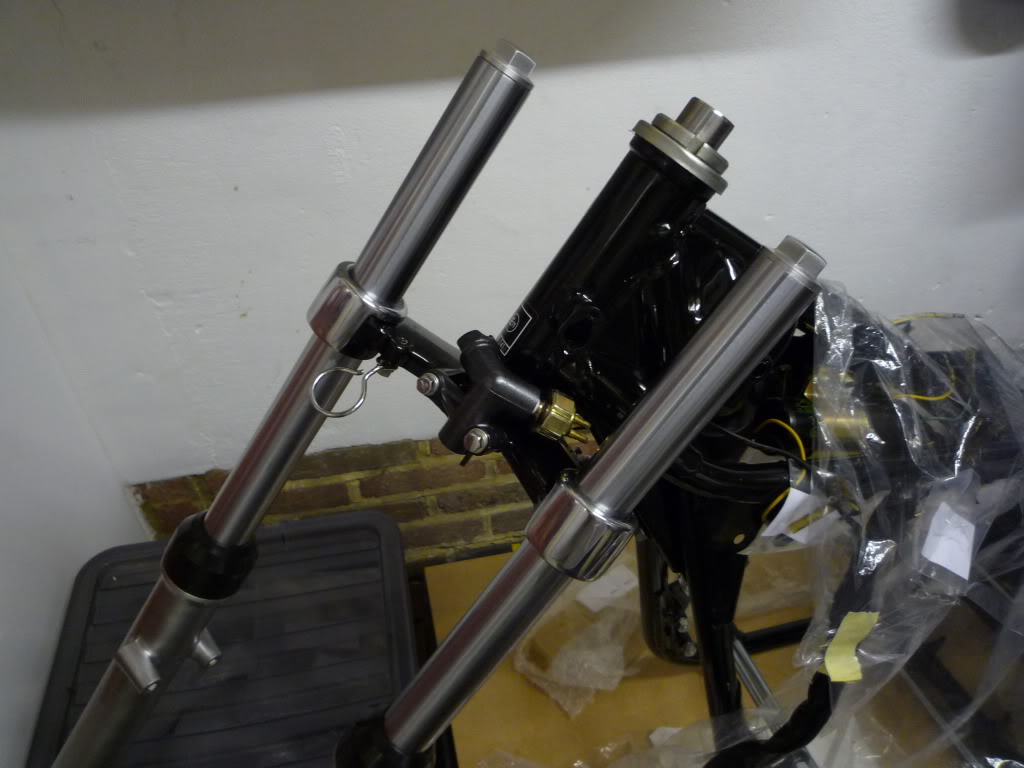
Final Assembly:
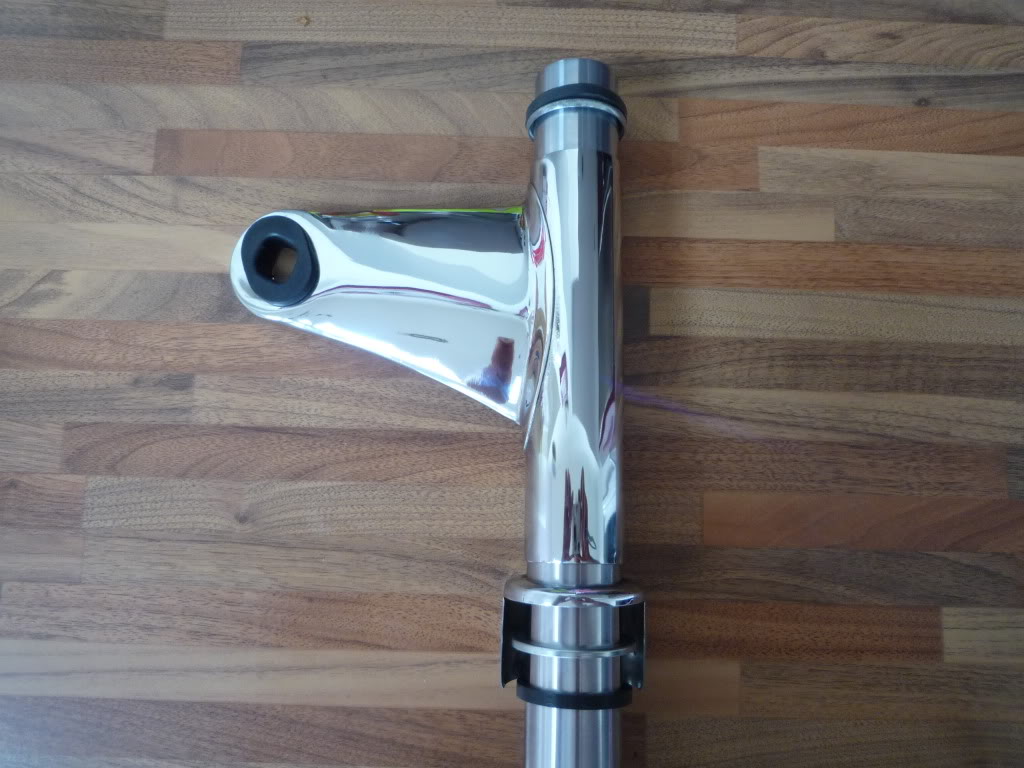
I placed the lower seal and capping on the bottom yoke. Followed by the lower shroud.
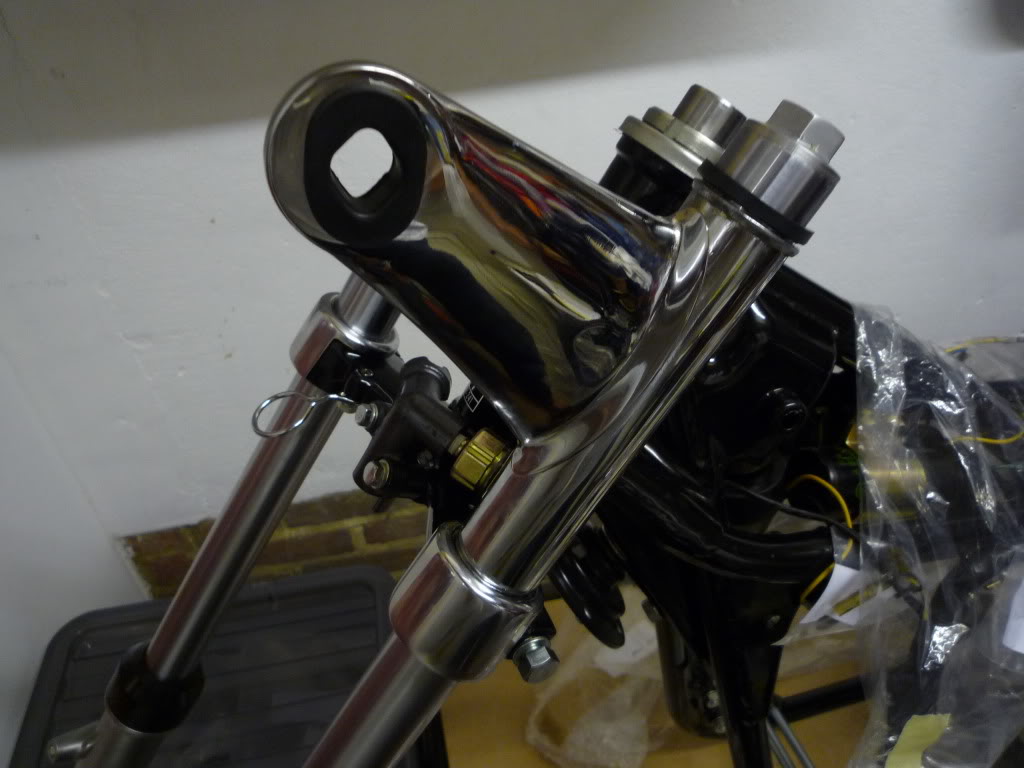
Then after removing the clocks and
fitting the other shroud assy I slid the forks into place.
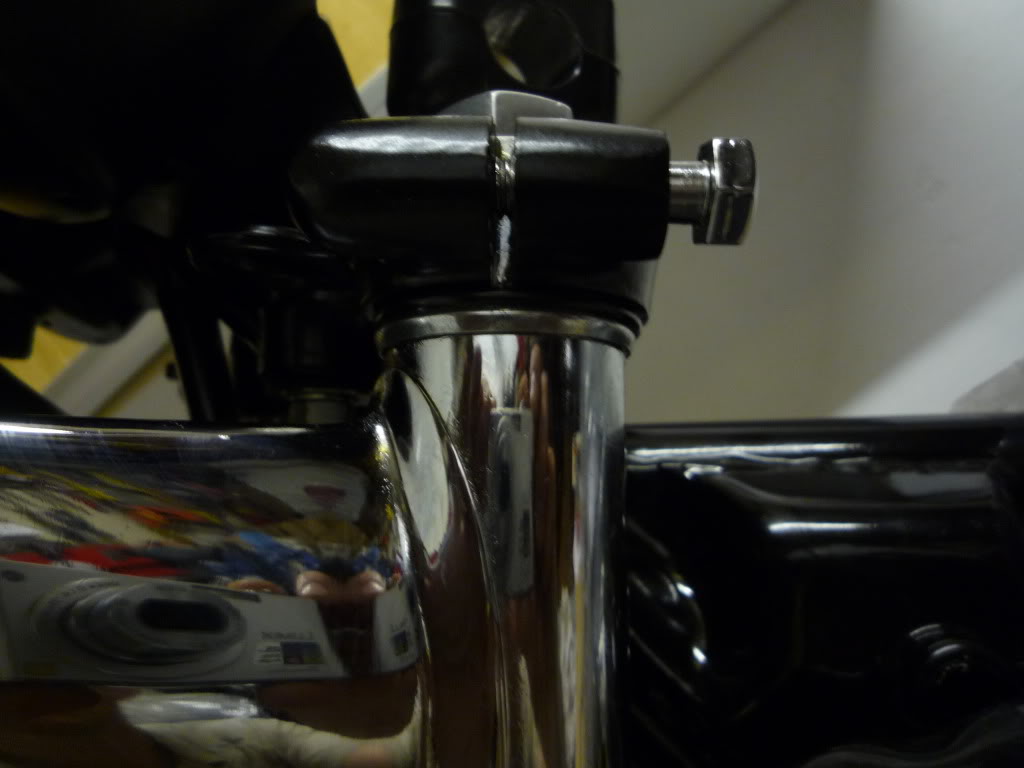
Headlamp brackets and upper capping and rubber came next.
Did have a few problems around this
point as one leg was loose and the other stiff, so controlling
them was like trying to walk through the front door after a heavy night!! hence
nearly dropping
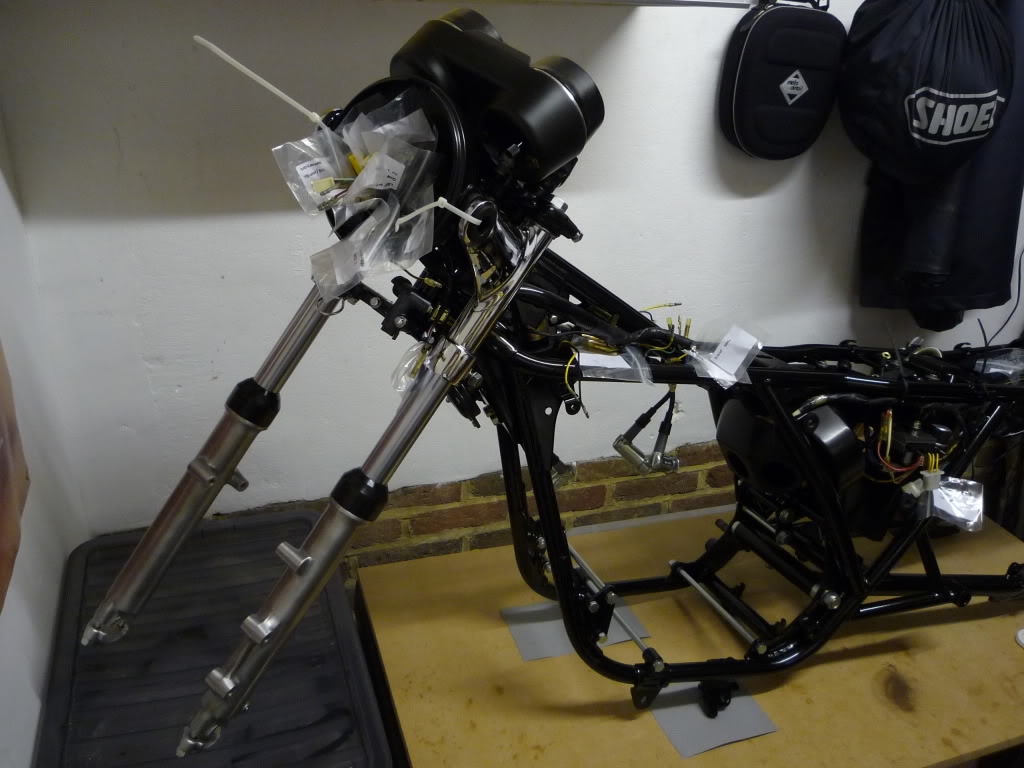
the clocks, which were soon safely on and its starting to look like a bike
again.
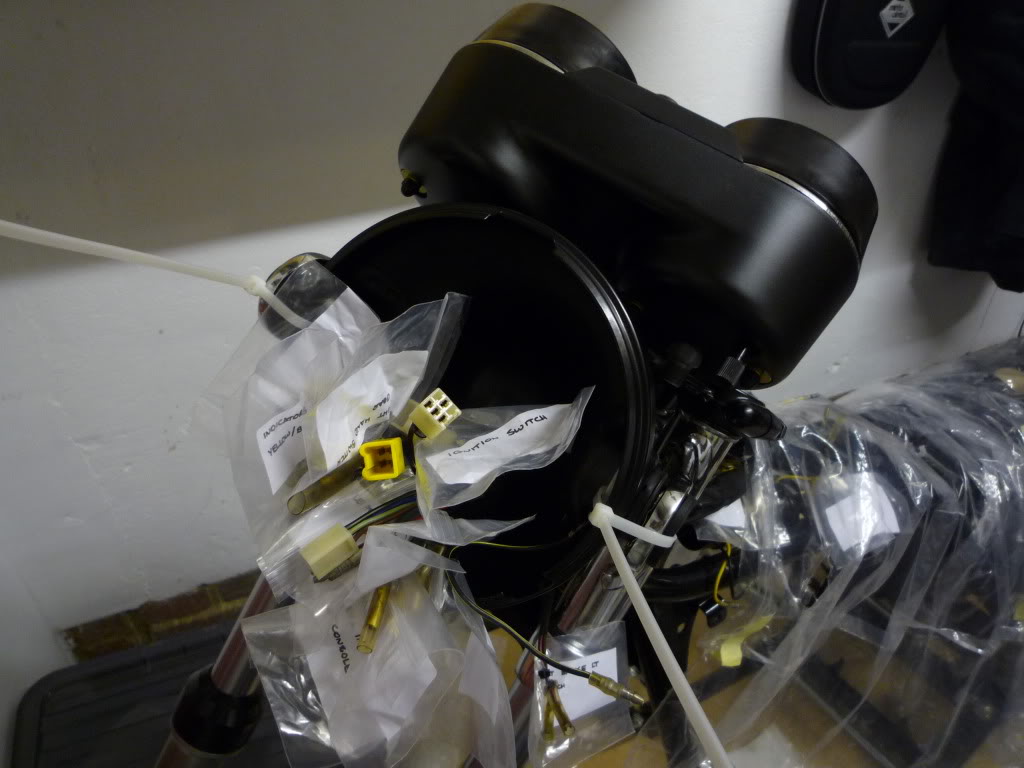
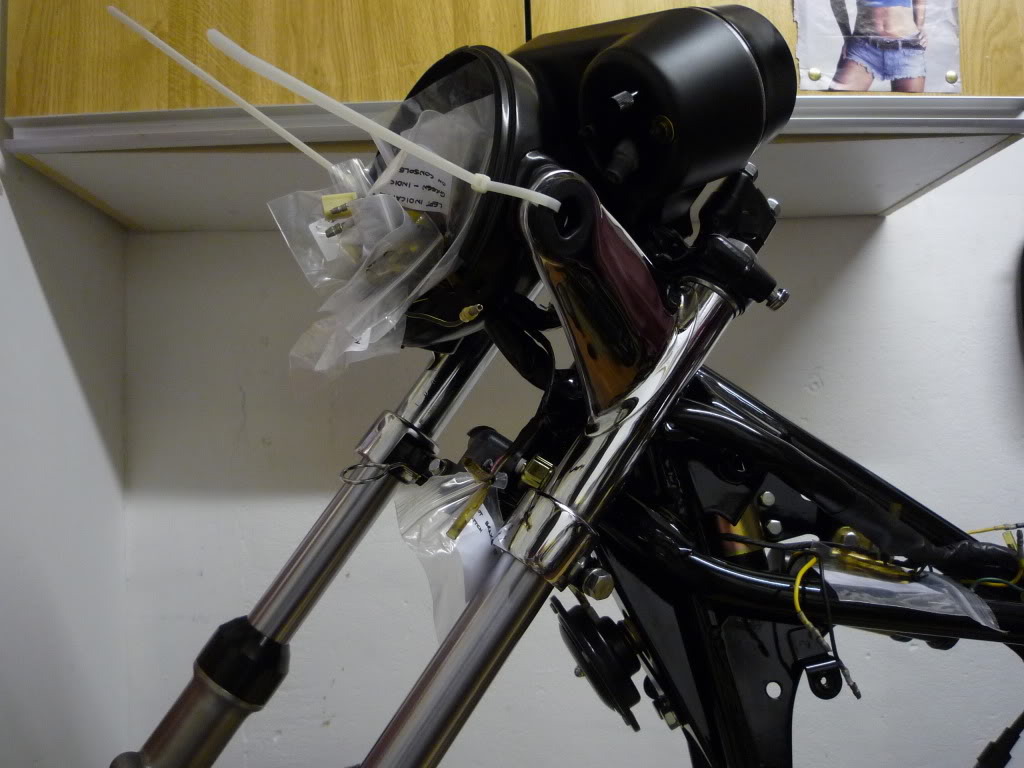
Next came the headlamp and the job of
sorting this lot out
![]()

As a note, the top capping seals were missing from my bike, I made some new ones from some gland seals from the Plumbers. These however, were too soft and wouldn't stay in place so I opted to use an o ring which worked perfectly (genuine Japanese of course).
Next job was to tighten the forks up,
fresh oil was put in and the caps replaced. They were then lined up with the top
yoke
and the front axle fitted to keep them aligned. The yoke bolts could then
be tightened. (Still looking for the centre nut.)
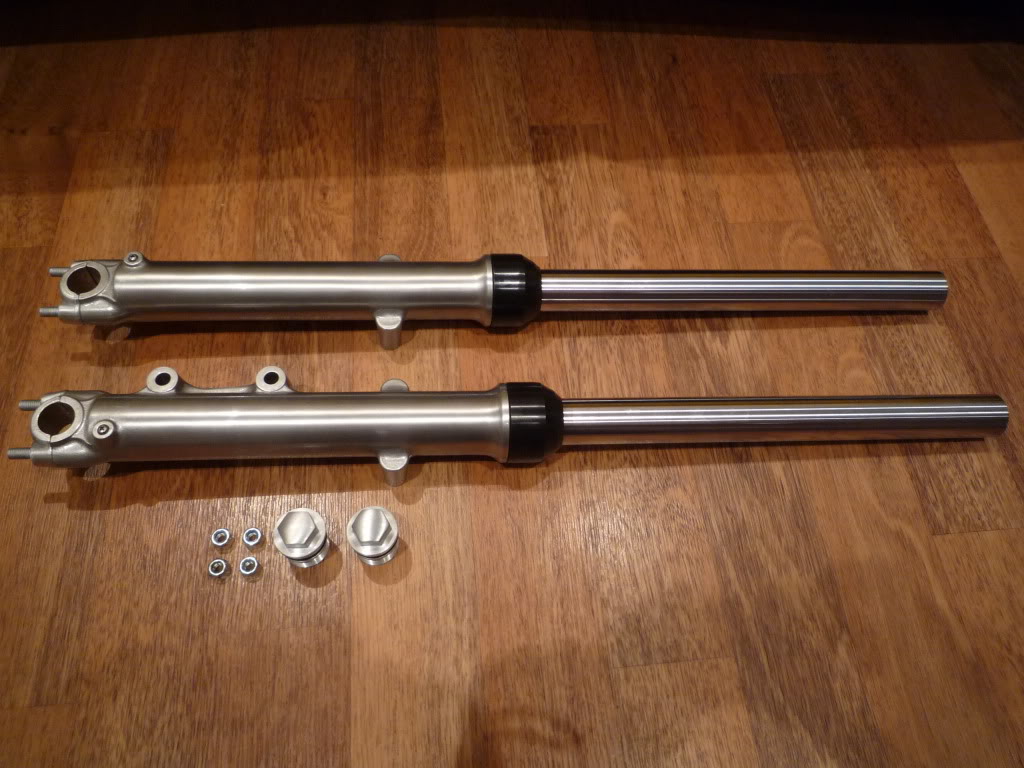
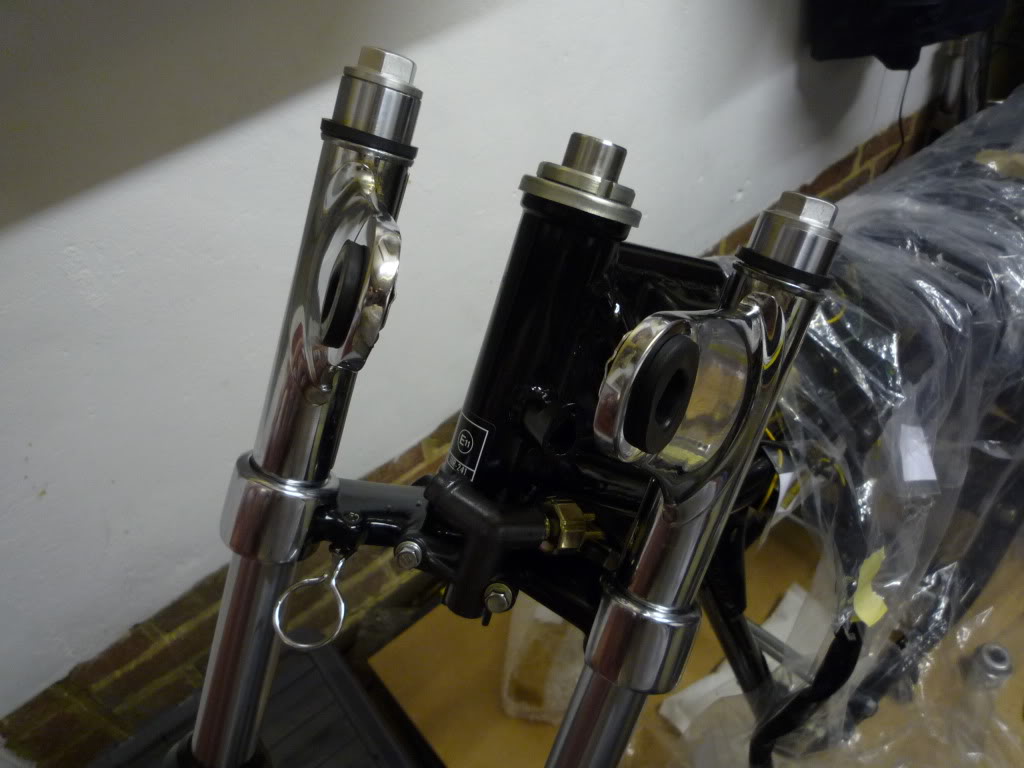
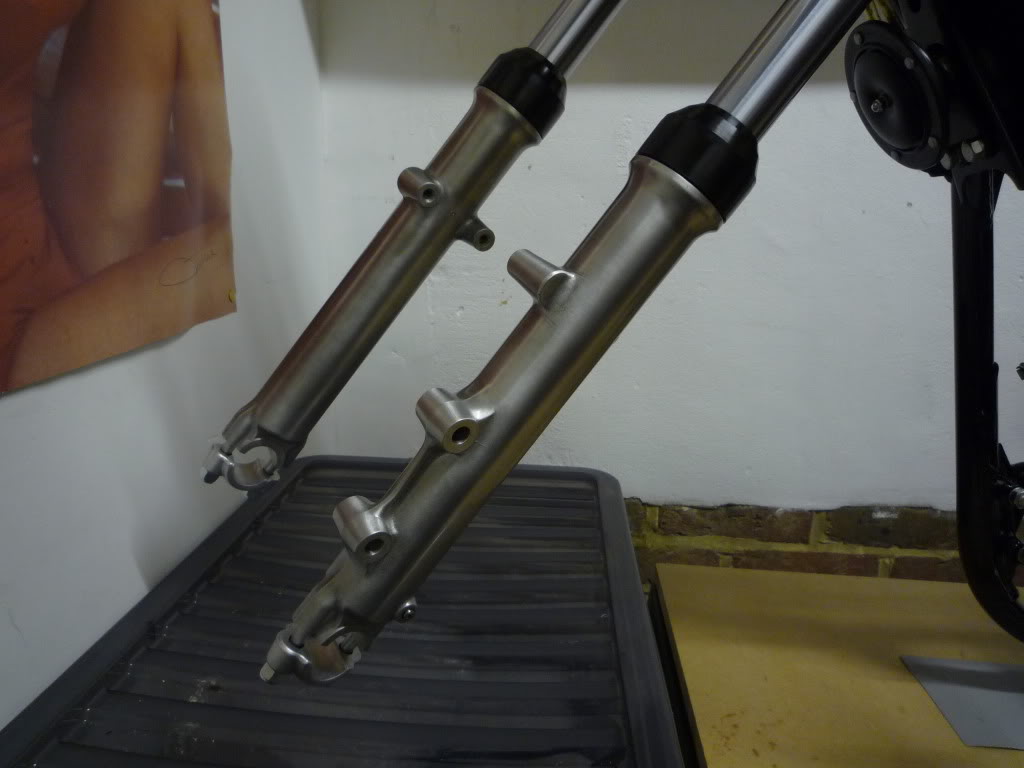
Two nice pairs of legs
![]()
Final bits were the Mudguard and Handlebars.
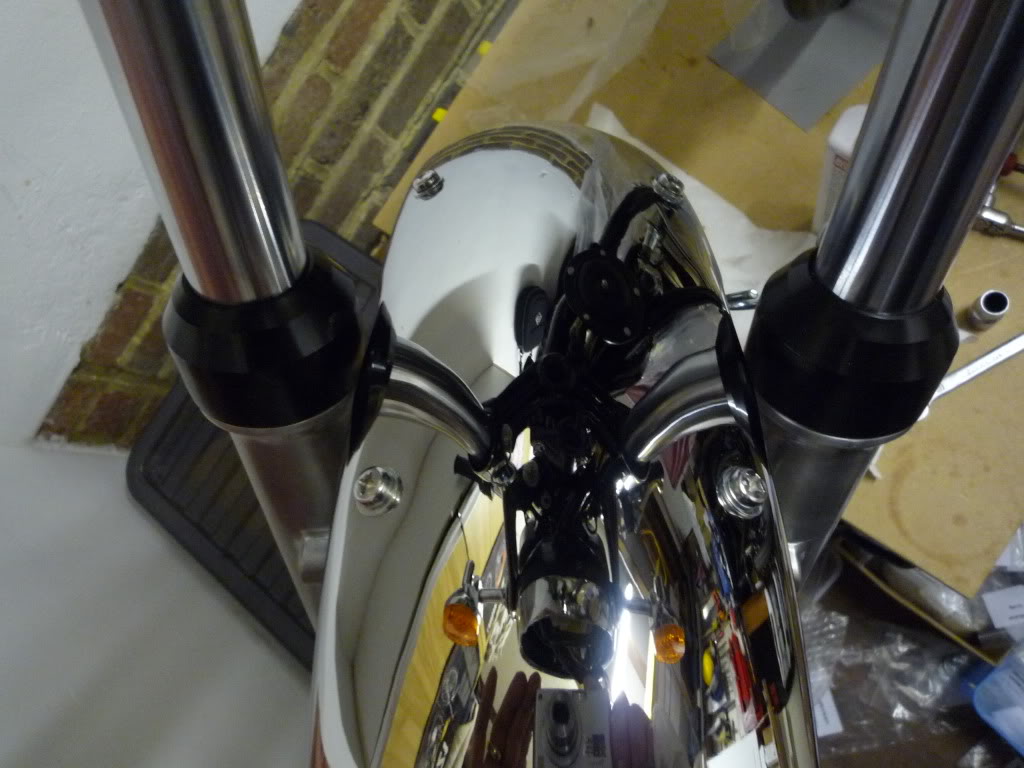
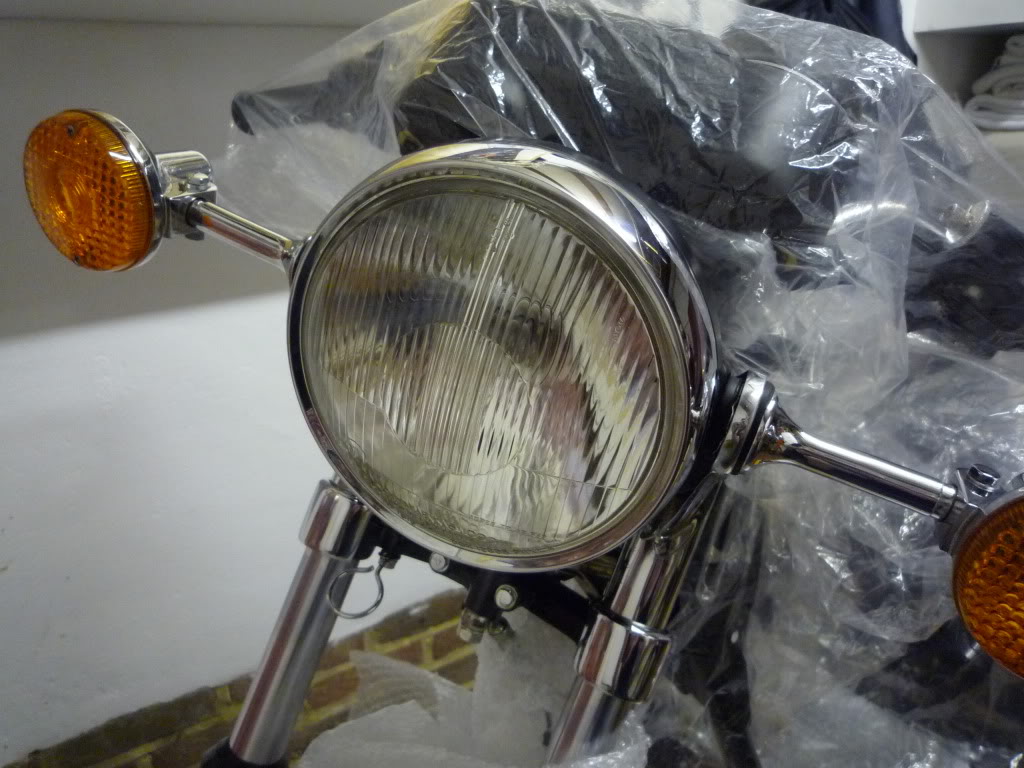
That's all for now, off to find a
headlamp
![]()

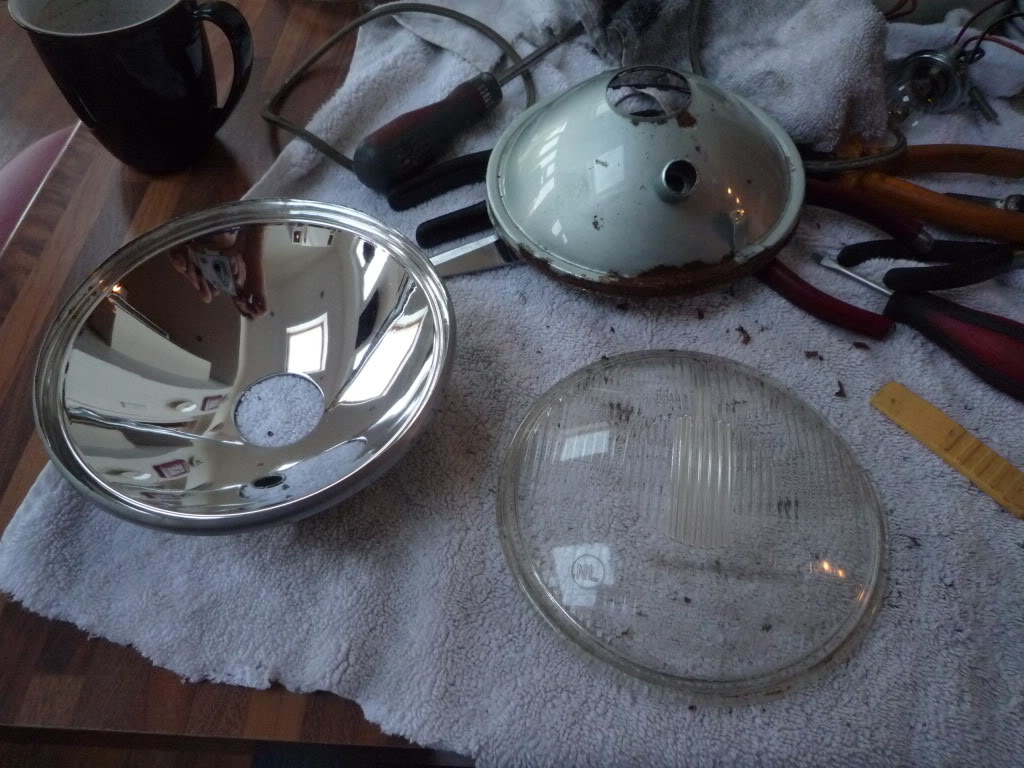
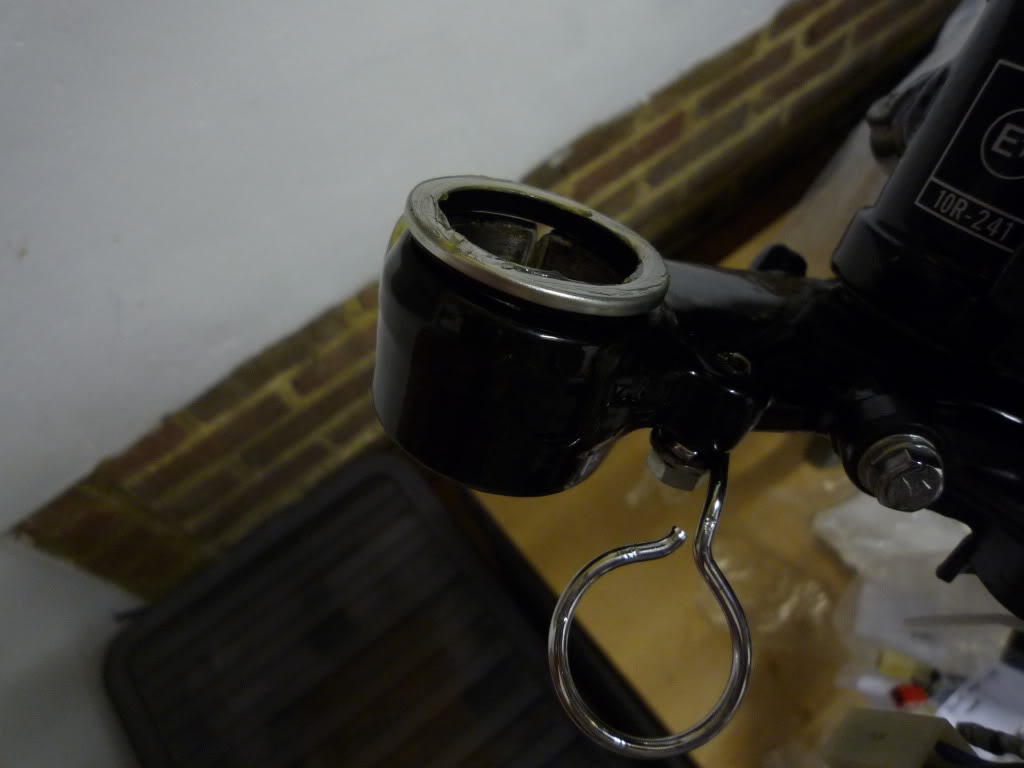
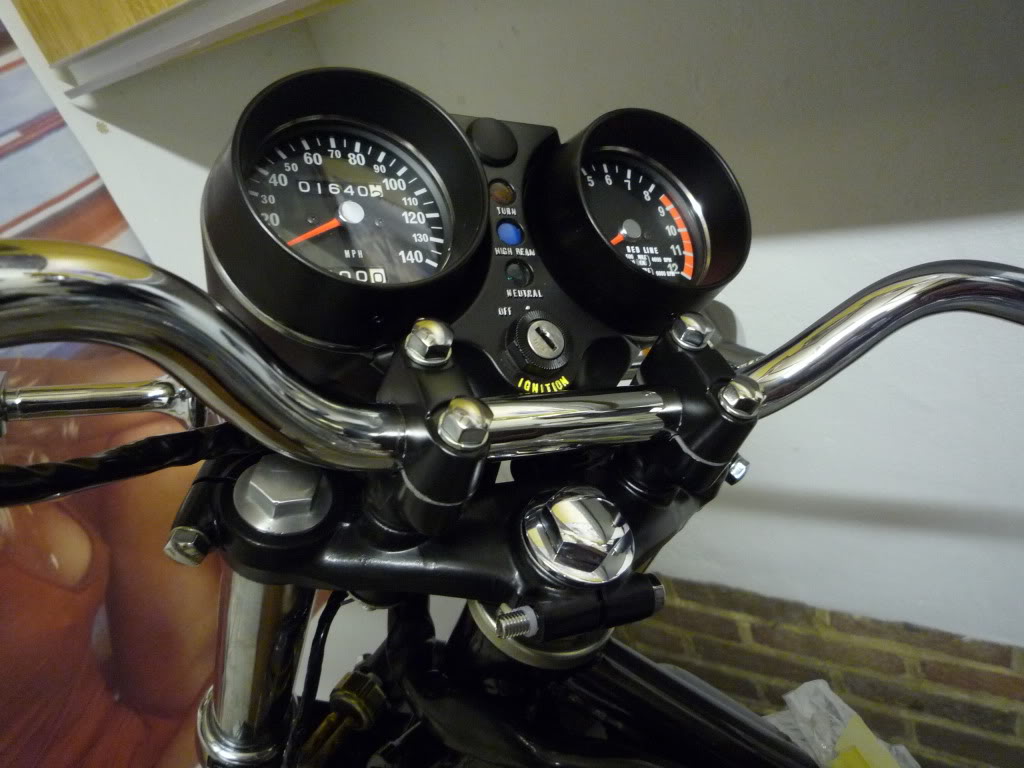
And finally I have transplanted a new
headlamp lense on to the original reflector as
the old one was cracked, its amazing what you can do if you need to
Result!!