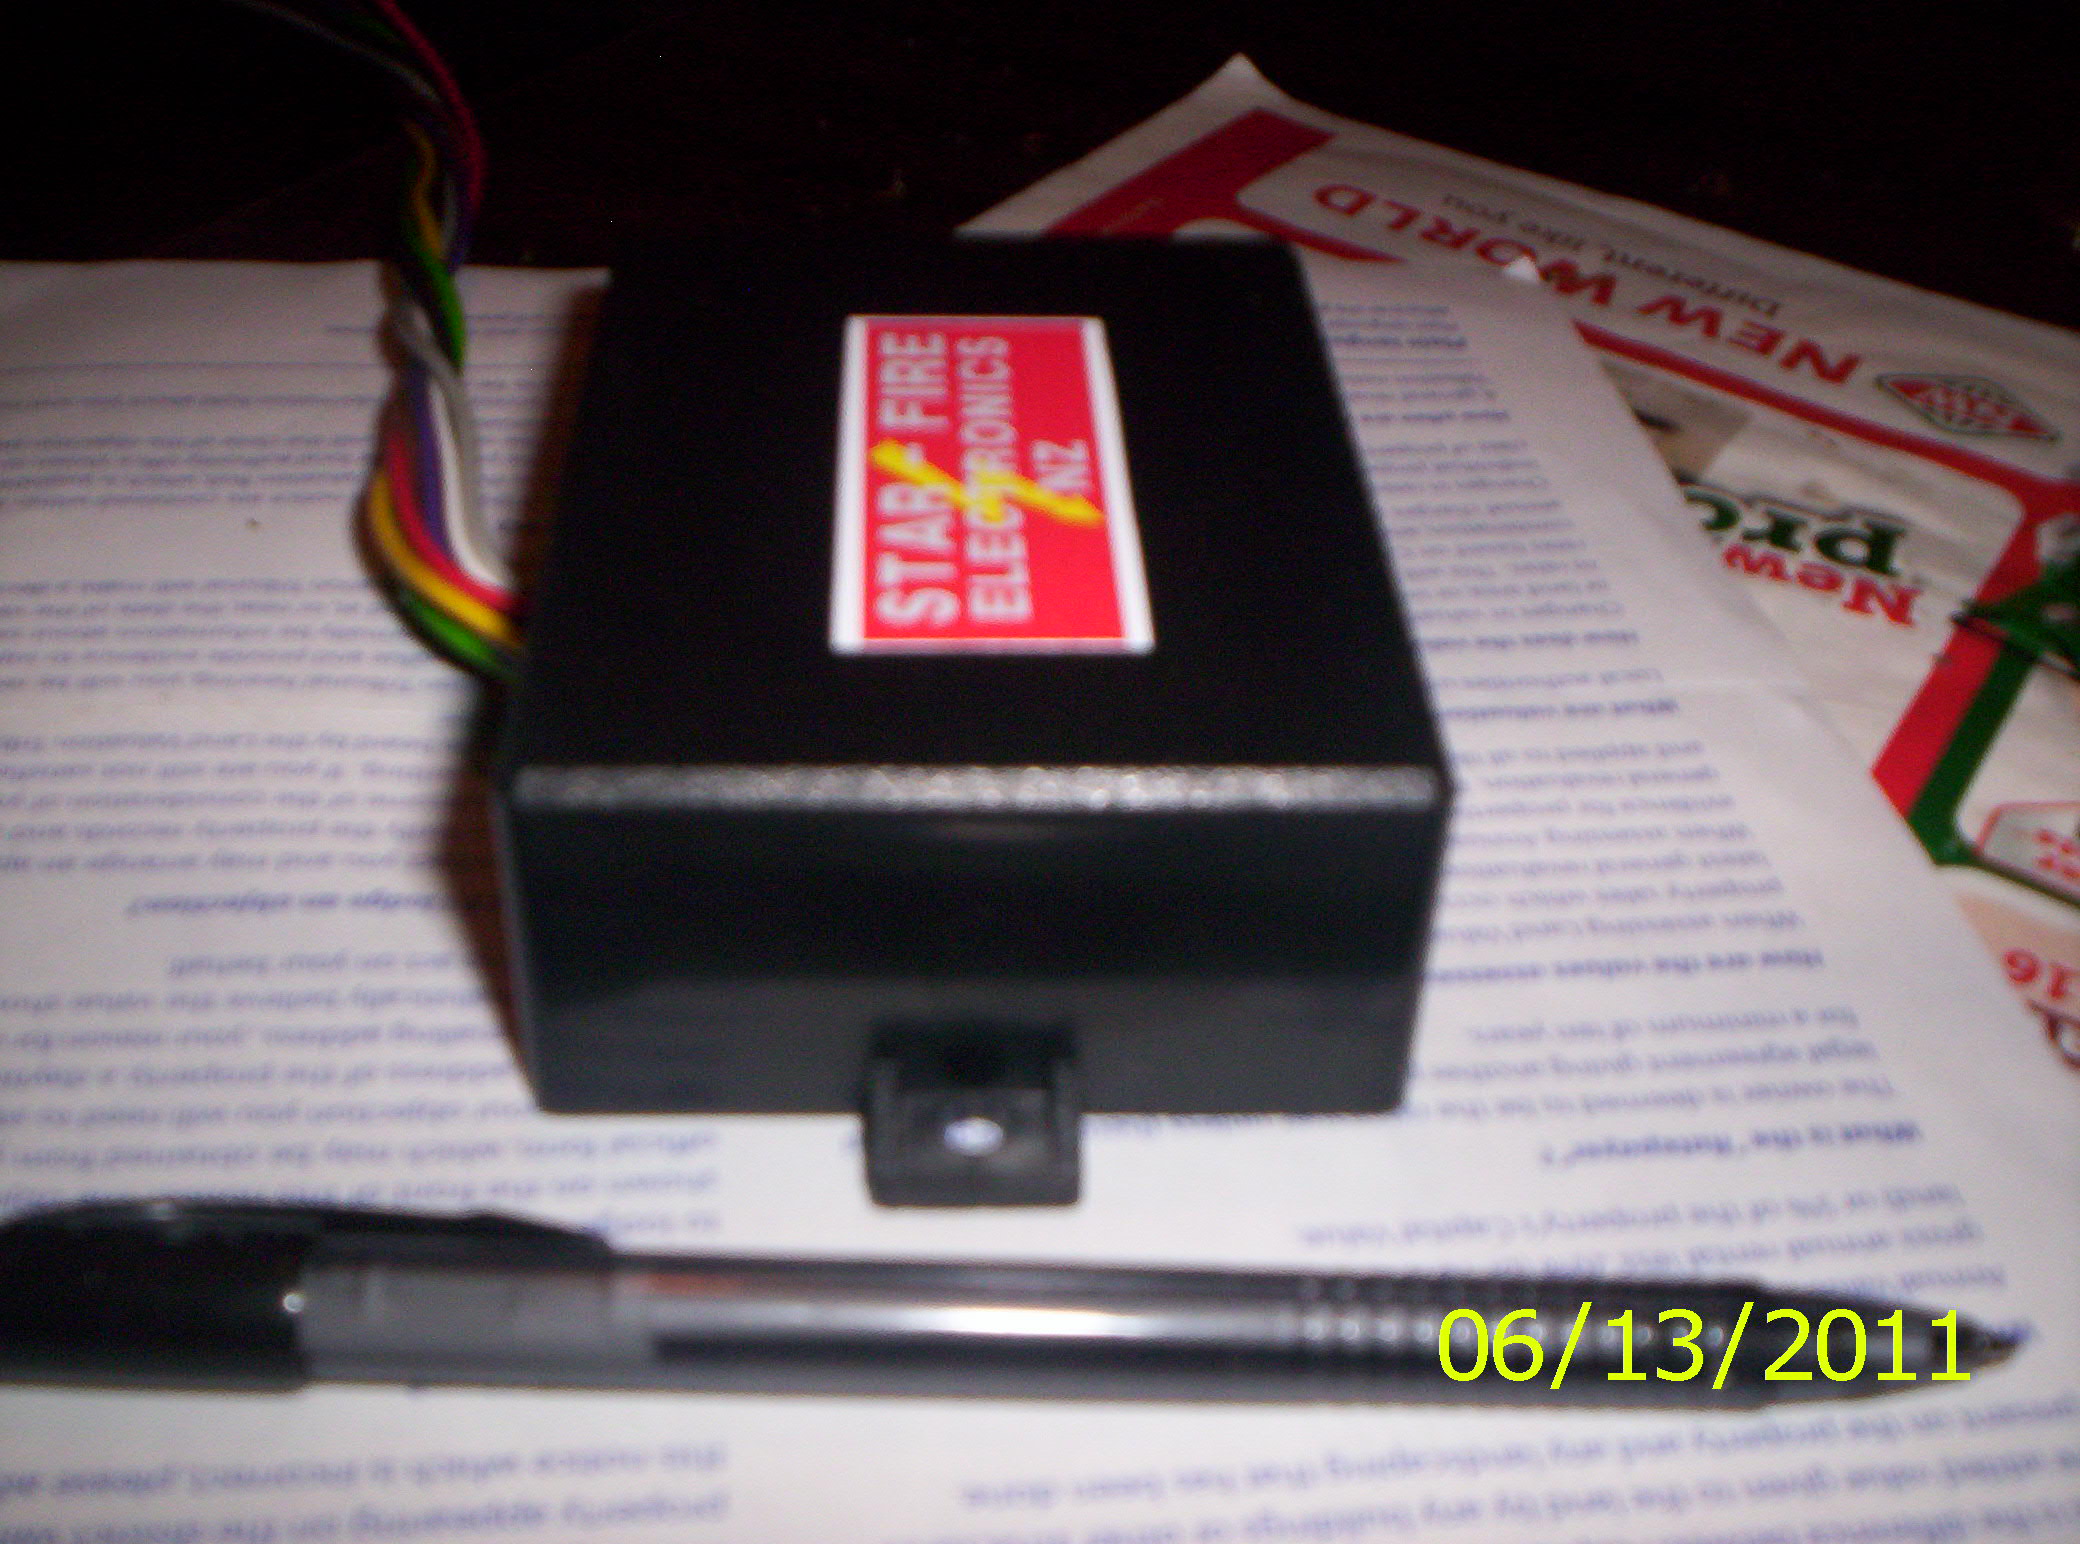
Starfire ZK CDI

The STARFIRE ZK CDI unit is designed to replace the OEM units fitted to the
Kawasaki H1D, H2 and KH400 series of bikes. A
sub model replaces the two OEM boxes on the H1E/F and KH500.This unit replaces ALL the four
original CDI boxes of the H1D/H2 with one small and compact unit, the size of a
pack of cigarettes, and directly replaces the OEM unit on the KH400.
Several improvements to the stock system are incorporated to allow for the now
ageing components in the magneto assembly, and trigger or signal coils.
Unlike the other models in the Starfire range, these units work as the original
units, and require intact magneto coils to work.
The size of the unit is :
3 1/2 inches long, 2 3/4 wide, and 1 1/4 high
Distance between mounting holes is 3 3/4.
____________________
Fitting instructions for the Kawasaki model H1E/F/KH500
$71US, + $35 shipping
1) Remove old units from bike, and mount the Starfire unit in place. This can
simply be held safely to the platform with double sided tape, although mounting
lugs are supplied.
2) Connect the RED wire from the cdi to the RED/WHITE in the harness. This is
the ignition coil primaries.
3) Connect the the BLACK wire from the CDI to a firm ground.
4) Connect the ORANGE CDI wire to the ORANGE wire in the harness. This is the
high voltage from the magneto.
5) Connect the GREY CDI wire to the BLACK/WHITE in the harness. This is the
existing kill switch.
6) Connect the BROWN CDI wire to the BROWN in the harness. This is the magneto
coil ground.
7) Connect the WHITE CDI wire to the WHITE in the harness. This is the trigger
coil.
8) The bike will run. It is recommended to check the timing after installation.
____________________
Fitting instructions for the Kawasaki model H1D/H2
$118US, + $35 shipping
1) Remove old units from bike, and mount the Starfire unit in place.
This can simply be held safely to the platform with double sided tape, although
mounting lugs are supplied.
2) Connect the ORANGE, BLUE, and DARK GREEN wires from the cdi to the three RED
wires in the harness. These are the left, center and right ignition coils,
respectively.
3) Connect the BLACK wire from the CDI to a firm ground.
4) Connect the BROWN CDI wire to the BLUE wire in the harness. This is the
ground for the magneto coils.
5) Connect the GREY CDI wire to the BLACK/WHITE in the harness. This is the
existing kill switch.
6) Connect the RED CDI wire to the GREEN in the harness. This is the Low speed
magneto coil.
7) Connect the WHITE CDI wire to the WHITE in the harness. This is the High
speed magneto coil.
8) Identify the three WHITE wires in the harness. These are the three
pickup/signal coils.
The YELLOW wire from the CDI goes to PU coil
LEFT
The PURPLE wire from the CDI goes to PU coil CENTER
The LT GREEN wire from the CDI goes to PU coil RIGHT.
The bike will now run. It is recommended to check the timing after installation.
____________________
Fitting instructions for the KH400
$118US, + $35 shipping
The bike will now run. It is recommended to check the timing after installation.