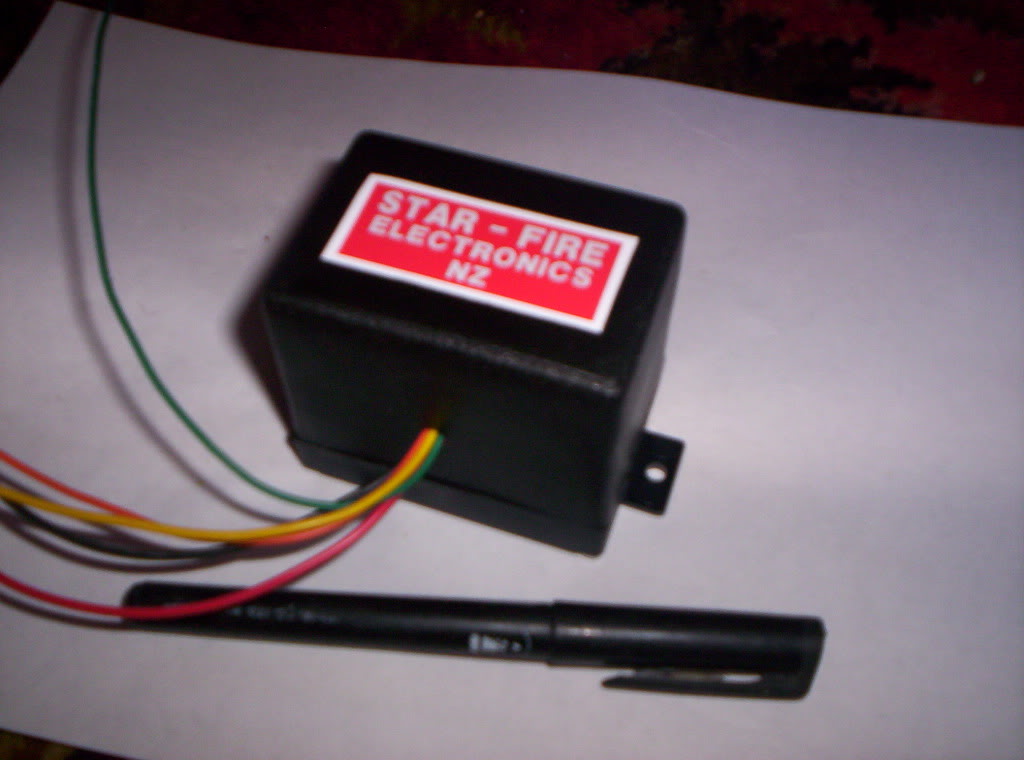
Starfire High Voltage Unit
(replaces the Low speed CDI coil)
dayleedwards@rushpost.com
Size: width 75mm, length 100mm, height 40mm.
Price is $119US + $25 US shipping
(based on exchange rate Jun 1, 2011).
STARFIRE HIGH VOLTAGE UNIT. Designed to replace the faulty LOW SPEED winding in the alternator. The box uses just 4 wires, and supplies the high voltage required by the existing CDI stock units from the 12 volt system, bypassing the faulty coil/magneto issues. The system takes care of the high rewind cost of the faulty coil, and /or availability issues with replacements.
The unit either partly or fully replaces
the faulty Low Speed CDI windings in the alternator and instead, generates the
required voltage
electronically from the existing 12 volt supply, completely replacing the LOW
SPEED winding and making for easier starting. The unit is compatible with the
following models: KH400, H1D/H2, H1E/F/KH500
Finding room for the unit somewhere is model dependent, but they can be mounted
almost anywhere on the bike. All the above assumes the main 12 volt charging
circuit is operational of course.
----------Installation Instructions----------
Models H1D/H2 with or without battery.
1) Select a mounting position for the HVU.
2) DISCONNECT the WHITE wire to the rectifier box from the alternator and
CONNECT to the PURPLE wire from the HVU.
3) CONNECT the ORANGE wire from the HVU to the WHITE wire from the RECTIFIER box
as in 2
4) CONNECT the HVU BLACK wire to a good ground using an eyelet terminal.
DO NOT connect to the back guard...use the frame.
5) CONNECT the RED wire from the HVU to switched 12 volt POSITIVE.
Note: Splicing the HVU red wire into any brown wire will provide switched
12VDC power. The brown wire on the flasher relay would be a
good source.
6) The bike will now run, completely independent of the low speed
winding.
STARFIRE High Voltage Unit LATE H1 Installation
1) Select a mounting position for the HVU
2) Using an eyelet terminal, ground the HVU BLACK wire to any point on the
frame.
3) DISCONNECT the ORANGE wire to the unit A rectifier box, and connect this to
the PURPLE wire from the HVU.
4) CONNECT the ORANGE wire from the HVU to the ORANGE wire from the RECTIFIER
box.
5) CONNECT the RED HVU power lead to switched 12 volt supply (ignition) ...the
same options above (5) also apply here.
6) The bike will now run, independently of the LOW SPEED stator windings
STARFIRE High Voltage Unit KH400 Installation
1) Select a mounting position for the HVU. They fit very neatly in the tail
section of the bike, the wires from the unit are extended to accommodate this.
2) Using an eyelet terminal, ground the HVU BLACK wire to any point on the
frame.
3) DISCONNECT the RED wire to the existing CDI and connect to the PURPLE wire
from the HVU
4) Connect the ORANGE wire from the HVU to the RED wire from the CDI.
5) CONNECT the RED wire from the HVU to 12 volt switched... as in (5 above.
6) The bike will now run, independent of the LOW speed windings.
----------STARFIRE High Voltage Unit Test Procedure----------
1) With ignition off, disconnect the ORANGE wire on the
Starfire High Voltage unit.
2) Connect the BLACK lead of an ANALOG meter to the motorcycle ground (frame)
3) Switch the multimeter to a high voltage DC range (500 to 1000 volt)
4) Connect the HVU ORANGE wire to the RED lead on the meter. An alligator clip
jumper lead is useful for this. DO NOT touch the orange lead... it will bite!!
5) Switch on the ignition. The meter should read between 250 and 300 volts.
6) If no high voltage is present, listen carefully... the unit should be softly
buzzing.
7) No buzz, measure the voltage on the RED wire going to the HVU. This should
measure at 12 volts.